Tuna Pasta Meal Prep on a Budget
Canned tuna and pasta might be the single cheapest way to get real protein into a meal prep container. No marinating, no searing, no waiting for a thermometer to hit temperature — just boil, drain, mix, and portion. Twenty minutes, one pot, done.

This version uses olive oil and lemon rather than mayonnaise, mainly because it holds up better once reheated — though if you prefer to eat it cold, the mayo swap below works just as well. For more on why canned tuna is such good value per gram of protein, see the cheap protein sources guide.
| Estimated cost per serving | Cheap |
| Protein per serving | ~25–30g* |
| Prep time | 5 minutes |
| Cook time | 12 minutes |
| Servings | 4 containers |
| Meal prep rating | ★★★★★ No-cook friendly |
| Freezer-friendly | No |
*Protein is an estimate. Actual values depend on your exact ingredients and portions.
What you need
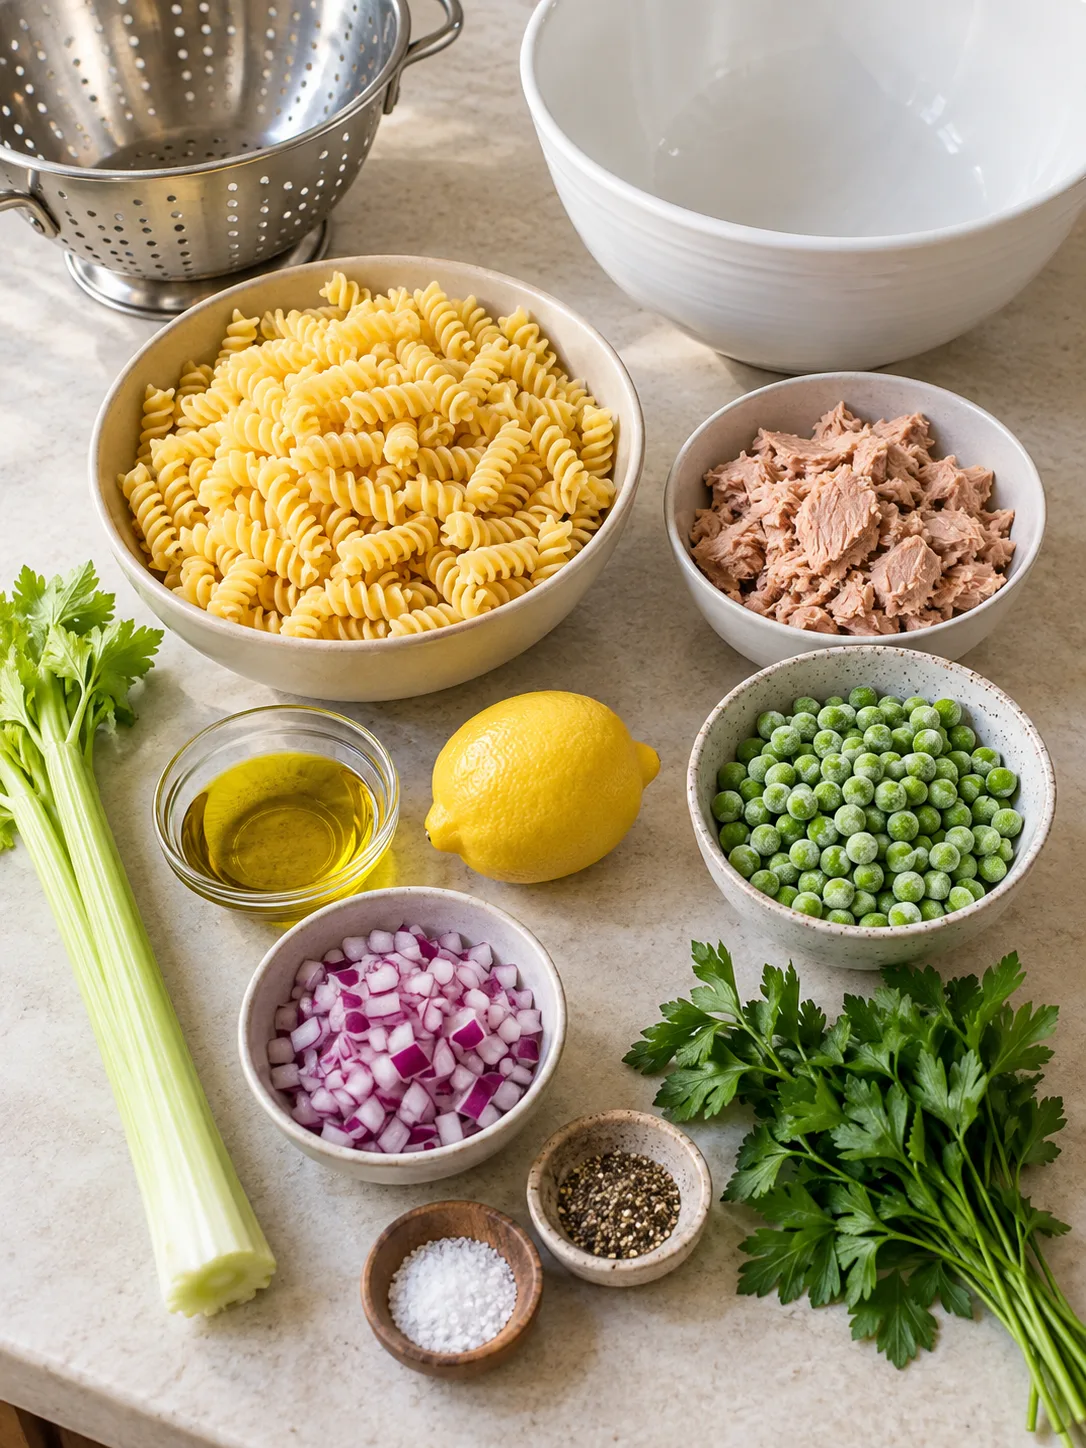
- 3 cans (about 340g total) tuna in water, drained
- 300g dry pasta — rotini or penne hold up better than spaghetti for meal prep
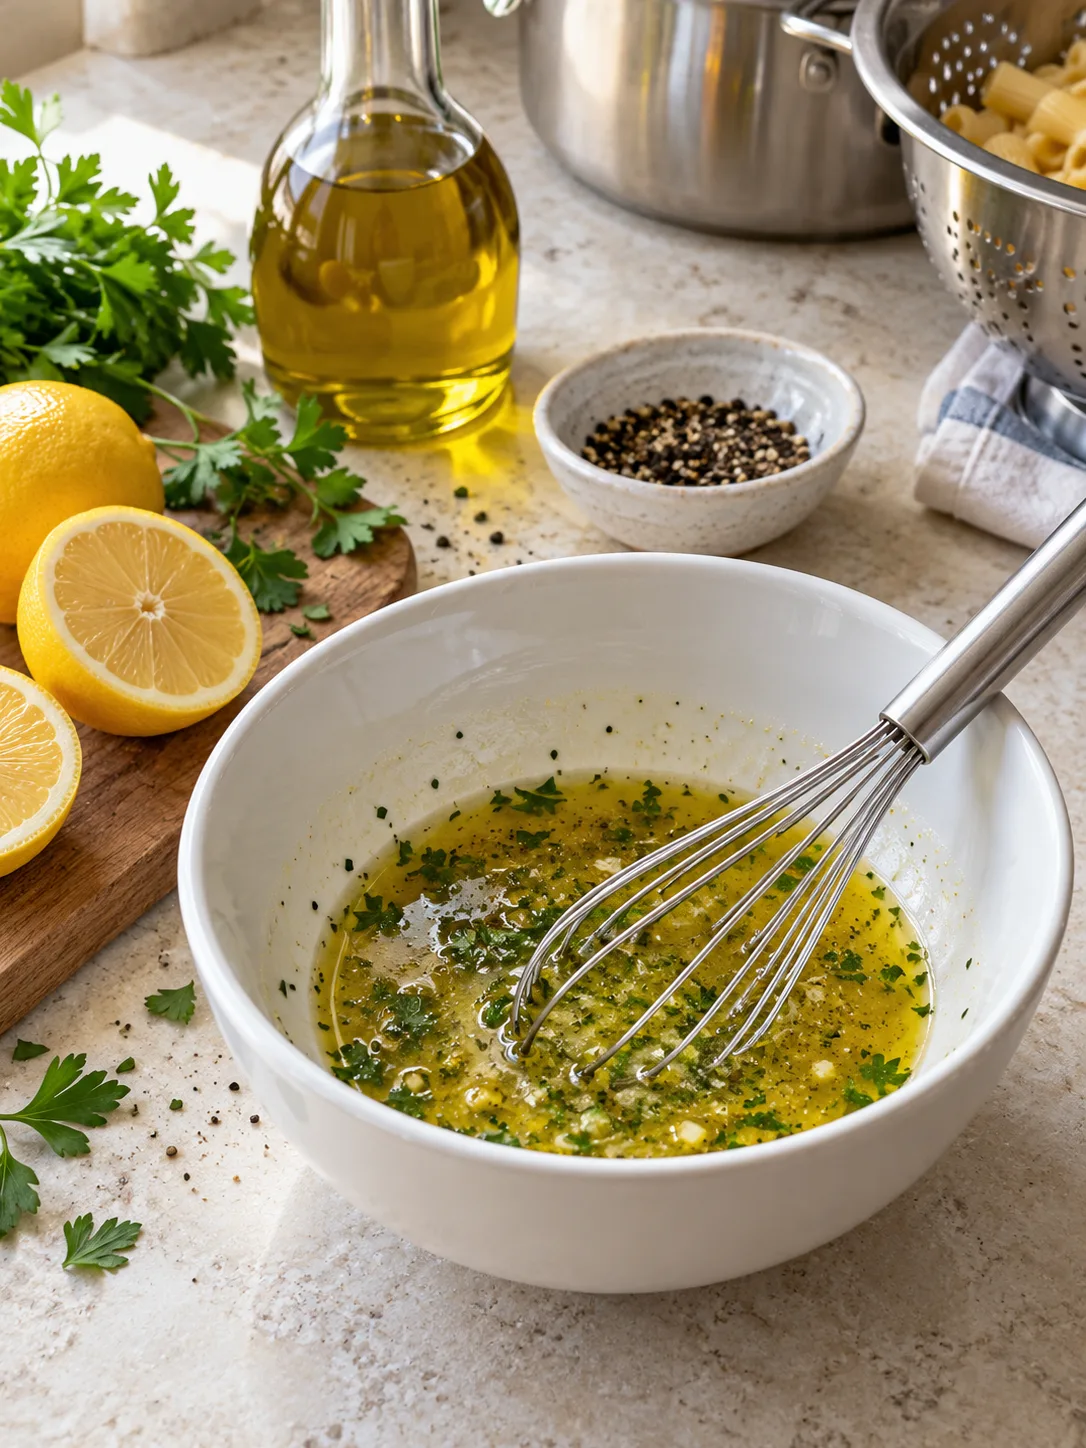
- 3 tbsp olive oil
- Juice of 1 lemon
- Salt and pepper to taste
- Optional: 1 stalk celery diced, 1/4 red onion diced, 1/2 cup frozen peas
Equipment: one pot, a colander, a large mixing bowl, 4 meal prep containers.
How to make it

- Cook the pasta according to package directions, but pull it slightly before fully tender — it softens a little more as it cools and sits in the fridge.
- If using frozen peas, drop them into the pasta water for the last minute of cooking, then drain everything together.
- Drain and rinse the pasta briefly under cool water to stop it cooking further. Let it cool for 5–10 minutes — adding tuna to hot pasta makes the texture mushy.
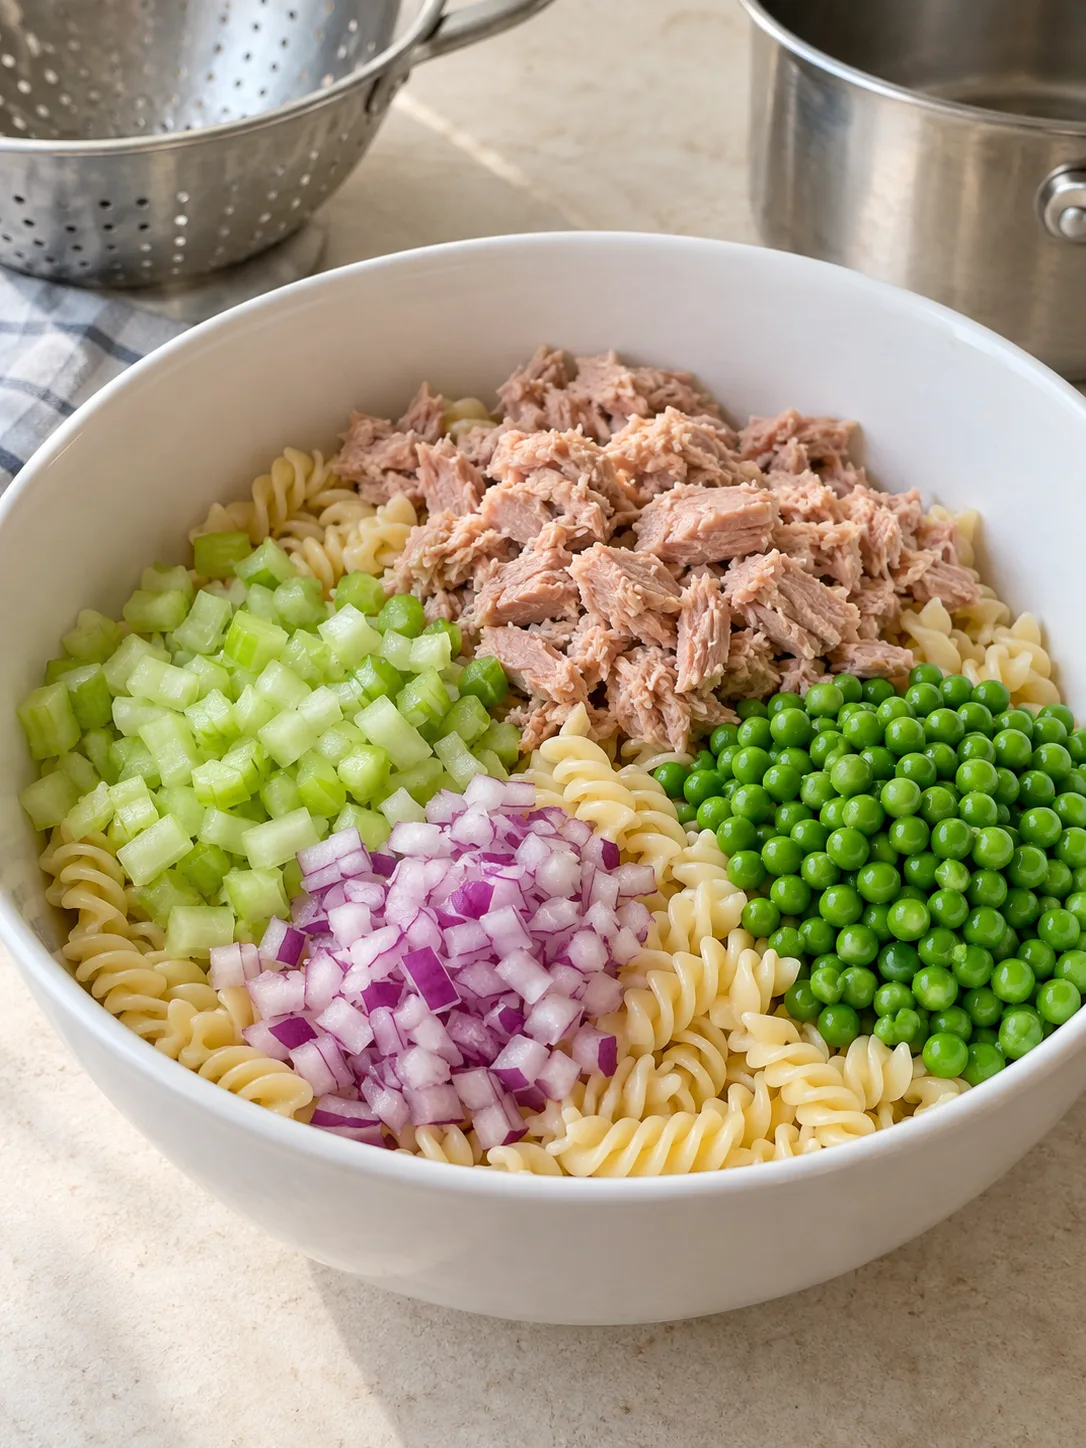
- Drain the tuna well and flake it into the bowl with the cooled pasta. Add olive oil, lemon juice, salt, pepper, and the celery or onion if using.
- Toss to combine and divide evenly across 4 containers.
Warm skillet version
For a hot dinner instead of a cold meal-prep lunch, skip the chilling step and finish it in a skillet instead. Heat 1 tablespoon of the olive oil in a large pan over medium heat, add the drained tuna and a splash of the pasta water, and warm through for 2–3 minutes, breaking up the tuna slightly. Add the hot, just-drained pasta directly to the pan along with the remaining olive oil and lemon juice, and toss for a minute to coat and warm everything evenly. Served this way, it eats more like a quick tuna noodle skillet than a pasta salad.
Which version is best?
- Best for meal prep: cold, no-cook version. Make it once, portion it into containers, and it’s ready for the next several days with zero reheating.
- Best for tonight: warm skillet version. Same ingredients, five extra minutes, and a dinner that doesn’t taste like leftovers.
Either way starts from the same pot of pasta and the same drained tuna — the only real difference is whether you let it cool before mixing or finish it hot in the pan.
Cost and protein breakdown

- 3 cans tuna in water — store-brand is usually the best value and nutritionally equivalent to name brands
- 300g dry pasta — one of the cheapest carbs per serving in any grocery store
- Olive oil and lemon — pantry staples, a small fraction of the total cost
- Total estimate — cheap per serving, making this one of the cheapest recipes on the site
Protein runs around 25–30g per serving, almost entirely from the tuna. Pasta adds a small amount on top of that. For the exact math against your own grocery bill, see the cost per serving guide.

How to make it cheaper
- Store-brand tuna and pasta — the price gap versus name brands is rarely worth paying for a recipe this simple.
- Skip the extras — celery, onion, and peas are nice but not required. Leave them out with no real loss to the meal.
- Buy tuna when it’s on sale — it’s shelf-stable, so stocking up during a sale costs nothing in spoilage risk.
Storage and reheating

- Fridge: 3–4 days at 40°F / 4°C or below. This dish is designed to be eaten cold or at room temperature — no reheating required.
- If you do want it warm: add a small splash of water and microwave covered for 60–90 seconds. The olive oil version reheats more cleanly than a mayo version would.
- Mayo swap: if you’d rather use mayonnaise instead of olive oil and lemon, use the same amount and plan to eat it cold only — mayo-based dressings don’t reheat well.
Picking your canned tuna
Chunk light and solid white (albacore) behave differently here, not just in price. Chunk light flakes apart easily and blends into the pasta almost invisibly, which is what this recipe is built around. Solid albacore holds together in larger pieces and has a milder, slightly firmer bite — good if you want the tuna to stand out rather than distribute evenly through the dish.
Oil-packed versus water-packed is mostly a texture and flavor choice at this point. Oil-packed tuna is richer and slightly moister, which can mean using a touch less of the added olive oil in the dressing. Water-packed is more neutral-tasting and drains cleaner, which is why it’s the default here — but either works once it’s drained well.
Why pasta shape and dressing choice actually matter
Thinner pasta shapes like spaghetti or angel hair have more surface area relative to their width, so they pick up more starch and stick together once they cool and sit in the fridge for a few days — part of why rotini or penne, with their ridges and tube shape, hold up better for make-ahead meals.
The dressing choice matters for the same reason mentioned earlier with reheating: mayonnaise is an emulsion of egg and oil, and that emulsion can break apart when heated, turning watery and separated. An olive oil and lemon dressing isn’t an emulsion in the same way, so it doesn’t have that failure point — it just warms up as-is.
Simple swaps
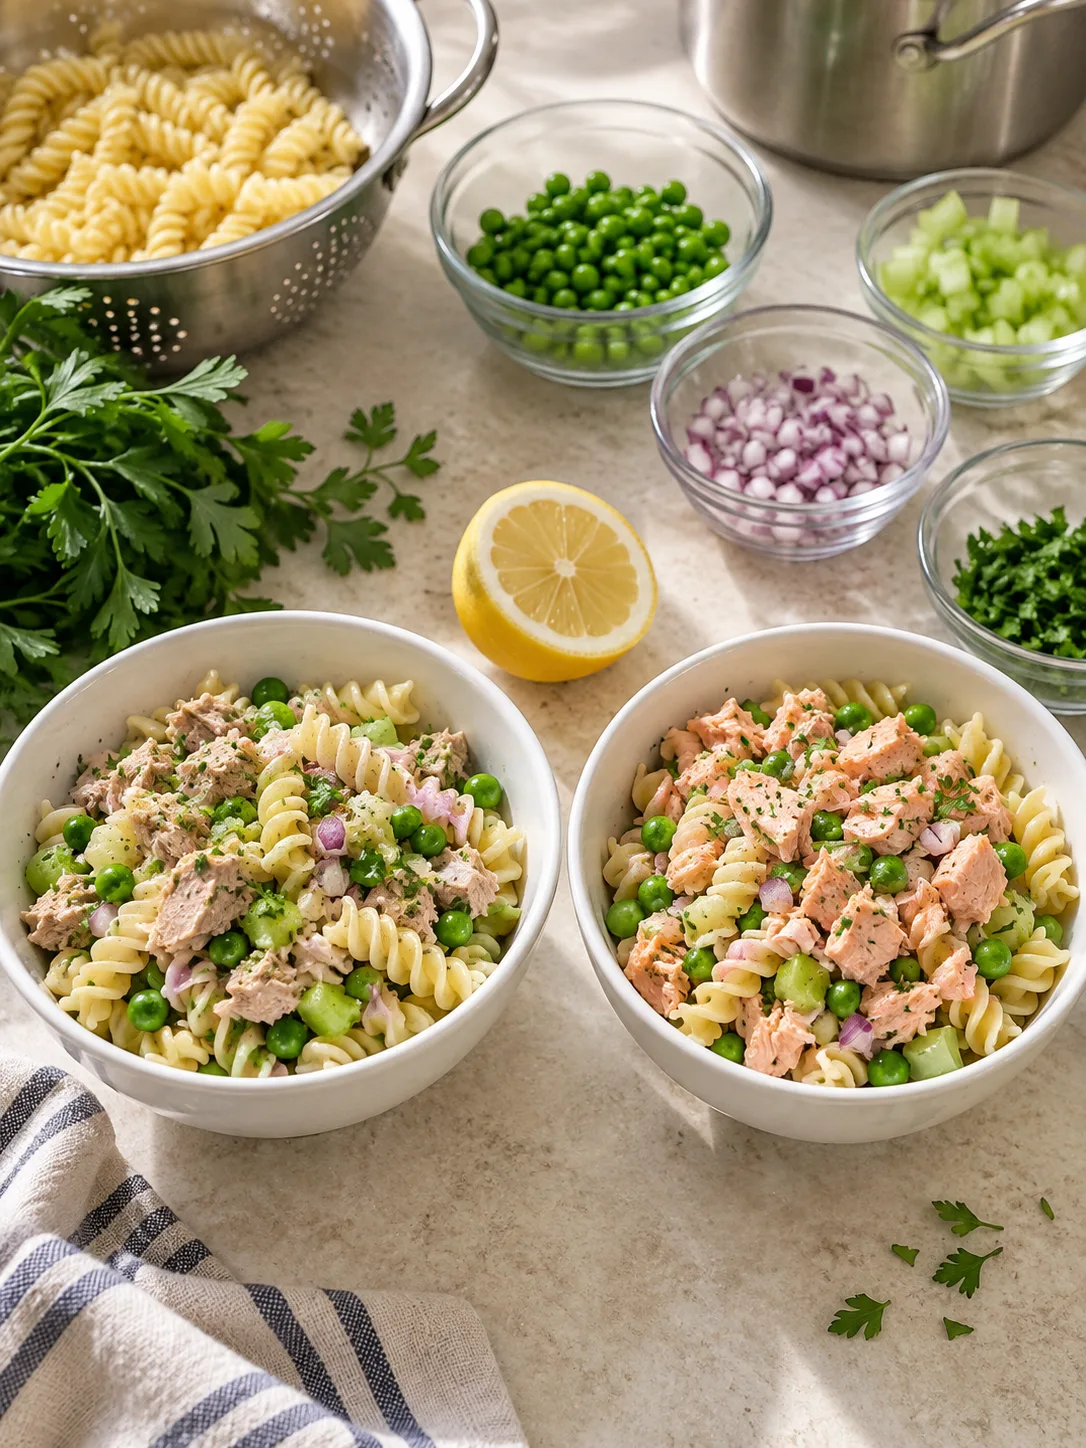
- Canned salmon instead of tuna — usually a bit more expensive, different flavour, same method.
- Add canned chickpeas — a half cup stretches the batch and adds plant protein and fibre.
- Whole wheat pasta — more fibre, slightly different texture, same cost range.
- Avoid thin pasta shapes — spaghetti and angel hair clump together in the fridge; stick to rotini, penne, or similar.
Frequently asked questions
Can I eat this cold straight from the fridge?

Yes — that’s actually how this recipe is designed to be eaten. It works well for offices without a microwave, since nothing here needs to be heated to taste good.
Does it matter which type of canned tuna I use?
Tuna in water keeps the cost and calorie count lower than tuna in oil, and works better with the olive oil dressing in this recipe. Either works — just drain thoroughly either way.
Why pull the pasta before it’s fully cooked?
Pasta keeps softening slightly as it sits, even after draining. Pulling it a minute early and letting it cool before mixing keeps the texture right by the time you actually eat it three days later.
Related reading: Best Cheap Protein Sources by Cost Per Gram, the budget protein grocery list, and High-Protein Chicken Rice Meal Prep Bowls if you want a hot-meal option alongside this one.