
High-Protein Cottage Cheese Ice Cream
Blended cottage cheese frozen into something close to soft-serve has been a real viral trend, usually shown made in a specific frozen-dessert machine most people don’t own. This version uses a regular blender or food processor and the freezer instead — a bit more hands-on, no special appliance required, same result.
It’s also a useful recipe to keep in mind for anyone trying to hit a protein target who’s genuinely tired of savoury food by the end of the day. A lot of high-protein eating advice skews toward chicken, eggs, and rice, and having a dessert-shaped option that still counts meaningfully toward the day’s total is a real, practical help for sticking with it long-term rather than a gimmick.
| Estimated cost per serving | Cheap |
| Protein per serving | ~20–24g* |
| Prep time | 10 minutes |
| Freeze time | 2–3 hours |
| Servings | 2 |
| Equipment | Blender or food processor |
*Protein is an estimate. Actual values depend on your exact ingredients and portions.
Why cottage cheese, specifically, works here
Cottage cheese has a lumpy, distinctly non-smooth texture straight from the tub, which makes it an odd-seeming choice for a smooth frozen dessert — until you realize that the curds are mostly held together by surface tension rather than a tough structure, and they break down completely under a blender’s blades in under a minute. What’s left once that happens is a thick, protein-dense, slightly tangy base that behaves a lot like a yogurt or cream cheese base once frozen, rather than anything resembling the cottage cheese most people picture. The tang that remains even after blending is part of why vanilla, cocoa, or fruit flavourings work so well here — they’re playing a similar role to the flavourings in a traditional ice cream base, covering a mild background tang rather than masking something unpleasant.
Ingredients

- 1 cup cottage cheese
- 1 frozen banana, sliced
- 1 tbsp honey or maple syrup
- 1/2 tsp vanilla extract
- Pinch of salt
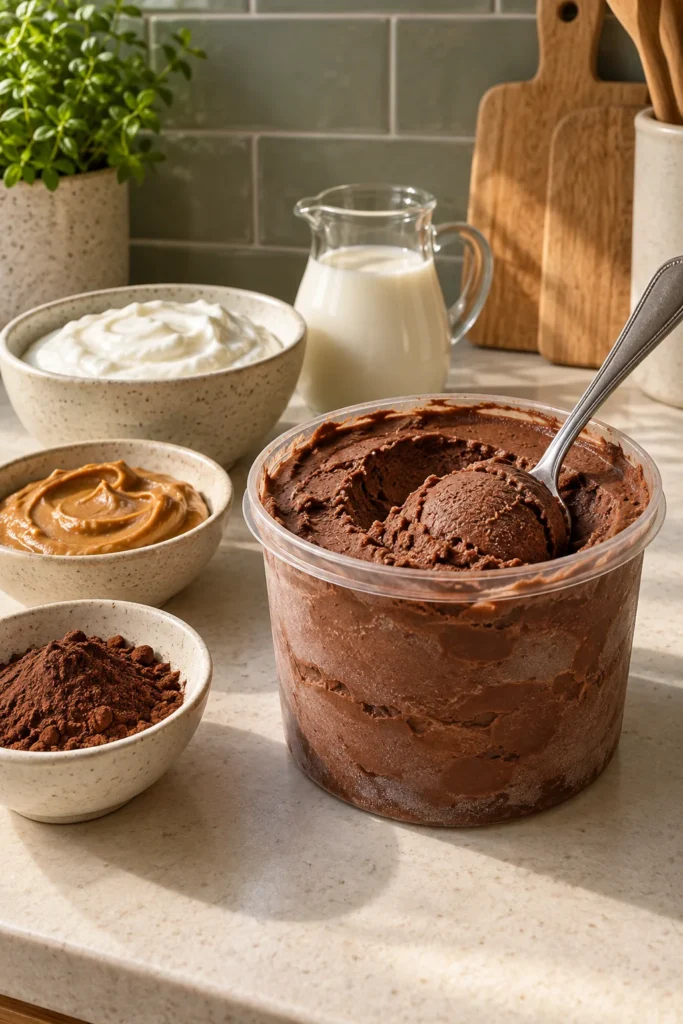
- Optional: 2 tbsp cocoa powder, or 1/2 cup frozen berries
How to make it
- Blend the cottage cheese alone first until completely smooth, about 60 seconds, scraping down the sides as needed.
- Add the frozen banana, honey, vanilla, salt, and cocoa powder or berries if using. Blend again until smooth and thick — it will look close to soft-serve consistency at this point, and is good to eat right away like that.
- For a firmer, scoopable texture, transfer to a freezer-safe container and freeze 2–3 hours.
- If frozen solid, let it sit at room temperature for 10 minutes before scooping, or pulse it briefly in the food processor again to soften.
Frozen-dessert machine method
- Use a ripe fresh banana, or thaw the frozen banana just enough to blend. Blend every ingredient until completely smooth.
- Pour into the machine’s freezer container without passing its fill line. Freeze level for 24 hours.
- Process on the manufacturer’s light ice cream or equivalent setting. If it looks powdery after the first cycle, add 1 tablespoon of milk and re-spin once.

High-protein freezer pops
Blend the recipe as written, divide it among popsicle moulds, insert the sticks, and freeze for at least 6 hours. Run the outside of a mould under lukewarm water for 10–15 seconds to release one. This is the easiest format for a doubled batch because every serving stays separate and there is no hard tub to re-soften.

Which method is best?
- Best immediate texture: blender soft-serve. Eat it straight after blending for the creamiest result with no waiting.
- Best scoopable texture: frozen-dessert machine. It breaks up ice crystals more evenly and stays closest to a commercial pint.
- Best for storing a batch: freezer pops. They are already portioned and never need thawing and re-scooping.
- Best no-special-equipment compromise: shallow container. Freeze for only 2–3 hours and serve the same day.
Cost and protein breakdown
- 1 cup cottage cheese — the main protein source, a fraction of the cost of a tub of protein ice cream from the store
- Frozen banana — cheap, and also doing the job cream would do in regular ice cream, adding body without needing cream or a custard base
- Total estimate — cheap to make, per serving
Protein lands around 20–24g per serving, almost entirely from the cottage cheese — comparable to a scoop of protein powder blended into a shake, minus the powder.
Why freeze the banana first
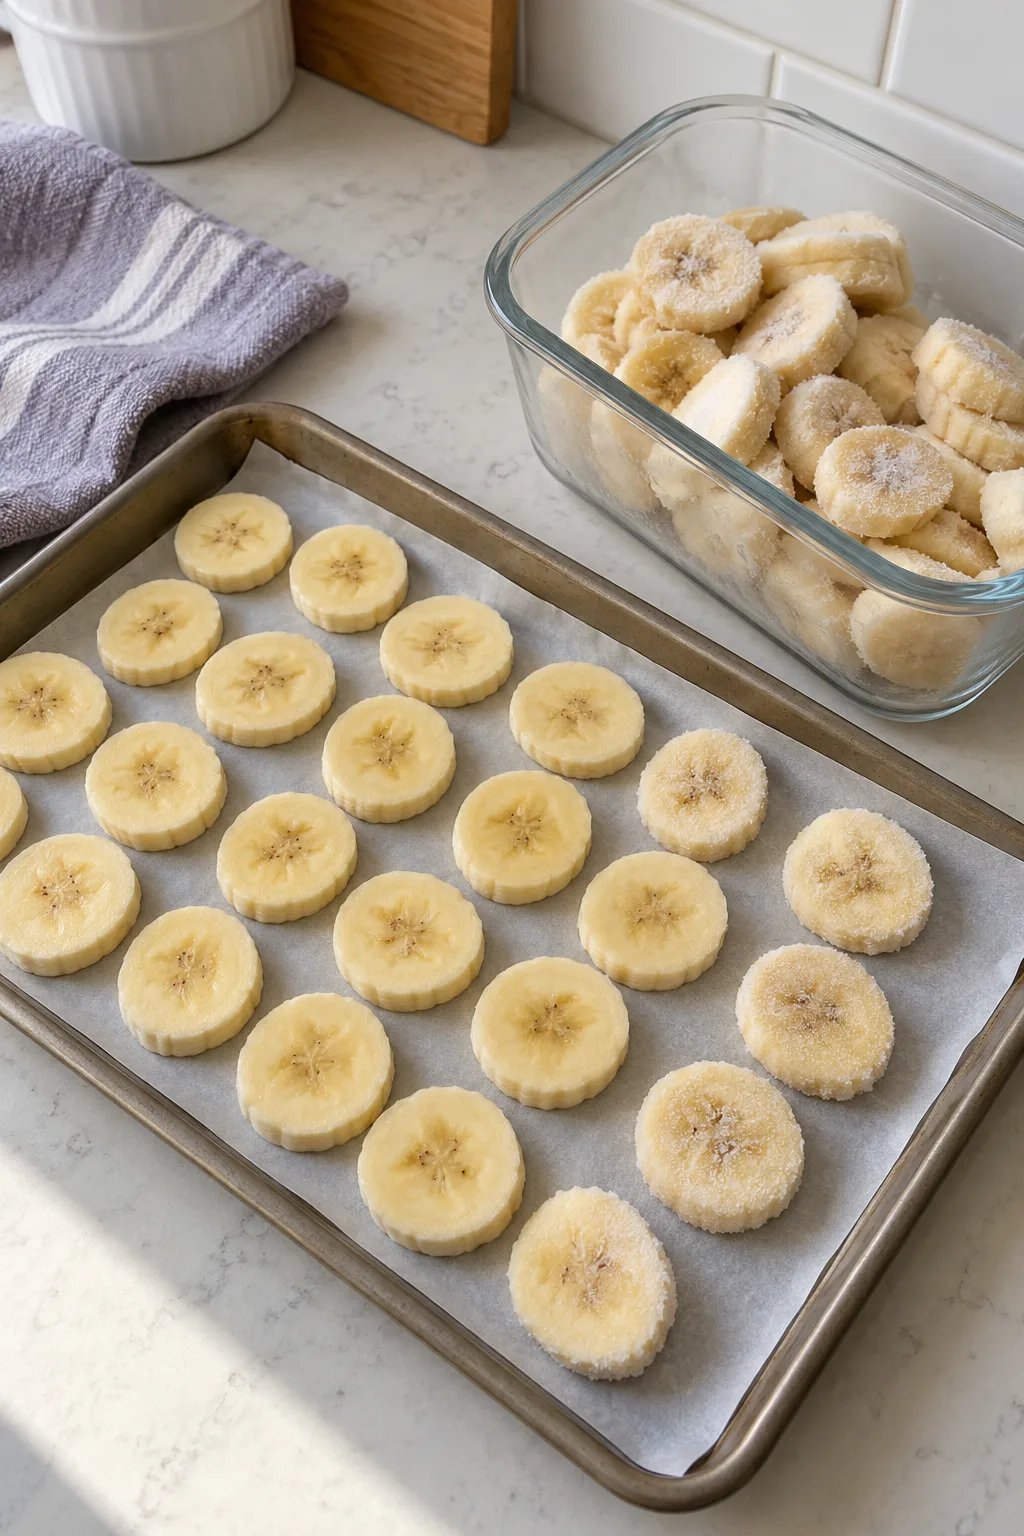
A frozen banana does two things a fresh one can’t: it thickens the blend immediately instead of making it watery, and it brings the whole mixture closer to freezing temperature before it even goes in the freezer, which shortens the final freeze time. Slice the banana before freezing — a whole frozen banana is much harder on a blender than pre-sliced frozen pieces.
A banana that’s starting to brown and spot is actually ideal for this, not a problem to avoid — it’s sweeter than a firm, underripe banana by the time it’s overripe, which means you can often use slightly less honey or maple syrup than the recipe calls for. This is part of why freezing bananas right before they’d otherwise go to waste, mentioned in the cost section below, works out well twice over: it rescues food that would otherwise be thrown out, and it happens to be the exact ripeness stage that tastes best here.
Flavour variations
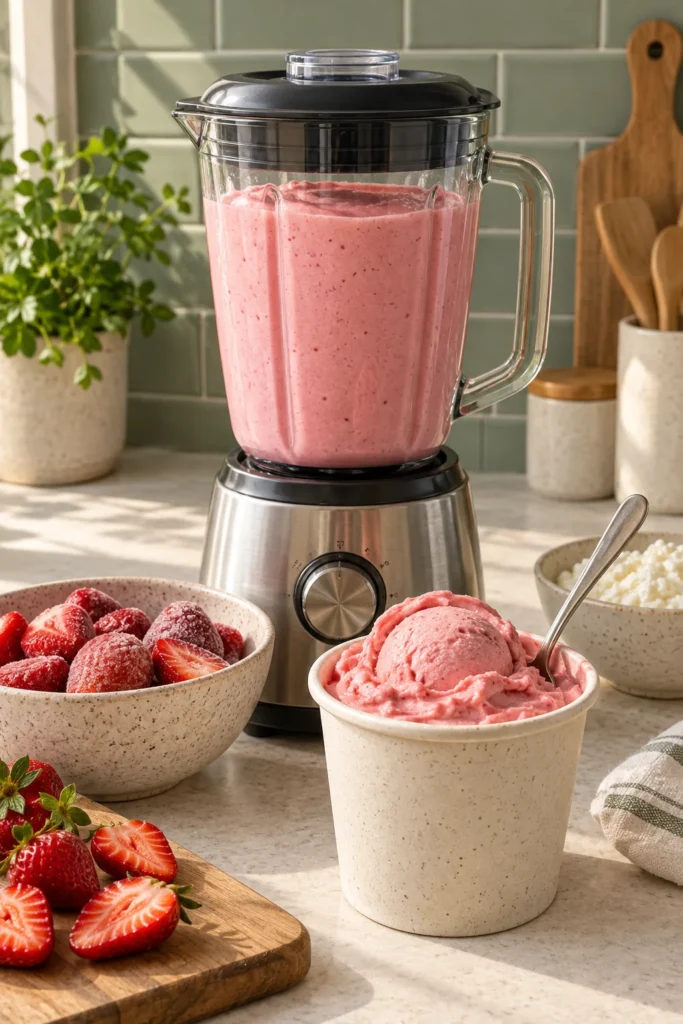
The banana-vanilla base here is the easiest entry point, but it’s built to take on almost any direction. For a peanut butter cup version, add a tablespoon of peanut butter along with the cocoa powder. For a strawberry version, swap the banana for a cup of frozen strawberries and reduce the honey slightly, since strawberries carry less natural sweetness than banana. For a coffee version, add a teaspoon of instant coffee granules dissolved in a small splash of hot water before blending, which gives a mocha-adjacent result when paired with the optional cocoa powder. Every variation uses the same cup of cottage cheese as the protein base, so the protein count barely shifts between them — only the flavour changes.

Scaling it up for a family-size batch
For a double or triple batch, blend one recipe at a time so the cottage cheese turns fully smooth. Divide the finished mixture into single-serving shallow containers or popsicle moulds before freezing. Individual portions freeze faster, soften more evenly, and prevent the whole batch from being thawed and refrozen each time someone wants one serving.
How this compares to store-bought protein ice cream
The specialty protein ice cream pints that inspired this trend typically cost several times more per serving than this version, and most of that price difference is paying for texture engineering (stabilizers, specific fat ratios, sometimes a liquid nitrogen or specialized churning process) that keeps the product scoopable straight from a home freezer for months. This blender-and-freezer version trades some of that shelf life and scoop-ability for a dramatically lower cost and a much shorter ingredient list, which is a reasonable trade for something you’re going to eat within a few days anyway.
Common mistakes
Skipping the cottage-cheese-alone blending step. Dumping everything into the blender at once, rather than blending the cottage cheese completely smooth first, is the most common reason people end up with a lumpy result that still tastes faintly of cottage cheese curds.
Freezing it in a container that’s too deep. A tall, narrow container takes much longer to freeze through evenly than a shallow, wide one with more surface area exposed to the cold. A shallow container also makes it easier to scoop once frozen, since you’re not digging down through several inches of hard-frozen dessert.
Forgetting it entirely in the freezer and finding it rock solid days later. Without stabilizers, this freezes harder than store-bought ice cream. Plan on the 10-minute room-temperature rest or a quick food processor pulse mentioned in the instructions rather than trying to scoop it straight from a hard freeze.
How to make it cheaper
- Freeze bananas that are about to go brown instead of throwing them out — peel, slice, and freeze in a bag, ready whenever you want this.
- Skip the cocoa powder or berries — the banana and cottage cheese base is already good plain.
- Use store-brand cottage cheese. Blended smooth, there’s no texture or flavour penalty.
Storage
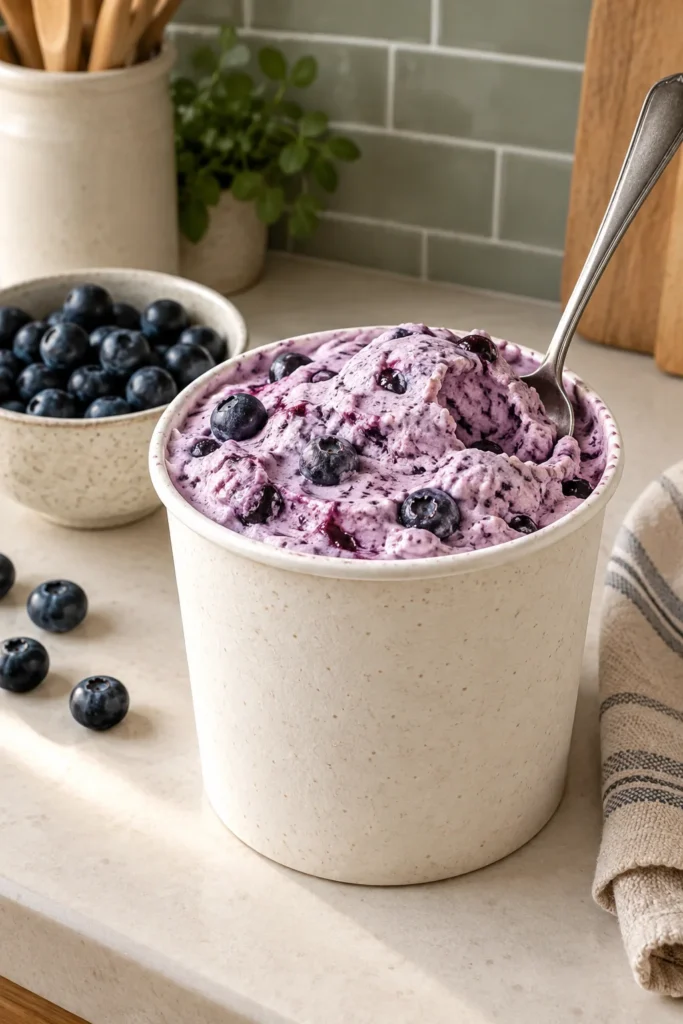
For the best texture, freeze in a shallow airtight container and use within about 2 weeks. Label individual portions with the flavour and date. Let a container stand at room temperature for 10–15 minutes before scooping; avoid repeatedly softening and refreezing the same tub, which makes the ice crystals larger.
Press parchment directly onto the surface before sealing a tub to reduce frost. For grab-and-go portions, freezer pops or small lidded containers store better than one deep family-size tub.

Frequently asked questions
Will this taste like cottage cheese?
The banana, sweetener, and vanilla or cocoa make it taste much closer to fruit or chocolate soft-serve, though a mild dairy tang can remain. Blending the cottage cheese completely smooth on its own first removes the curd texture; cocoa or peanut butter covers the tang most strongly.
Can I skip the banana for a lower-carb version?
Yes, but the banana supplies most of the body. Replace it with 3/4 cup frozen berries and 1 tablespoon peanut butter or cream cheese for a lower-sugar version with a less banana-forward flavour. Add sweetener to taste and expect a slightly icier texture.
My blender is struggling with the frozen banana — what do I do?
Let the banana sit at room temperature for 2–3 minutes to soften very slightly, or use a food processor instead, which generally handles frozen fruit better than a standard blender. Pulsing in short bursts rather than running continuously also helps.
Can I use low-fat or fat-free cottage cheese?
Yes, and it’s a direct swap — fat content doesn’t meaningfully change how well cottage cheese blends smooth. The main difference is a slightly less rich mouthfeel in the finished product, since fat is part of what gives any frozen dessert its creaminess, cottage-cheese-based or not.
Do I need to drain the cottage cheese first?
No — the liquid in cottage cheese blends right in and becomes part of the base rather than a problem to remove. Draining it would actually reduce the final yield without improving the result.
What’s the “nice cream” trend, and is this the same thing?
“Nice cream” usually refers to frozen banana blended alone into a soft-serve texture, with no dairy at all. This recipe borrows the same frozen-banana trick for texture but adds cottage cheese specifically to push the protein count far higher than a banana-only version would ever reach — a plain nice cream might carry 1–2g of protein per serving, where this version carries 20g or more.
Can kids eat this, or is it too tangy for them?
Most kids who like regular ice cream or smoothies don’t notice much tang once the banana, sweetener, and vanilla or cocoa are blended in — it reads closer to a milkshake than a savoury dairy product. If you’re introducing it to a picky eater, the chocolate version tends to be the easiest sell, since cocoa powder covers more of any remaining tang than vanilla alone does.
Related reading: Budget High-Protein Smoothie, Cottage Cheese Mac and Cheese, and High-Protein No-Bake Pumpkin Cheesecake.