
Freezer Breakfast Burritos (Budget)
A portable format that nothing else on this site covers — the egg and potato breakfast is a container meal, the egg muffins are bite-sized. This wraps the same basic ingredients into something you eat with one hand on the way out the door, and it freezes better than almost any other egg dish on the site.
| Estimated cost per burrito | Cheap |
| Protein per burrito | ~22–26g* |
| Prep time | 20 minutes |
| Cook time | 15 minutes |
| Yield | 6 burritos |
| Freezer-friendly | Yes |
*Protein is an estimate. Actual values depend on your exact ingredients and portions.
Setting up an assembly line
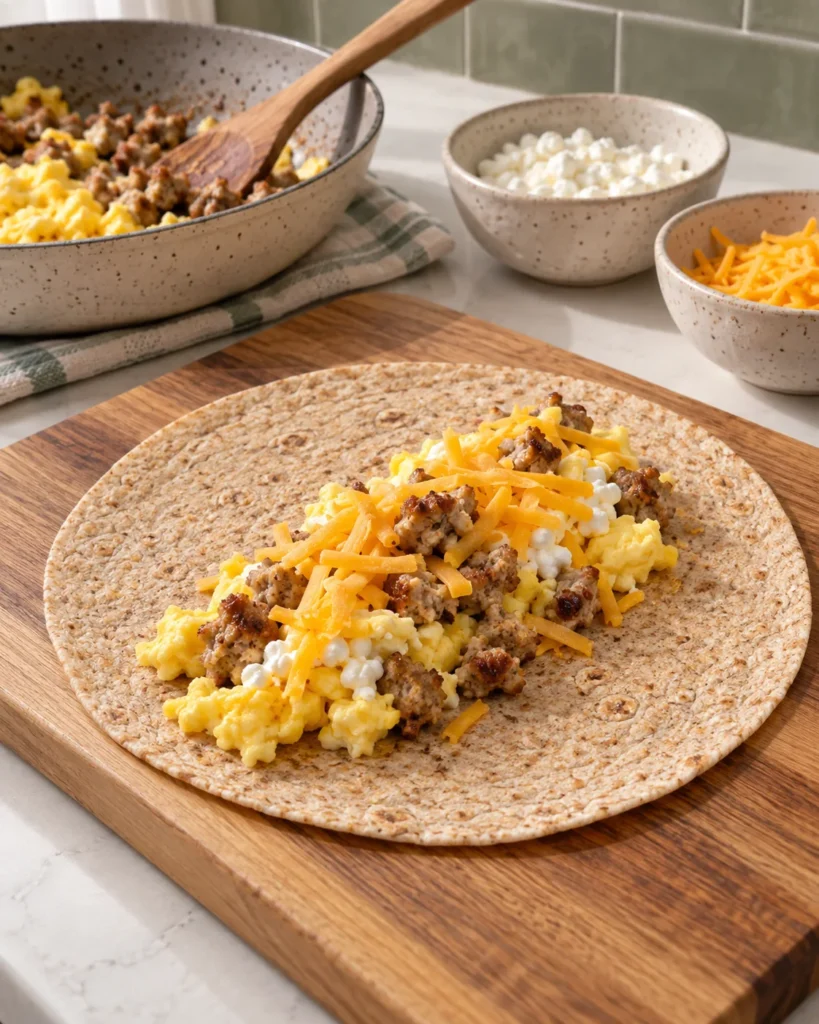
Making six burritos one at a time, cooking each component fresh for each one, takes far longer than it needs to. Cook all the eggs at once, cook all the hash browns at once, warm all the beans at once — then lay all six tortillas out on the counter and fill them assembly-line style, one ingredient at a time across all six before moving to the next. This is the difference between a 20-minute prep session and something closer to 40, and it’s the same logic that makes any batch-cooked meal prep faster than cooking six individual meals back to back. A large cutting board or clean section of counter laid out with six open tortillas gives you room to work down the line efficiently, rather than filling and rolling each one fully before starting the next.
Ingredients
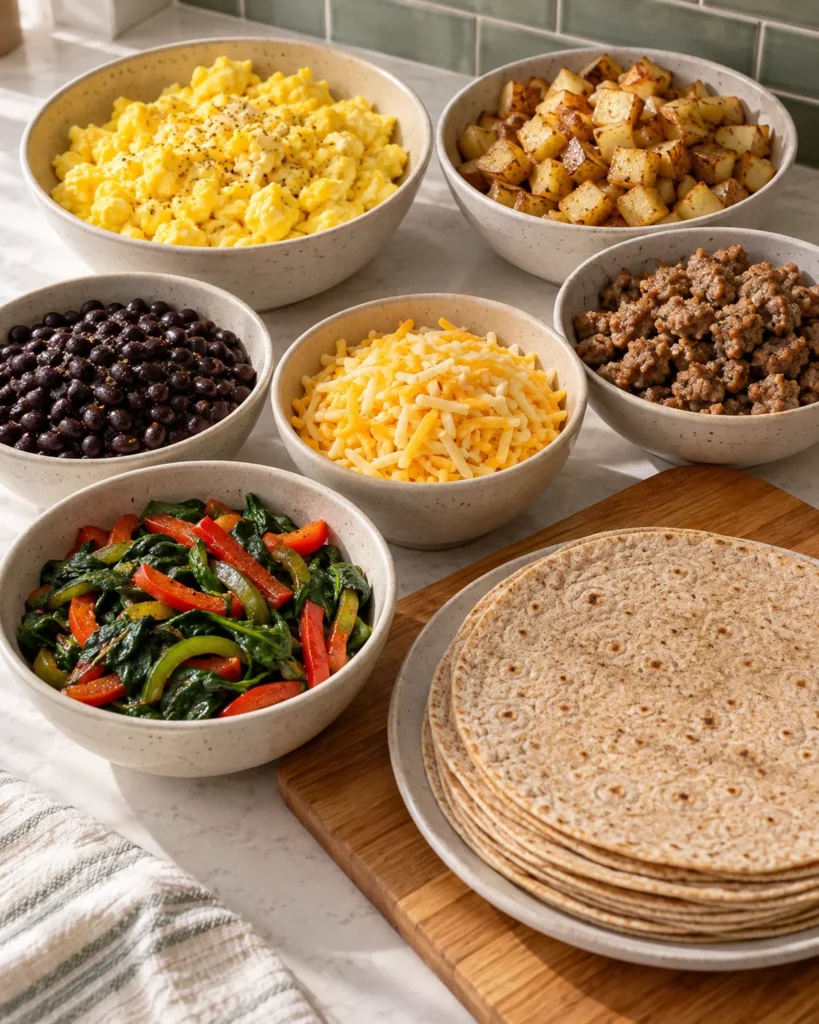
- 10 large eggs
- 2 cups frozen diced hash browns
- 1 cup diced cooked ham or turkey bacon, optional
- 1 cup shredded cheese
- 1 can (398mL) black beans, drained and rinsed
- 6 large flour tortillas
- Salt and pepper to taste
- Salsa or hot sauce, optional
How to make them
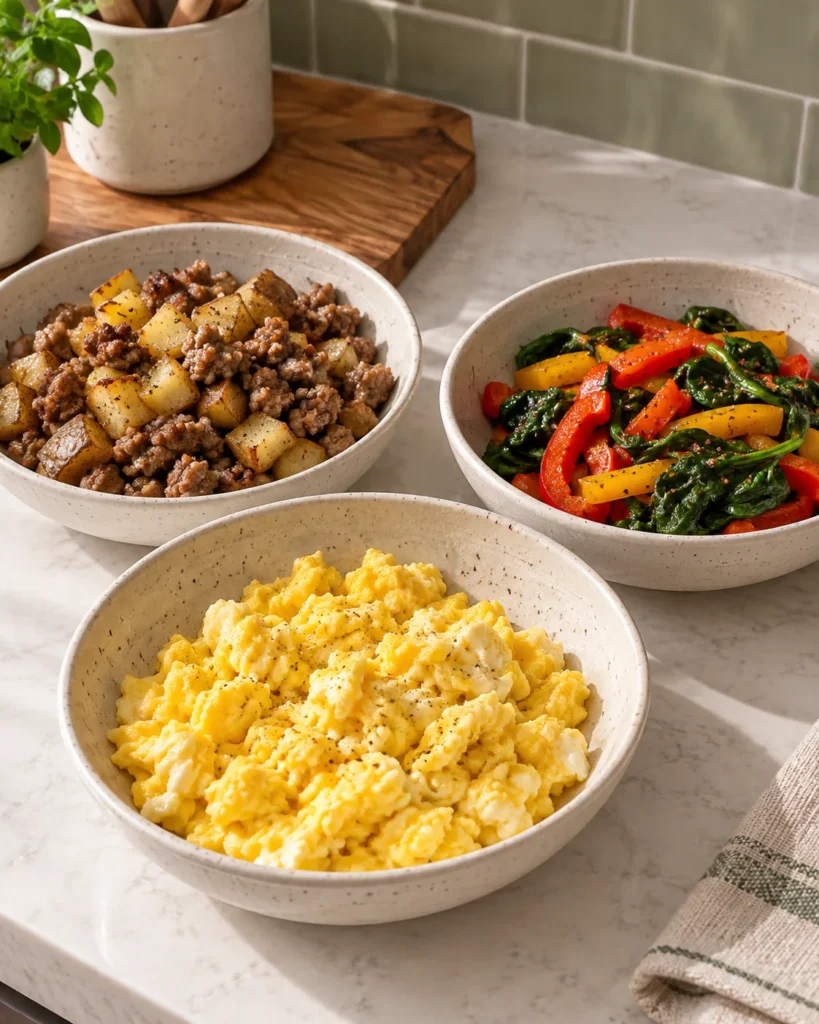
- Cook the frozen hash browns in a large skillet over medium heat until golden, about 8–10 minutes. Set aside.
- In the same skillet, whisk and scramble the eggs with salt and pepper until just set, about 4–5 minutes.
- Warm the black beans separately, either in the skillet or the microwave.
- If freezing, spread the eggs, hash browns, and beans on plates or a sheet pan for 15–20 minutes, until they are no longer steaming. Cooling the filling before rolling prevents condensation from soaking the tortillas.
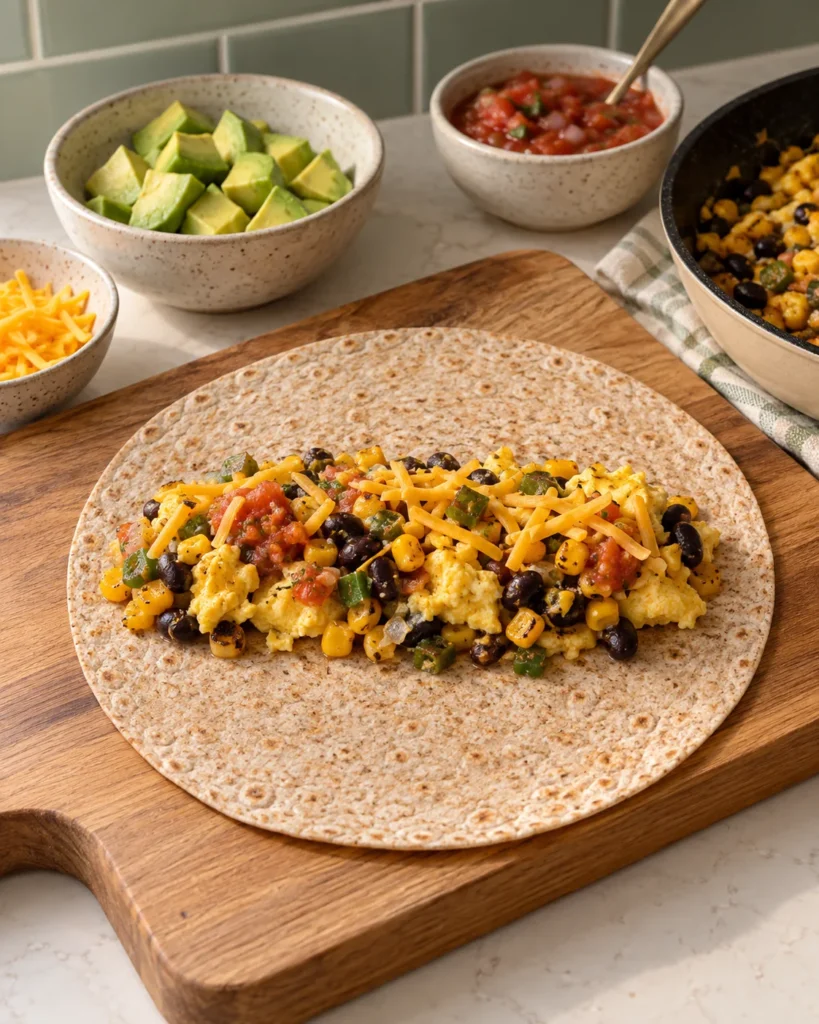
- Lay out the tortillas. Divide the hash browns, eggs, black beans, meat if using, and cheese evenly among them, placing the filling slightly below centre.
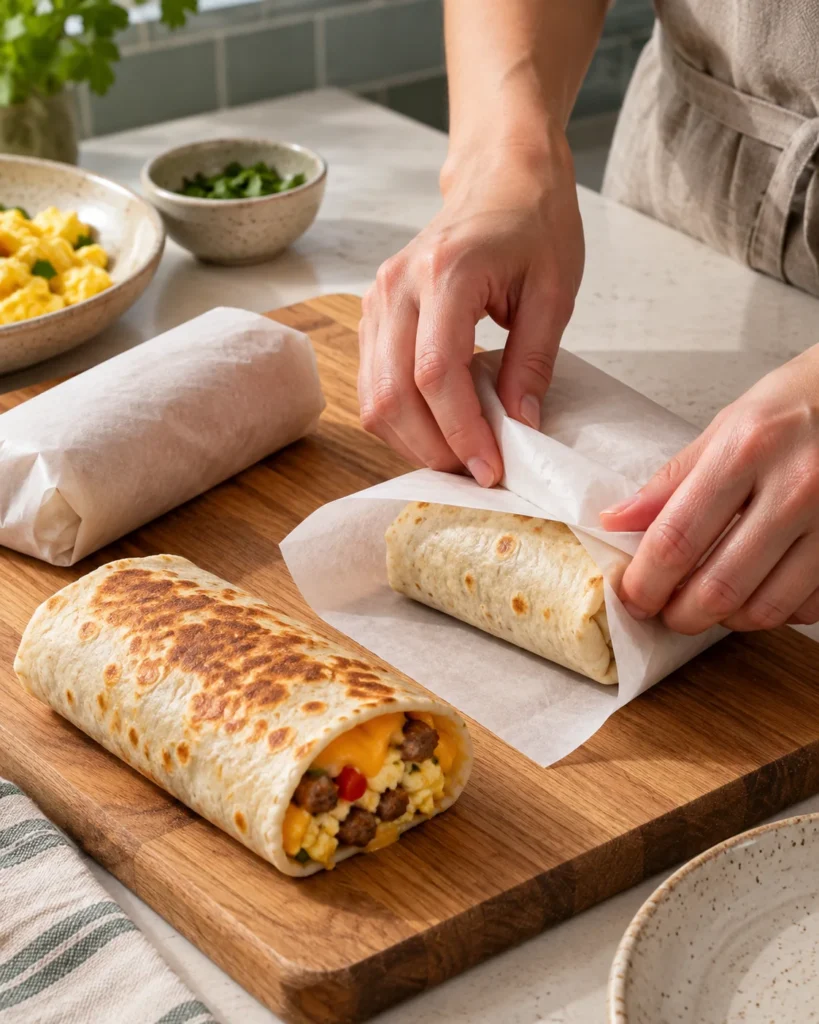
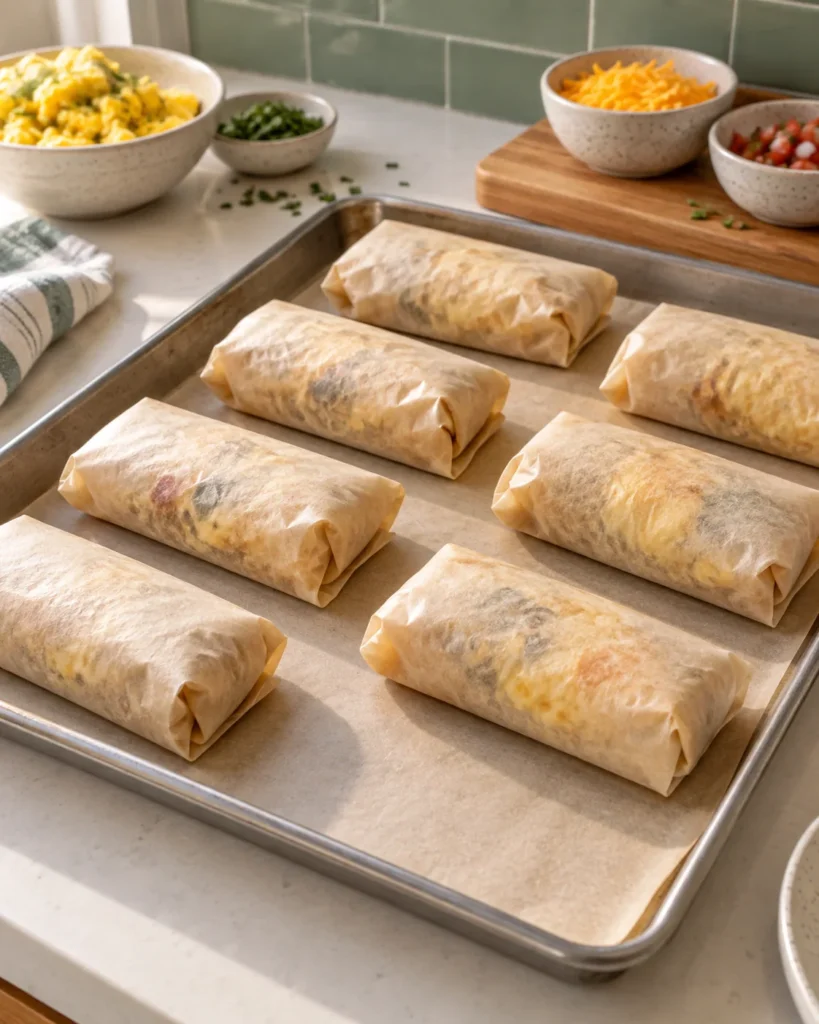
- Fold in the sides, then roll tightly from the bottom up. If freezing, wrap each burrito individually in foil or plastic wrap before storing.
Cost and protein breakdown
- 10 eggs and black beans — the main protein sources, both inexpensive
- Hash browns, tortillas, cheese — the bulk and the wrap, a moderate cost
- Total estimate — cheap to make, per burrito
Protein lands around 22–26g per burrito, combining the eggs with the black beans — a complete breakfast in one hand-held package, and enough that one burrito alone is a legitimate full meal rather than something you need to pair with a side to feel satisfied.
Rolling a burrito that doesn’t fall apart
Don’t overfill — a thinner, tighter roll holds together far better than a stuffed one that’s straining at the seams. Fold the two sides in first, then roll from the bottom, keeping the filling compact and centred as you go. Warming the tortilla for 15 seconds in the microwave before filling it makes it more pliable and less likely to crack along the fold.

Placing the filling slightly below centre, rather than dead centre, also matters more than it seems like it should. It leaves enough bare tortilla above the filling to fold down and seal the top before the side-and-bottom roll, which is what keeps everything contained through a full freeze-and-reheat cycle rather than just a single meal eaten right away. A burrito rolled for immediate eating can get away with being a little looser than one that needs to survive being frozen, thawed, and reheated without falling apart in your hand.
Foil vs. plastic wrap vs. parchment
Foil is the standard choice because it does double duty — it’s the wrapping for freezer storage, and it’s also what you reheat the burrito in if you’re using the oven method, so there’s no unwrapping and rewrapping involved. Plastic wrap is a reasonable short-term fridge option but shouldn’t go straight into a microwave, and it offers less protection against freezer burn over a longer stretch in the freezer than foil does. Parchment paper, wrapped and then placed in a freezer bag, is a middle option if you’re trying to cut down on foil use — it doesn’t double as a reheating vessel the way foil does, but it keeps burritos from sticking to each other in the freezer just as well.
Flavour variations
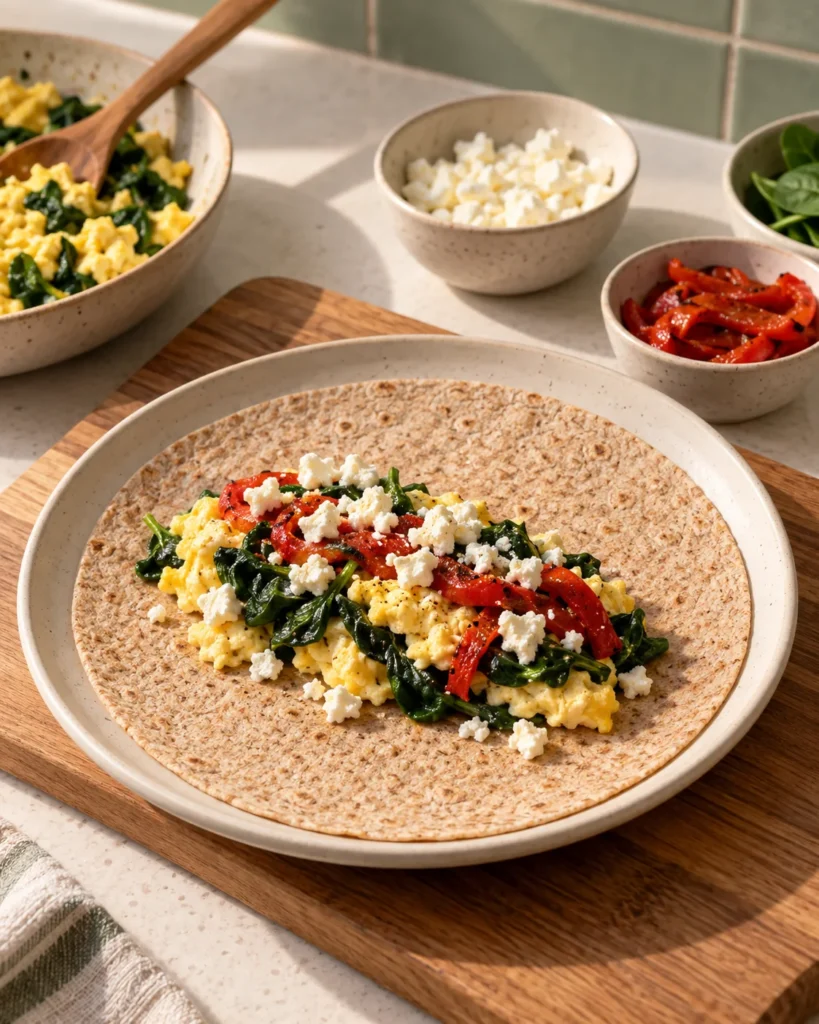
The egg-hash brown-bean base is intentionally neutral so it can go several directions. For a Southwest version, add diced bell pepper and a pinch of cumin and chili powder to the eggs as they scramble, and use pepper jack instead of a plain cheddar. For a breakfast-for-dinner version, swap the hash browns for leftover cooked rice and add a scoop of leftover cooked ground beef or chicken if you have it — this moves it further from a breakfast burrito and closer to an any-time-of-day one, which is fine, since the ingredients don’t actually care what time it is. For a vegetarian version, simply skip the ham and lean a bit more on the black beans and cheese for protein and bulk.
Common mistakes
Overfilling, as mentioned above, but specifically with wet ingredients. A burrito can hold a surprising amount of dry filling like hash browns and cheese, but wet ingredients like salsa or extra-juicy scrambled eggs push it toward falling apart much faster. Keep any moisture-heavy add-ins light.
Scrambling the eggs too wet. Eggs that are slightly underdone when rolled into the burrito keep cooking a little from residual heat and steam inside the wrap, which can leave them undercooked by the time you eat it, especially if you’re eating it cold or barely reheated. Cook them to just set, not visibly runny, before filling.
Freezing them touching each other unwrapped. Burritos frozen in a pile without individual wrapping fuse together and are a pain to separate later. Individual wrapping, as the recipe calls for, is the step that makes grab-one-at-a-time actually convenient three weeks from now.
Scaling up for a full month of freezer breakfasts
Because every component here — eggs, hash browns, beans, cheese — scales up cleanly, this is a genuinely practical recipe to triple or quadruple in one cooking session if you’re trying to stock the freezer for a month rather than a week. The main bottleneck is skillet space: scrambling 30 eggs’ worth of filling takes multiple batches in any home-sized pan, so budget extra time for that step specifically rather than assuming the whole process scales at the same rate as the ingredient list.
How to make them cheaper
- Skip the ham or bacon. Eggs and black beans alone already provide solid protein.
- Buy a large bag of frozen hash browns rather than fresh potatoes you’d dice yourself — faster and often cheaper per serving.
- Buy a large pack of tortillas. The per-tortilla cost drops noticeably compared to a small 6-count package.
- Buy eggs and cheese on sale and stock up. Both keep well enough (cheese in particular) that timing a larger purchase around a sale meaningfully lowers the average cost of this recipe over several batches.
How this compares to the other freezer breakfasts on this site
Of the three egg-based meal-prep breakfasts here, this is the only one built to be eaten with one hand and no plate. The egg and potato bowls need a container and a fork; the egg muffins are fork-free but still eaten from a small container or napkin. If your actual morning involves walking, driving, or otherwise not having a free surface to set a bowl down, this is the one built for that specific situation. If you do have a few minutes to sit down, the other two are slightly less effort to put together, since there’s no rolling or wrapping step involved.
Storage and freezing
- Fridge: wrap cooled burritos and refrigerate within 2 hours; use within 3–4 days.
- Freezer: freeze the individually wrapped burritos in a single layer, then transfer them to a labelled freezer bag for up to 3 months.
- Before reheating: remove plastic wrap or foil as required by the method below. Heat the centre to 165°F / 74°C and let the burrito stand for 1 minute before eating.
Best reheating methods
- Fastest — microwave: unwrap and cover with a paper towel. Heat from frozen at 50–70% power for 2 minutes, flip, then continue in 60-second intervals until the centre reaches 165°F / 74°C.
- Best for a full batch — oven: keep each burrito in foil and bake from frozen at 375°F / 190°C for 35–45 minutes. Open the foil for the last 5 minutes for a firmer tortilla.
- Best texture for one — air fryer: unwrap fully and cook from frozen at 350°F / 175°C for 15–18 minutes, flipping halfway, until the centre reaches 165°F / 74°C.
- Best after thawing — skillet: thaw overnight in the fridge, then cook covered over medium-low heat for 3–4 minutes per side, until hot through.
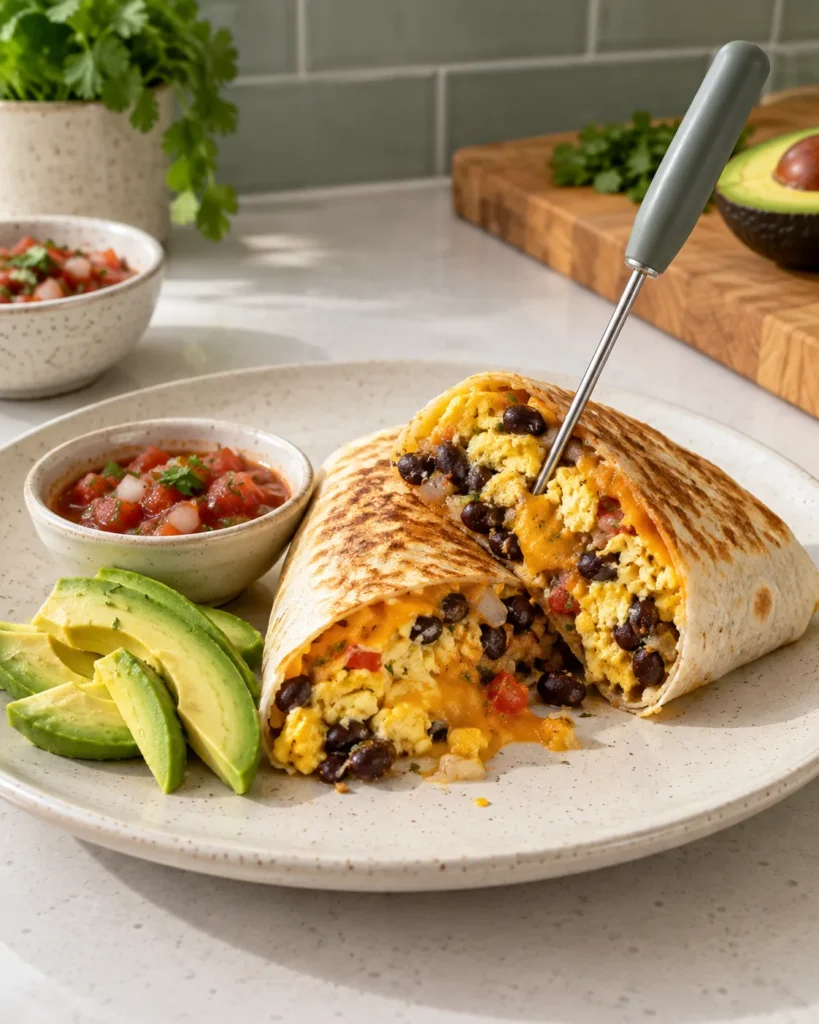
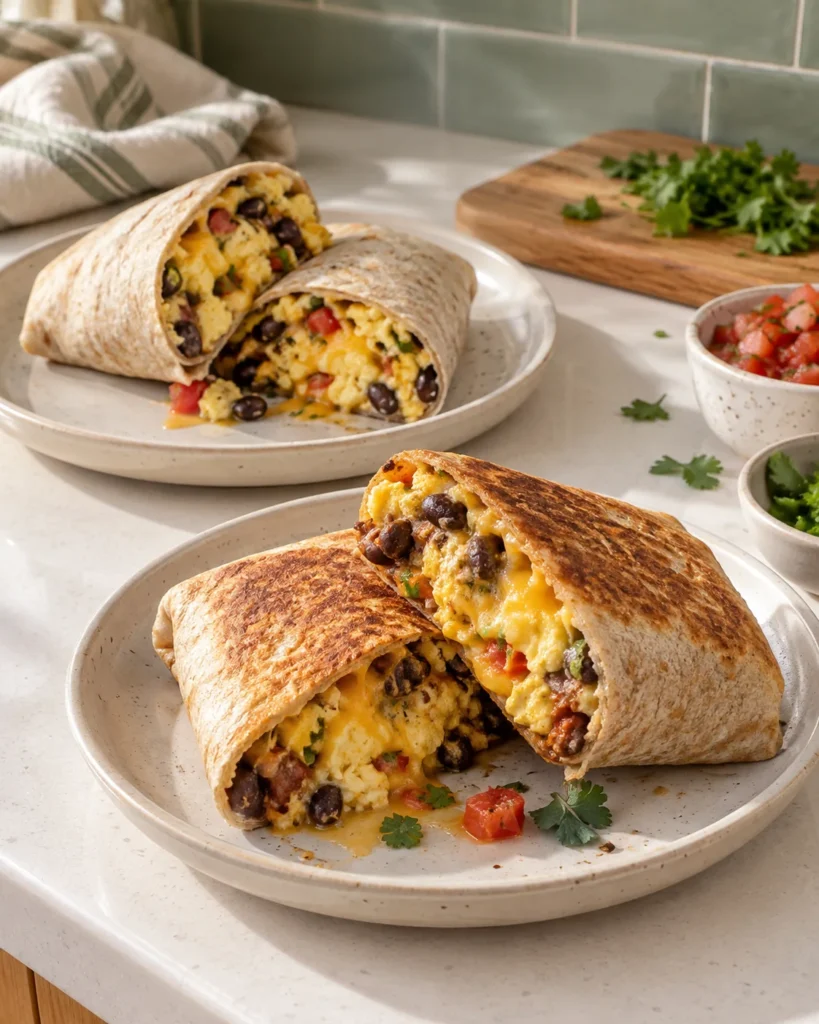
The microwave is best when speed matters, the air fryer gives the crispest single burrito, and the oven is the most efficient way to reheat several at once.
Frequently asked questions
Can I add salsa before freezing?
Better to skip it — salsa’s moisture makes the tortilla soggy over time in the freezer. Add fresh salsa or hot sauce after reheating instead.
Can I use egg whites instead of whole eggs?
Yes — use about 2 cups liquid egg whites for the 10 whole eggs and scramble them the same way. The burritos will be less rich, so keep the cheese or add 1 teaspoon of oil to the skillet for a better texture.
What’s the best tortilla size for this?
A large (10-inch) flour tortilla is the right size for the filling amounts in this recipe. A smaller tortilla either means less filling per burrito (and a lower protein count than listed) or a burrito that’s too stuffed to roll properly. Flour tortillas also hold up to freezing and reheating better than corn tortillas, which tend to crack and dry out more under the same treatment.
How long can these sit out before eating, if I’m taking one to work?
Treat it the same as any other egg dish — no more than about 2 hours at room temperature. If you’re grabbing a frozen one on your way out the door and won’t eat it within that window, it’s safer to reheat it fully before leaving rather than letting it slowly thaw and sit unrefrigerated through the morning.
Related reading: High-Protein Egg Muffins, Egg and Potato Breakfast Meal Prep, and Easy Freezer Meals on a Budget.