
High-Protein Black Bean Soup
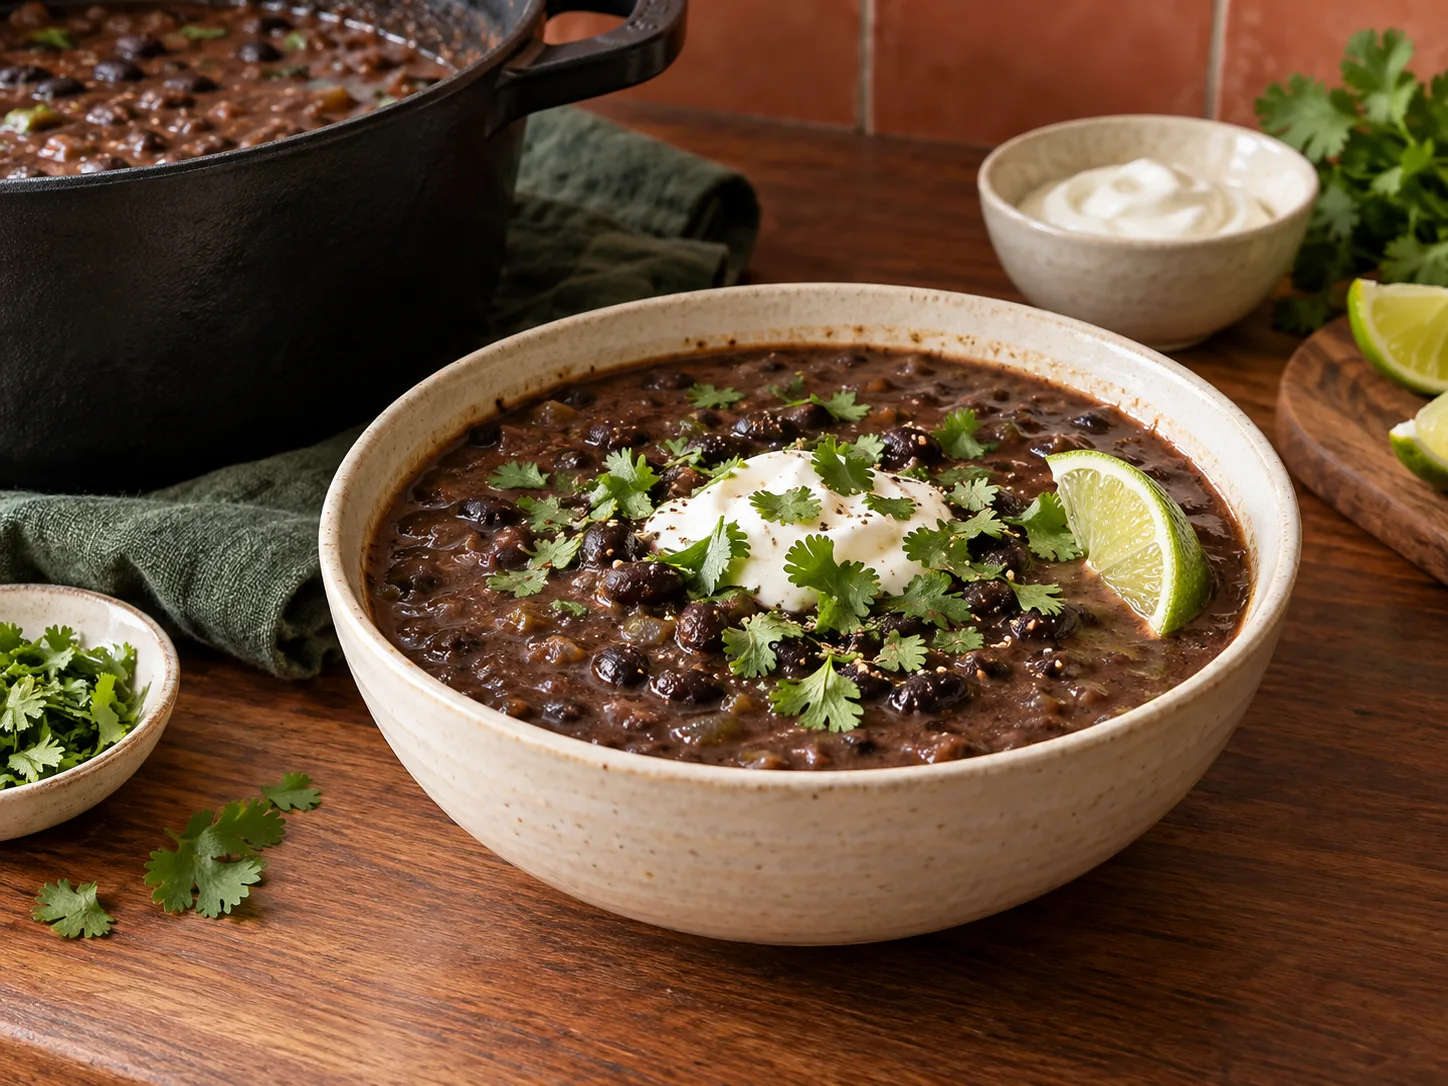
Canned black beans turn into a thick, satisfying soup in about 25 minutes — no dried-bean soaking, no long simmer. Blend half the batch and leave the rest whole for a soup that’s creamy in the base but still has real texture to it.
| Estimated cost per serving | Cheap |
| Protein per serving | ~13–16g* |
| Prep time | 10 minutes |
| Cook time | 20 minutes |
| Servings | 5 |
| Freezer-friendly | Yes |
*Protein is an estimate. Actual values depend on your exact ingredients and portions.
Why beans and rice together matter more than you’d think
Black beans are a genuinely good protein source, but like most plant proteins they’re a bit short on one specific amino acid (methionine) that grains happen to supply in larger amounts. Rice and other grains have the opposite gap — plenty of methionine, lower in the amino acids beans are rich in. Eaten together, even not in the same bite or the same meal, they cover for each other’s shortfall over the course of a day. This is less critical than older “complete protein” advice made it sound — your body holds onto amino acids from earlier meals rather than needing them paired in the same bite — but a bowl of this soup with rice on the side is still a genuinely more complete meal than the soup alone, and it costs almost nothing extra to add.
Ingredients
- 3 cans (540mL each) black beans, drained and rinsed
- 1 onion, diced
- 3 cloves garlic, minced
- 1 tsp cumin
- 1 tsp chili powder
- 4 cups vegetable or chicken broth
- 1 tbsp oil
- Juice of 1 lime
- Salt and pepper to taste
- Optional garnish: cilantro, sour cream or plain Greek yogurt

How to make it
- Heat the oil in a pot over medium heat. Cook the onion 4–5 minutes until softened, then add the garlic and cook 30 seconds more.
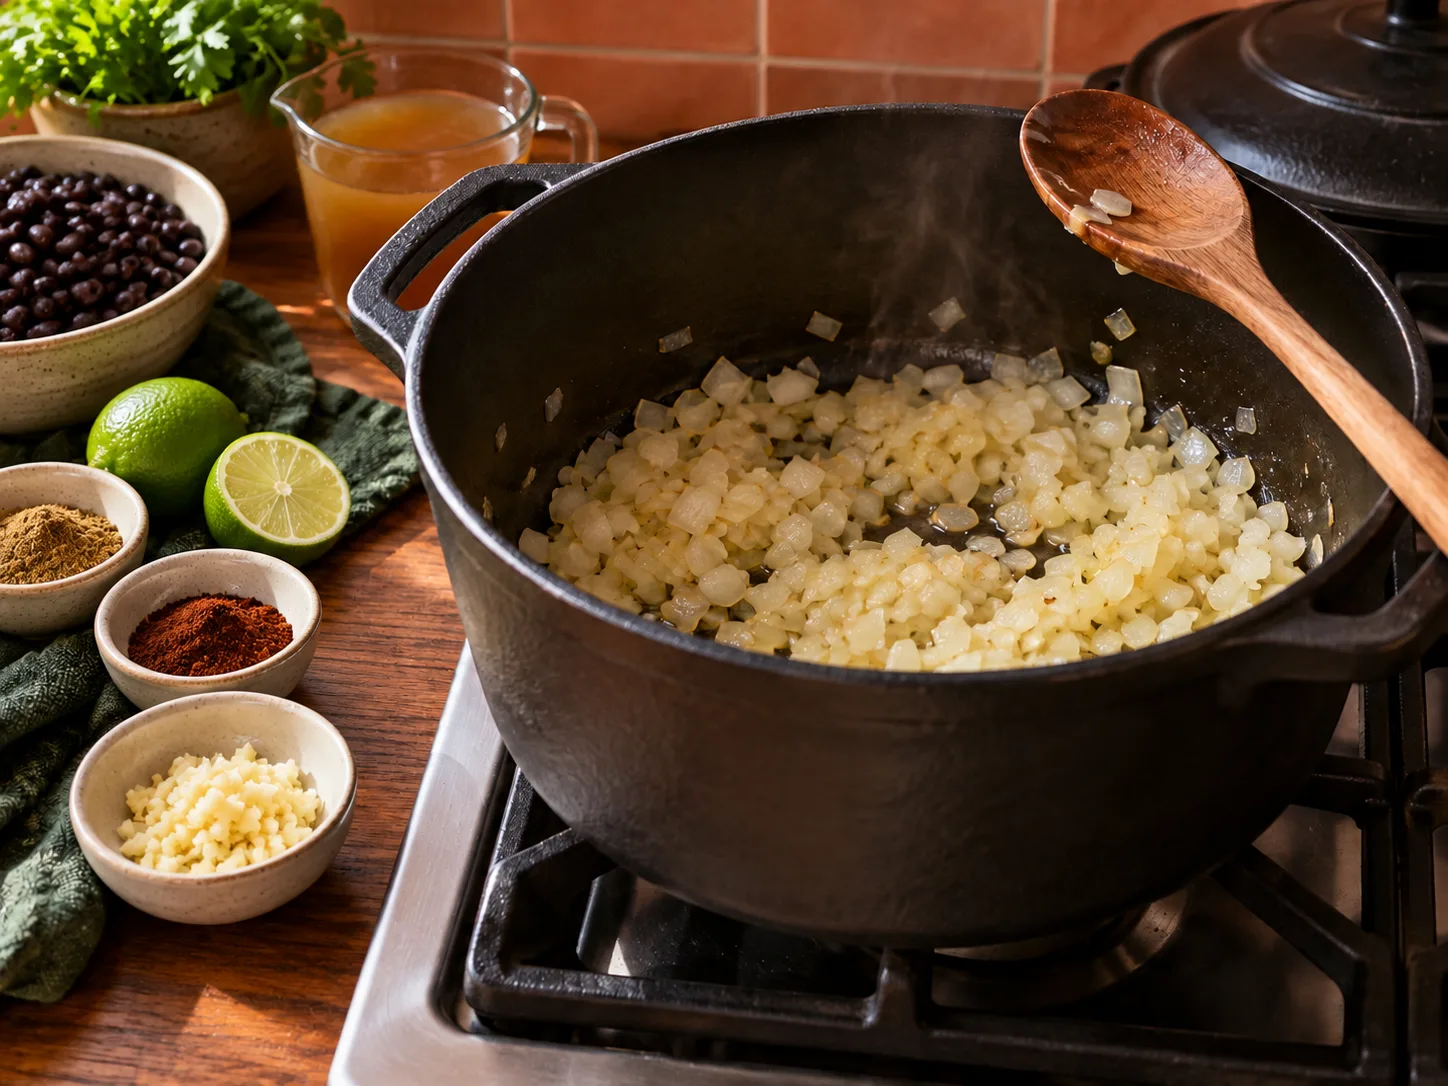
- Add the cumin and chili powder, stirring for 30 seconds to bloom the spices in the oil.

- Add the black beans and broth. Bring to a simmer and cook 15 minutes.

- Transfer half the soup to a blender and blend until smooth, then return it to the pot and stir to combine — this gives a creamy base while leaving plenty of whole beans for texture. Alternatively, use an immersion blender directly in the pot and pulse a few times rather than blending fully smooth.
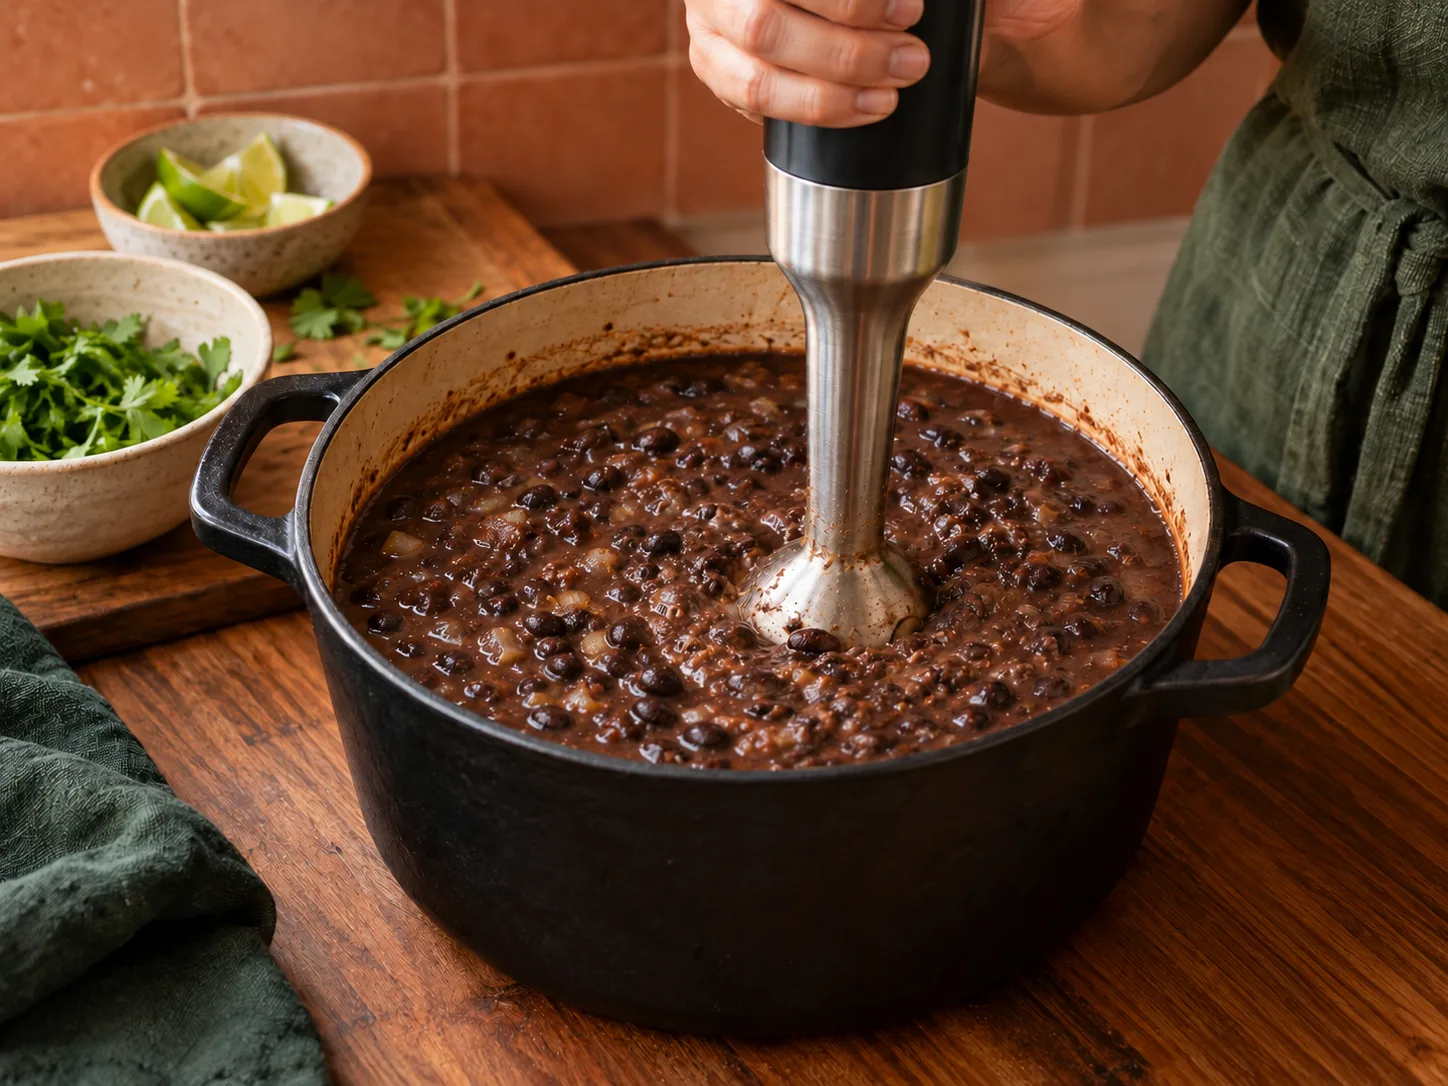
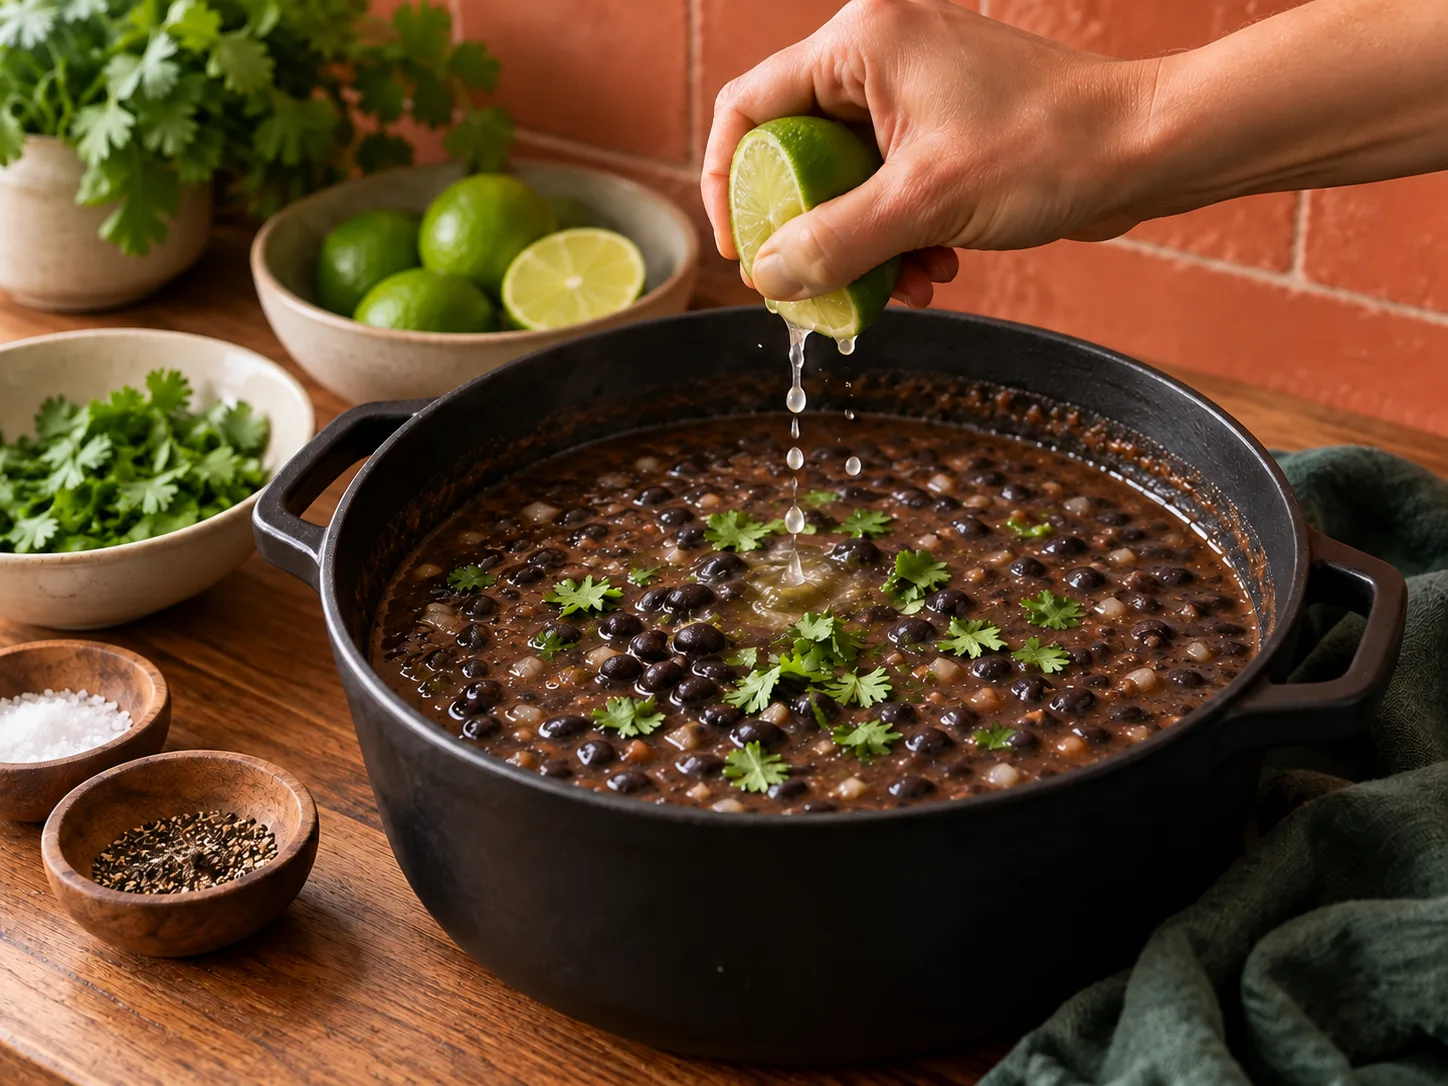
- Stir in the lime juice, season with salt and pepper, and garnish as desired.
Slow cooker method
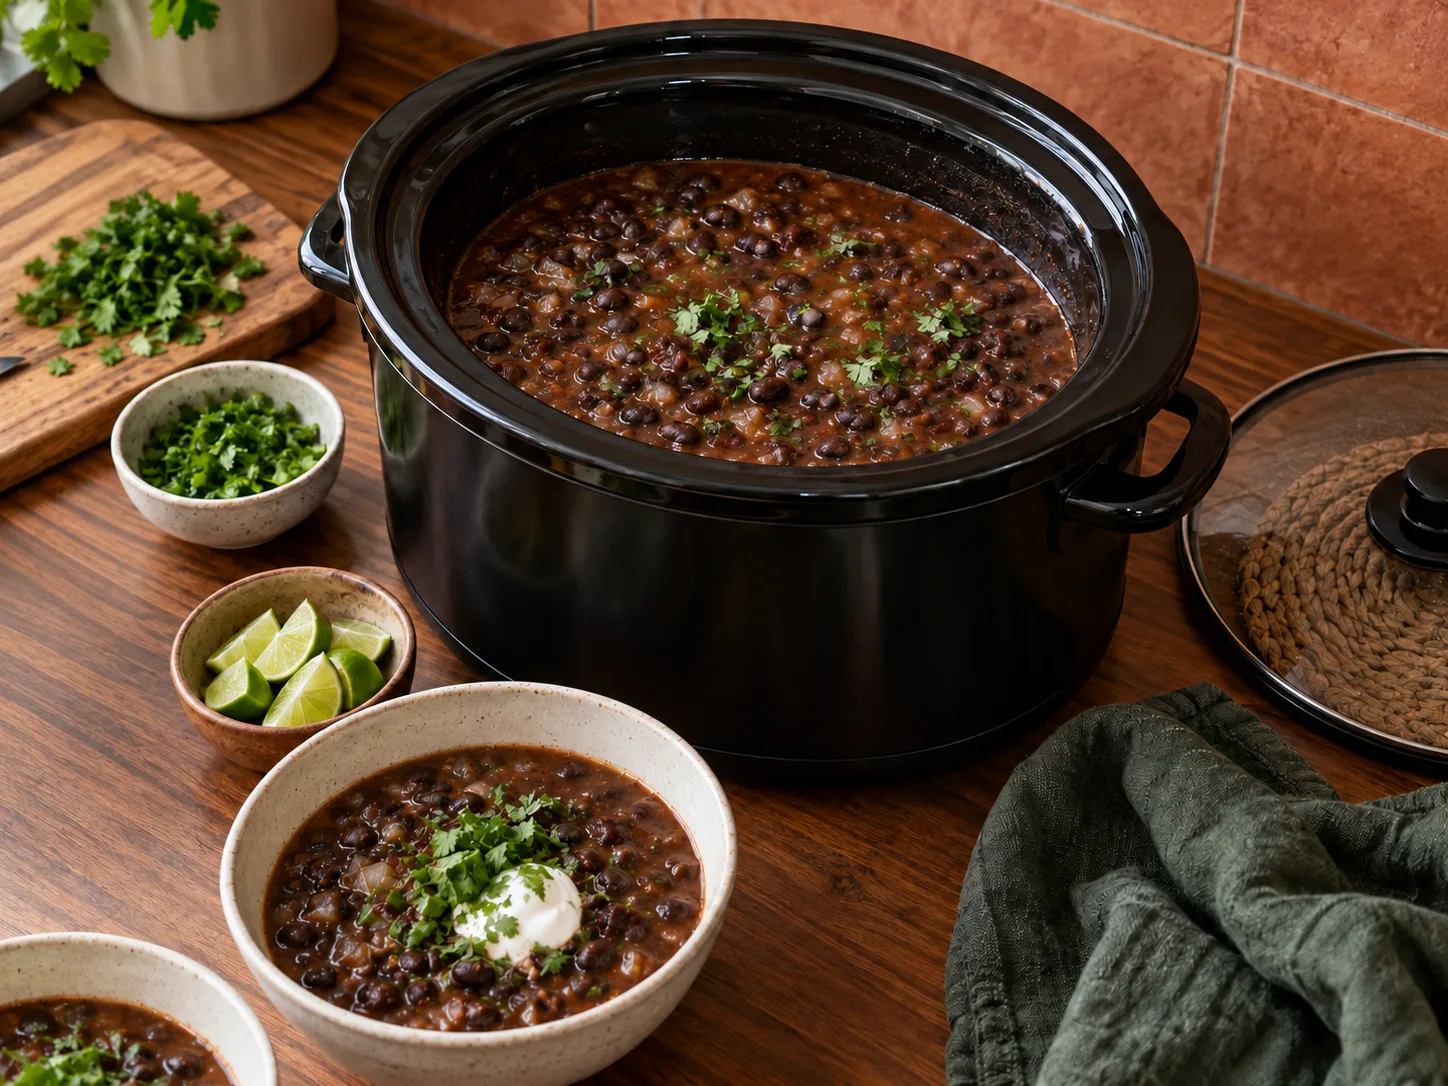
Sauté the onion, garlic, and spices as written, then transfer them to a 4–6 quart slow cooker with the drained canned beans and only 3 cups broth. Cook on low for 4–5 hours or high for 2–3 hours. Blend half, then add lime and seasoning. The reduced broth prevents a thin result because the slow cooker loses very little moisture.
Pressure cooker method with dried beans
- Use Sauté mode for the onion and oil for 4–5 minutes. Add the garlic and spices for 30 seconds.
- Add 2 cups rinsed dried black beans and 6 cups broth or water. Cook on high pressure for 35 minutes, then allow a 20-minute natural release.
- Check that the beans are tender; simmer on Sauté if they need more time. Blend half the soup, then add lime and seasoning. Add extra broth if the soup is thicker than you want.

Which method is best?
- Best overall: stovetop with canned beans. It is ready in about 25 minutes and gives easy control over thickness.
- Best hands-off option: slow cooker. Use it when the soup needs to hold for a flexible serving time.
- Best budget batch: pressure cooker with dried beans. It replaces the cans and makes a larger freezer-friendly batch with little active work.
Cost and protein breakdown
- 3 cans black beans — the main cost and protein source, inexpensive even at full price
- Broth, onion, garlic, spices — pantry staples, a small fraction of total cost
- Total estimate — cheap to make, per serving
Protein lands around 13–16g per serving — solid for a plant-based soup, though lower than a meat-based option. Pairing it with rice or a piece of cornbread rounds out the amino acid profile and adds some bulk, and a dollop of Greek yogurt on top pushes the per-bowl total several grams higher at almost no added cost.
Why only blend half
Blending the entire batch gives a completely smooth soup, which is fine but loses the texture that makes black bean soup interesting to eat rather than just drink. Splitting it — half blended, half left whole — gets a creamy base with actual bite to it, closer to a chili than a puree.
There’s no fixed rule that it has to be exactly half. Blending a third of the batch gives a thinner, more broth-like soup with beans floating through it; blending two-thirds gets you closer to fully smooth while keeping just a bit of texture. Once you’ve made this a couple of times, it’s worth experimenting with the ratio to find what you actually prefer rather than treating the 50/50 split as the only correct version.
Blending hot soup safely
A standard countertop blender full of hot liquid builds pressure fast and can force the lid off, which is a real mess and a real burn risk, not just a theoretical one. If you’re using a countertop blender rather than an immersion blender, let the half-batch cool for a few minutes first, never fill the jar more than halfway, and hold the lid down firmly with a folded kitchen towel over the top while starting on the lowest speed. An immersion blender avoids this problem entirely since it works directly in the pot at whatever temperature the soup already is — if you make bean or vegetable soups often, it’s one of the more useful small-kitchen purchases for exactly this reason.
Flavour directions to take it
The lime-and-cumin base here sits in classic Tex-Mex territory, but the same method adapts easily. For a smokier version, add a teaspoon of smoked paprika with the cumin and a splash of the liquid from a can of chipotles in adobo. For a Cuban-inspired direction, add a bit of orange juice along with the lime at the end — the sweetness plays well against the beans and cumin. For a heartier version meant to double as dinner rather than a starter, stir in a cup of corn kernels and a diced bell pepper with the beans, cooking them through in the simmer step.
Scaling it for a week of freezer meals
This soup is one of the more freezer-friendly recipes on the site specifically because blending half the batch creates a stable, thick base that doesn’t separate much on thawing the way a cream-based soup would. Doubling or tripling the recipe in a large pot works directly — just blend the “half” portion in batches if your blender can’t hold the full volume at once, and bring everything back together in the pot (or a large bowl, if the pot’s too full) before portioning into freezer containers. A tripled batch is a realistic month of lunches for one person if you’re rotating it with other freezer meals rather than eating it every single day.
Common mistakes
Skipping the rinse on canned beans. As with the chili and lentil recipes on this site, the canning liquid is starchy and slightly metallic. Rinsing takes 30 seconds and noticeably cleans up the final flavour.
Adding the lime juice too early. Lime juice simmered for the full 15 minutes loses its brightness and can turn slightly bitter. Adding it at the very end, off the heat, keeps the fresh citrus flavour intact.
Blending everything smooth by habit. It’s an easy step to over-do if you’re used to other blended soups. As covered above, leaving half the batch whole is what gives this soup its texture — a fully smooth version isn’t wrong, just a different (and arguably less interesting) dish.
How to make it cheaper
- Use water instead of broth. The cumin, chili powder, and lime carry plenty of flavour on their own.
- Buy store-brand canned beans. The blending step erases most texture differences between brands.
- Skip the garnishes if the budget is tight — cilantro and sour cream are nice extras, not requirements.
- Watch for sale cycles on canned beans. They’re shelf-stable for a long time, so buying a dozen cans when they’re discounted and keeping them in the pantry is a reasonable way to lower the average cost of this recipe over time.
Plain Greek yogurt in place of sour cream is worth calling out specifically here, beyond just being a cheaper swap — it adds a meaningful amount of extra protein to a dish that’s otherwise entirely plant-based, closing some of the protein gap mentioned above without adding meat.
Storage and reheating
- Fridge: cool promptly, refrigerate within 2 hours, and use within 2–3 days.
- Freezer: portion into meal-size containers with headroom and freeze for up to 3 months. Thaw overnight in the fridge.
- Stovetop reheating: add a splash of broth or water and bring to a rolling boil, stirring often.
- Microwave reheating: cover loosely and heat in 60-second intervals, stirring between each, until the centre reaches 165°F / 74°C.

Leave about an inch of headroom in whatever container you freeze it in — like most liquid-heavy dishes, it expands slightly as it freezes, and a container filled all the way to the lid can crack or pop open in the freezer. Flat freezer bags, laid flat until frozen solid, also thaw faster than a round container of the same volume, which is worth knowing if you tend to forget to move tomorrow’s lunch to the fridge the night before.
Frequently asked questions
How do I add meat to this if I want to?
Cooked, shredded chicken or crumbled cooked chorizo both stir in well at the end, after blending. Add about 2 cups for a noticeable protein boost without changing the method.
Why is my soup too thick, or too thin?
Thickness here comes almost entirely from how much you blend and how much liquid you use, so it’s easy to adjust in either direction. Too thick: stir in extra broth or water a quarter-cup at a time until it loosens to where you want it. Too thin: simmer it uncovered for a few more minutes before the blending step to let some liquid evaporate, or blend a bit more of the batch instead of exactly half.
What’s the best bread or side to serve with this?
Cornbread is the classic pairing and holds up well against the lime-and-cumin flavour. A simple flour tortilla, warmed and torn for dipping, is a cheaper alternative that works just as well. If bread isn’t a priority, a side of rice (see the protein-pairing note above) rounds the meal out more than bread does anyway.
Is this spicy?
Mild as written — chili powder in this quantity adds warmth and colour more than real heat. Add a diced jalapeño with the onion, or a pinch of cayenne, if you want it spicier.
Can I use frozen or dried herbs instead of fresh cilantro?
Dried cilantro loses most of its flavour and isn’t a great substitute here — it’s the kind of herb that’s genuinely better fresh or skipped entirely rather than swapped for the dried version. If fresh cilantro isn’t available or isn’t to your taste, a squeeze of extra lime and some chopped green onion fill a similar bright, fresh role in the garnish.
Related reading: Budget High-Protein Lentil Chili, High-Protein Roasted Butternut Squash Soup, High-Protein Chickpea Salad, and High-Protein Chicken Broccoli Cheddar Soup.