
Budget High-Protein Tuna Casserole
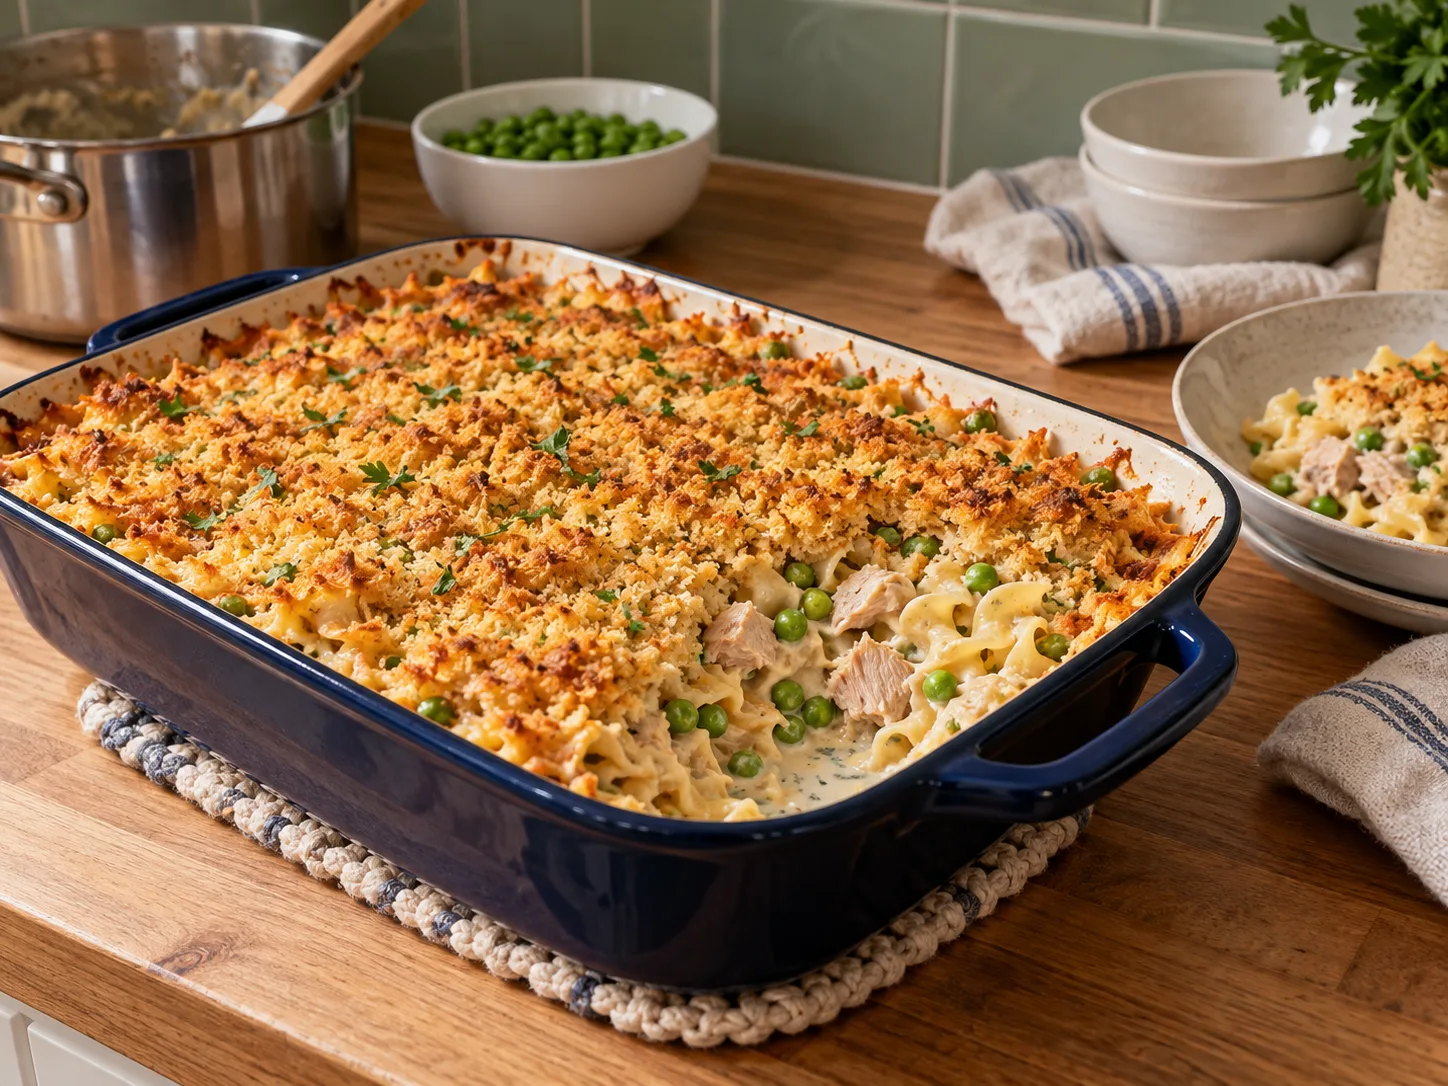
Tuna casserole has a reputation problem — it’s often remembered as a bland, mushy thing from a different decade. Done properly, with real cheese and a crunchy topping instead of a can of soup as the only flavour source, it’s actually a solid, cheap, high-protein dinner that holds up fine as leftovers.
Canned tuna also deserves a bit of rehabilitation in its own right. It’s one of the few animal proteins that’s genuinely shelf-stable for years, needs zero cooking, and holds its price steadier than fresh fish or meat, which makes it worth keeping stocked even on weeks you’re not planning to cook anything specific with it.
| Estimated cost per serving | Cheap |
| Protein per serving | ~24–28g* |
| Prep time | 15 minutes |
| Cook time | 25 minutes |
| Servings | 6 |
| Freezer-friendly | Yes, unbaked |
*Protein is an estimate. Actual values depend on your exact ingredients and portions.
Understanding the roux, so you’re not just following steps blindly
Butter and flour cooked together before any liquid goes in is called a roux, and it’s the base of this sauce’s structure — the flour’s starches need a minute of contact with hot fat to lose their raw taste and properly thicken a liquid later. Skipping that step and just whisking flour straight into cold milk is a common shortcut, but it tends to leave a slightly raw, pasty undertone and is more prone to clumping. The 2 tablespoons butter to 2 tablespoons flour ratio here is a classic 1:1 roux, enough to thicken 2 cups of milk to a sauce consistency rather than a thin, soupy one. If you ever want a thicker sauce for a different recipe, more roux relative to the same amount of milk is the lever to pull.
Ingredients
- 340g (12oz) egg noodles or rotini
- 4 cans (170g each) tuna in water, drained
- 2 tbsp butter
- 2 tbsp flour
- 2 cups milk
- 1.5 cups shredded cheddar
- 1 cup frozen peas
- 1/2 cup breadcrumbs
- Salt and pepper to taste

How to make it
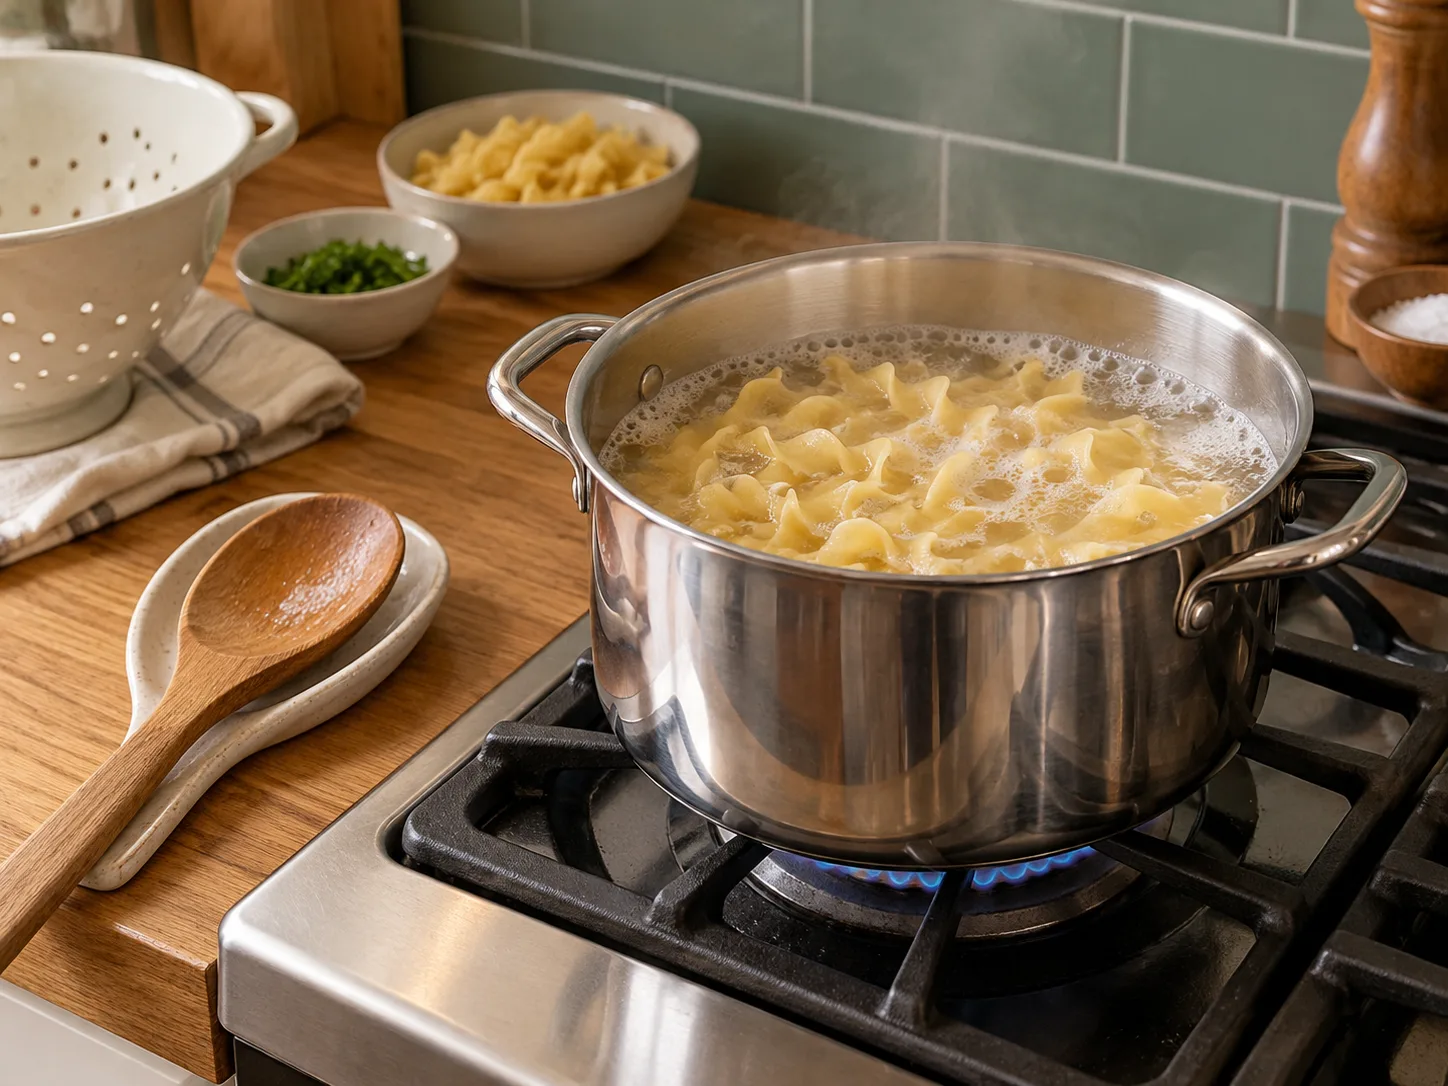
- Preheat the oven to 375°F / 190°C. Cook the noodles according to package directions until just tender, then drain.
- In a saucepan, melt the butter over medium heat. Whisk in the flour and cook 1 minute, then gradually whisk in the milk. Simmer, stirring often, until thickened, about 4–5 minutes.
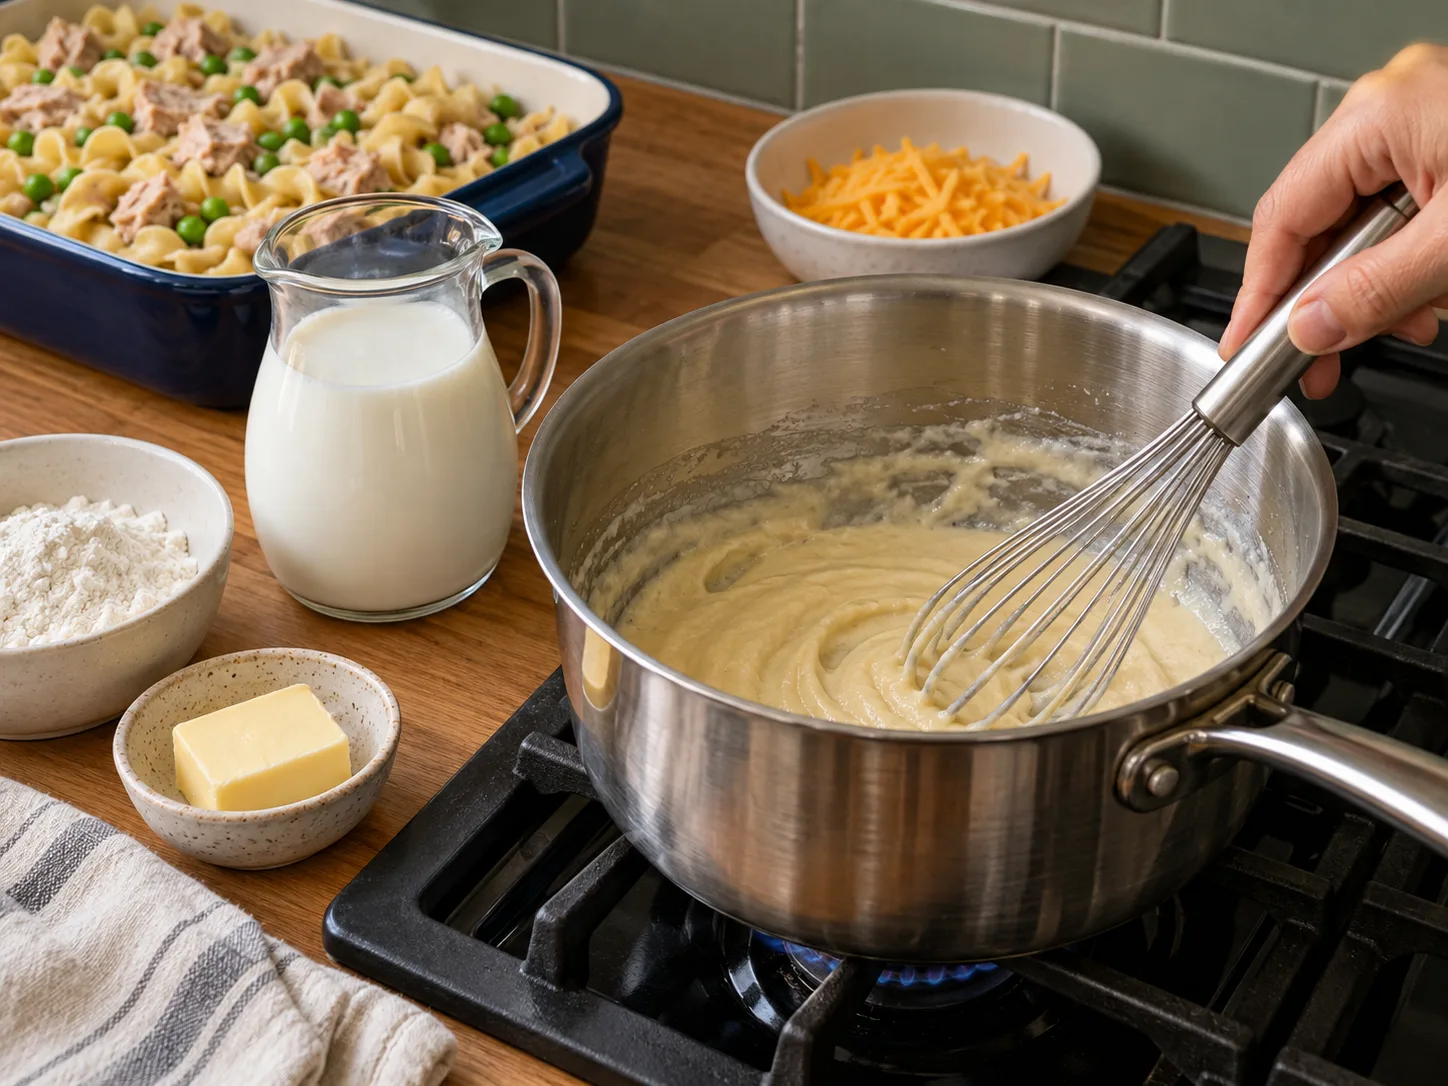
- Remove from heat and stir in the cheddar until melted. Season with salt and pepper.

- Combine the sauce with the cooked noodles, drained tuna, and frozen peas in a large bowl. Transfer to a greased baking dish.

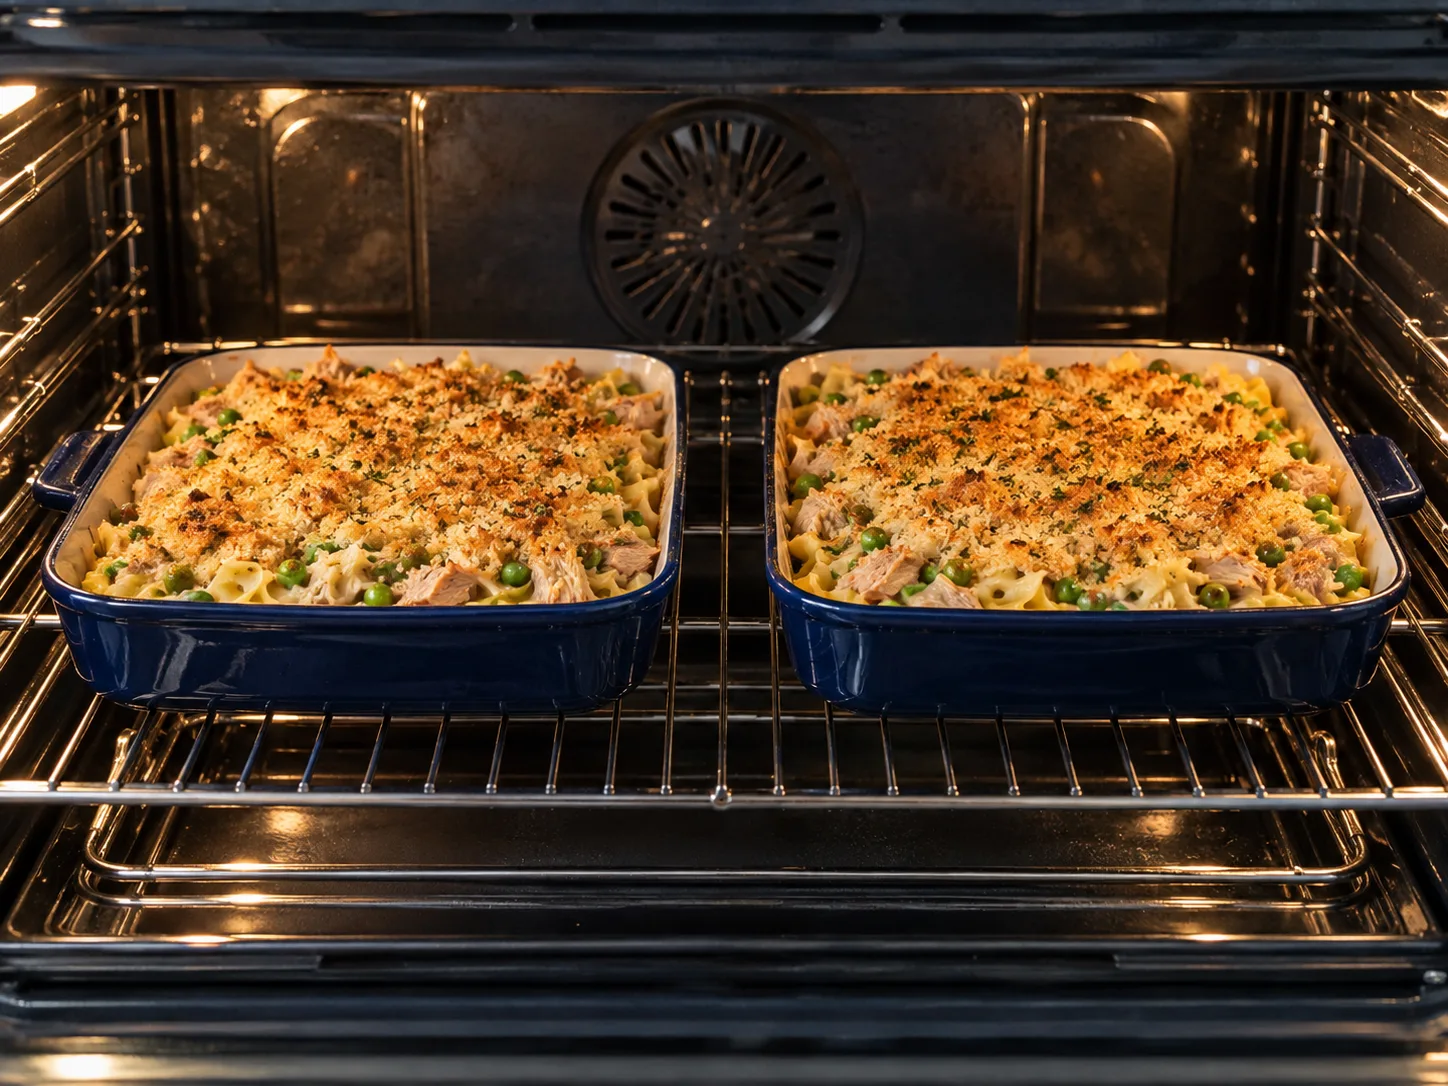
- Top with breadcrumbs and bake 20–25 minutes, until bubbling and golden on top and the centre reaches 165°F / 74°C.

One-pot stovetop method
Use a 5- to 6-quart heavy pot. Cook the pasta just shy of tender, scoop out 1/2 cup of pasta water, then drain the noodles and use the same pot for the sauce. Make the roux and cheese sauce as written, then fold in the tuna, frozen peas, and pasta over low heat for 2–3 minutes. If it looks tight, add reserved pasta water a tablespoon at a time.
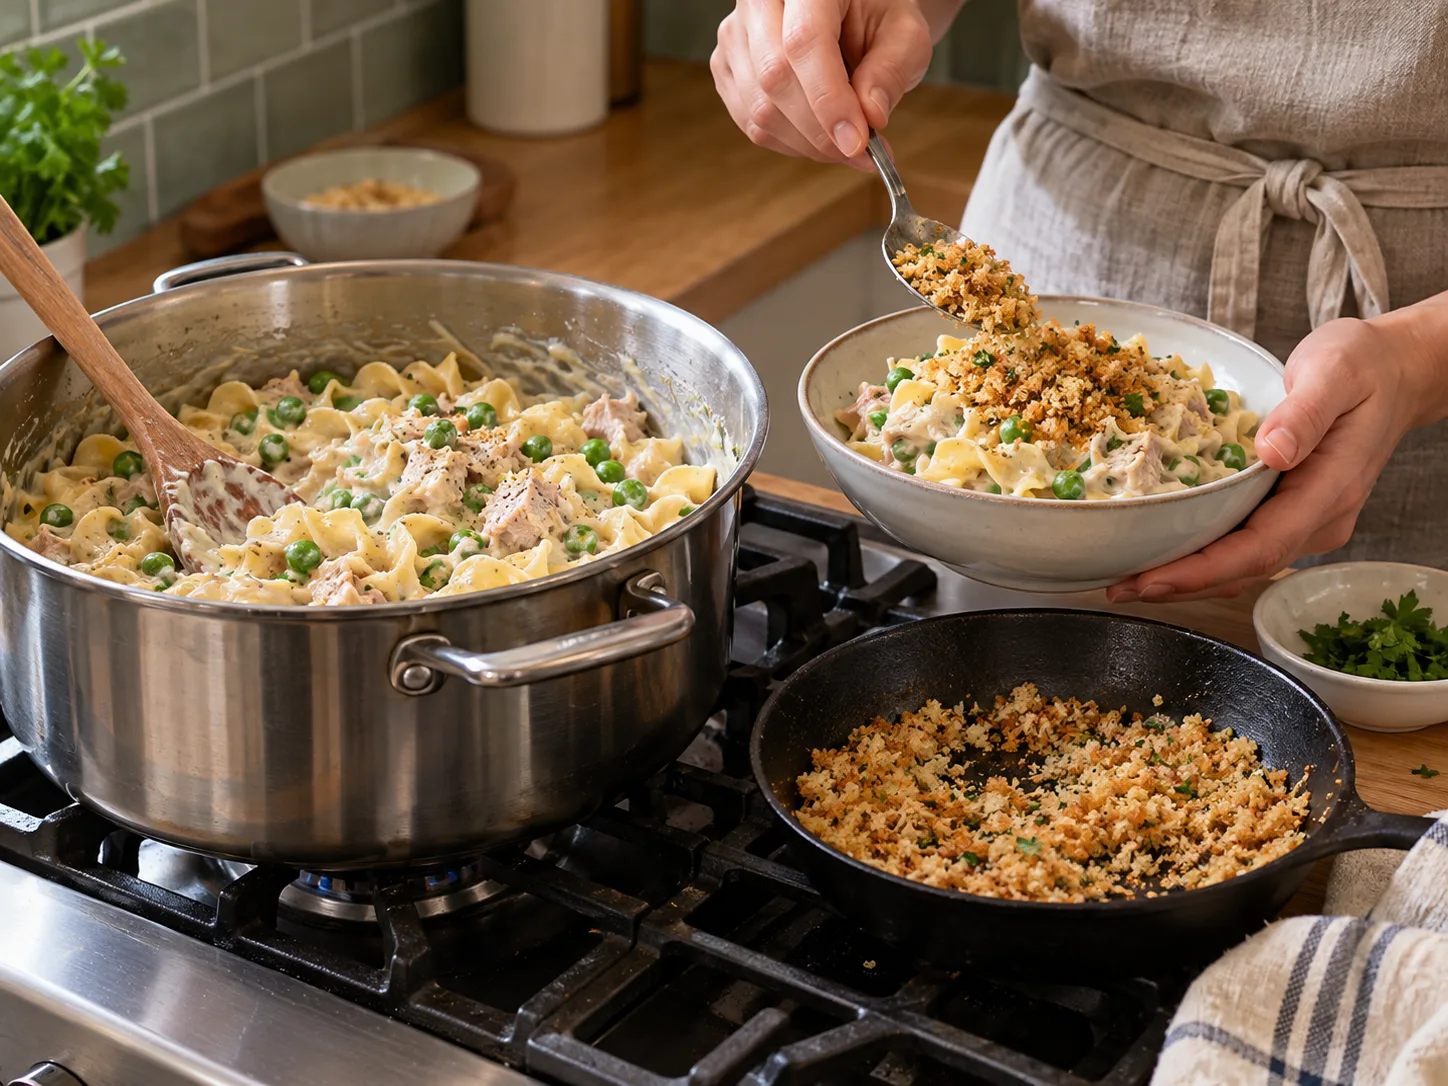
For crunch without the oven, toast the breadcrumbs in a dry skillet over medium heat for 3–4 minutes, stirring often, and scatter them over each bowl only when serving. This version is faster and creamier than the baked casserole, but it will not develop the firm edges or unified golden top.
Which method is best?
- Best texture: Oven — creamy centre, firmer edges, and an evenly browned topping.
- Fastest and fewest dishes: Stovetop — especially useful on a weeknight.
- Best for meal-prep leftovers: Either method, but store toasted breadcrumbs separately and add them after reheating.
A slow cooker or pressure cooker is not recommended: pasta hydration becomes unpredictable and the dairy sauce can split or scorch. A microwave works for reheating portions, not for building the roux or crisp topping.
Doubling the recipe
Divide a double batch between two baking dishes instead of making one extra-deep casserole. Deep casseroles heat slowly in the centre while the edges dry out. Bake both pans at 375°F / 190°C, rotate their positions halfway through, and allow 5–10 extra minutes if needed; the centre of each pan should reach 165°F / 74°C.
Cost and protein breakdown
- 4 cans tuna — store-brand keeps this affordable; one of the main protein sources here
- Cheddar and milk — the second major cost, worth using a block of cheese you shred yourself for better value
- Noodles, peas, breadcrumbs — inexpensive bulk and topping
- Total estimate — cheap to make, per serving
Protein lands around 24–28g per serving, split between the tuna and the cheese sauce. The pasta itself contributes a modest amount as well, though it’s mainly there for bulk and texture rather than as a serious protein source in its own right.
Why this version doesn’t taste like the canned-soup kind
A lot of tuna casserole recipes build the sauce entirely from a can of condensed soup, which is fast but leans heavily on salt for flavour and has a fairly flat, one-note taste. A real béchamel built from butter, flour, milk, and actual cheese takes maybe five extra minutes and gives a noticeably richer result — worth the small amount of extra effort.
How this differs from the tuna pasta on this site
The tuna pasta recipe elsewhere on this site is a lighter, faster, no-bake dish built around olive oil rather than a cheese sauce, and it’s specifically designed to be eaten cold as meal prep. This casserole is the heavier, baked, comfort-food version — a real béchamel, melted cheese, a breadcrumb topping — and it’s meant to be eaten warm, fresh from the oven or reheated. If you want something quick to prep once and eat cold across several days, the tuna pasta is the better fit; if you want a warm, more indulgent dinner that still reheats reasonably well, this casserole is the one to make.
Topping variations
Plain breadcrumbs are the standard topping, but a few swaps change the character noticeably. Crushed butter crackers (like Ritz) give a richer, slightly sweeter crunch that a lot of people associate with the classic diner version of this dish. Crushed potato chips add a saltier, heavier crunch. French fried onions, found in the same grocery aisle as green bean casserole ingredients, add both crunch and a savoury onion flavour in one topping, and need no additional seasoning. Whatever you choose, add it only in the last portion of baking or right at the start — a topping added too early can burn before the inside of the casserole is fully heated through.
Which canned tuna to use
Tuna comes packed in water or oil, and as chunk light or solid white (albacore). Water-packed is the standard choice for a casserole like this, since the sauce is already providing plenty of richness and oil-packed tuna would make the dish greasier without adding much. Chunk light is the more budget-friendly option and breaks apart more easily into the sauce; solid white albacore costs more, has a firmer texture, and holds together in bigger flakes if you prefer that in the finished bake. Either works protein-wise — the choice comes down to budget and texture preference rather than any real nutritional gap.
Common mistakes
Overcooking the noodles before baking. Pasta cooked all the way to fully tender before it even goes in the oven will be noticeably softer, bordering on mushy, by the time baking is done. Cook the noodles slightly under package directions — just shy of fully tender — since they’ll continue to soften in the oven.
Rushing the roux step, as covered above. A sauce that goes together too fast, without the flour properly cooking in the butter first, is more likely to turn out thin or lumpy.
Not draining the tuna thoroughly. Extra liquid from under-drained tuna can make the finished casserole wetter than intended, diluting the sauce you worked to thicken properly.
How to make it cheaper
- Store-brand tuna and pasta. The price gap versus name brands doesn’t carry over into a noticeable taste difference once baked with the sauce.
- Buy a cheese block instead of pre-shredded. Reliably cheaper per 100g.
- Skip the breadcrumb topping if you’re out — the casserole is still good without the crunch, just slightly less textured.
Storage and freezing
- Fridge: Cool in shallow portions, refrigerate within 2 hours, and use within 3–4 days at 40°F / 4°C or below. Keep breadcrumbs separate if you want them crisp.
- Freezer (unbaked): Slightly undercook the pasta, assemble without breadcrumbs, wrap tightly, and freeze for up to 2 months. Thaw overnight in the refrigerator, add fresh breadcrumbs, cover for the first 20 minutes, then uncover until bubbling and 165°F / 74°C in the centre.
- Freezer (baked): Cool, divide into meal-size portions, and freeze for up to 2 months. Thaw in the refrigerator before reheating; frozen centres take too long to heat evenly without drying the edges.
- Reheating: Cover and heat in a 350°F / 175°C oven, or microwave a portion at 70% power, stirring halfway if possible, until the centre reaches 165°F / 74°C.
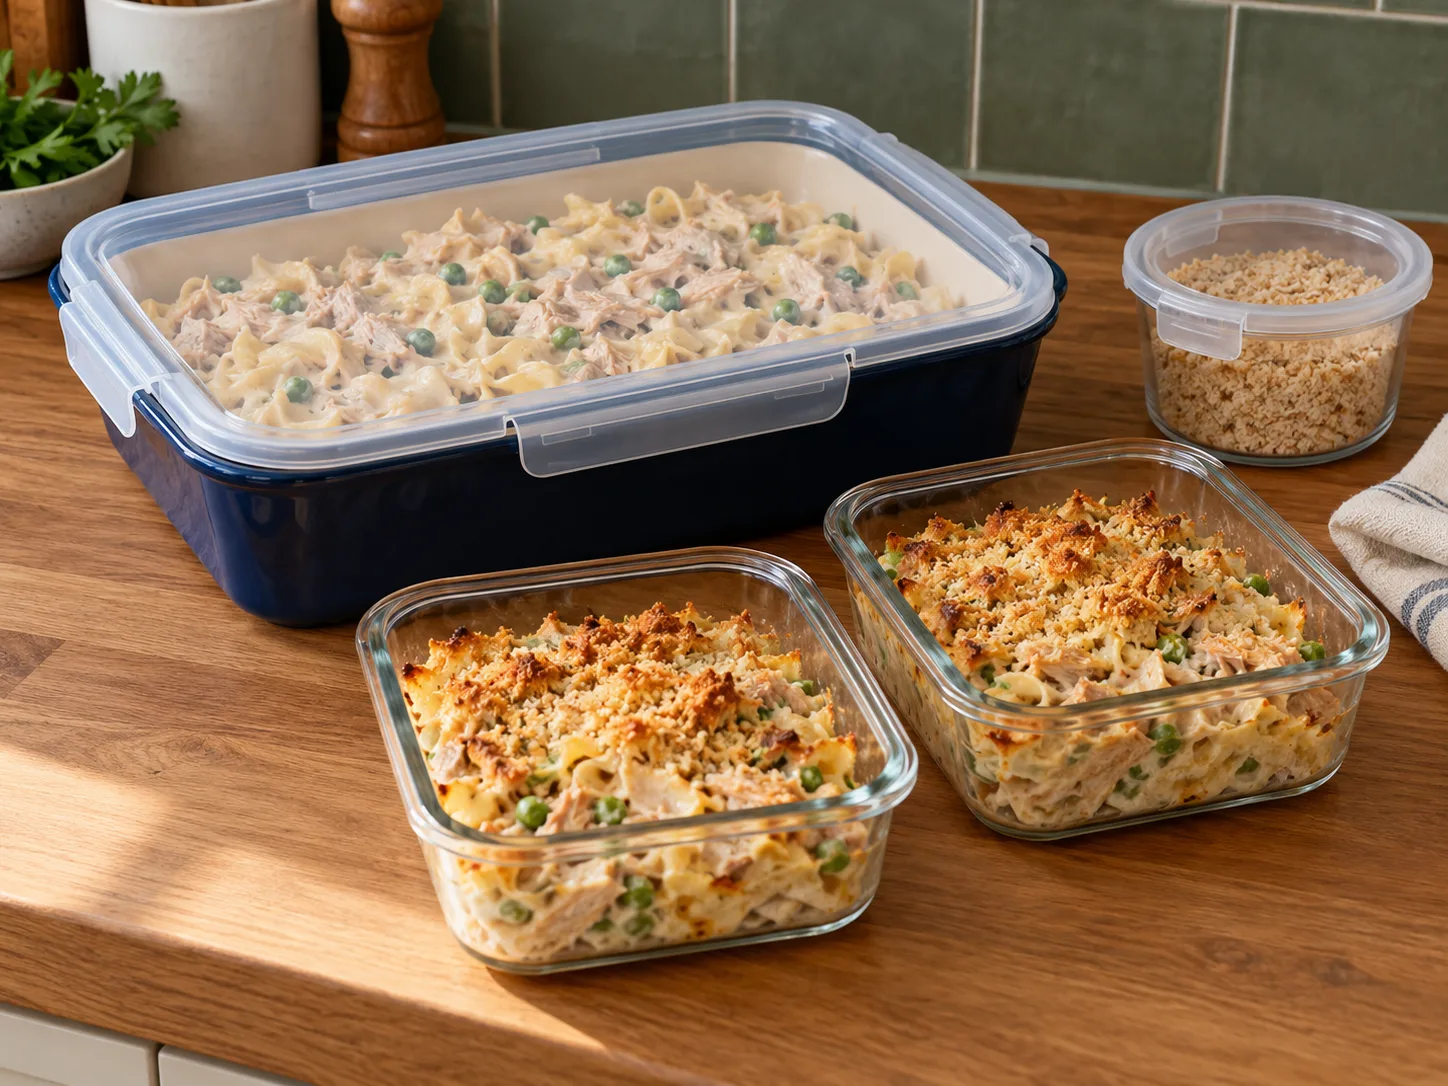
Dairy-based sauces like this one can separate slightly after freezing and thawing, coming out a bit grainier than when it was fresh. This is more noticeable in the baked-then-frozen version than the unbaked version, since baking from frozen gives the sauce a chance to re-emulsify somewhat as it heats through, where a pre-baked portion has less opportunity to recover. If texture matters a lot to you, the unbaked freezing method is the better of the two options.
Frequently asked questions
Can I use canned salmon instead of tuna?
Yes, as a direct swap. It costs more per can but works identically in the recipe, and the flavour difference is minor once combined with the cheese sauce.
My sauce turned out lumpy — what happened?
Usually the milk was added too quickly, or the heat was too high. Whisk the milk in gradually, a little at a time, and keep the heat at medium, not high — a slower, more controlled thickening prevents lumps far better than rushing it.
Using cold milk straight from the fridge also makes lumps more likely, since the temperature shock against the hot roux can cause the flour to seize up in spots rather than dissolving smoothly. Letting the milk sit out for 10 minutes to take the chill off, or warming it slightly in the microwave first, gives a noticeably smoother result for very little extra effort.
Can I use a plant-based milk for the sauce?
Unsweetened plant milk works as a substitute, though the roux may need an extra minute of simmering to reach the same thickness, since some plant milks are thinner than dairy milk. Avoid a sweetened or flavoured variety, since vanilla or sweetened almond milk will clash badly with a savoury cheese sauce.
Can I add vegetables beyond the peas?
Yes — frozen mixed vegetables, sautéed mushrooms, or diced celery all work well mixed in alongside or instead of the peas. Celery specifically is a traditional addition in a lot of classic tuna casserole recipes, sautéed briefly with the onion (if using) before the sauce comes together.
Does this reheat well for meal prep?
Reasonably well within the 3–4 day fridge window, though the breadcrumb topping loses its crunch after the first day regardless of reheating method. If the crispy top matters to you for leftovers, consider topping individual portions fresh under a broiler for a minute or two after reheating the base in the microwave, rather than relying on the original topping to stay crisp through multiple days of storage.
Related reading: Budget High-Protein Tuna Pasta, Best Cheap Protein Sources by Cost Per Gram, and Cottage Cheese Mac and Cheese.