
Ground Beef and Rice Skillet (Budget High-Protein)
One pan, one burner, twenty minutes. Ground beef and rice skillet is the kind of recipe that doesn’t need a reason to exist beyond being fast and cheap — brown the beef, add rice and liquid, let it simmer, done. No side dishes required, no second pot to wash.
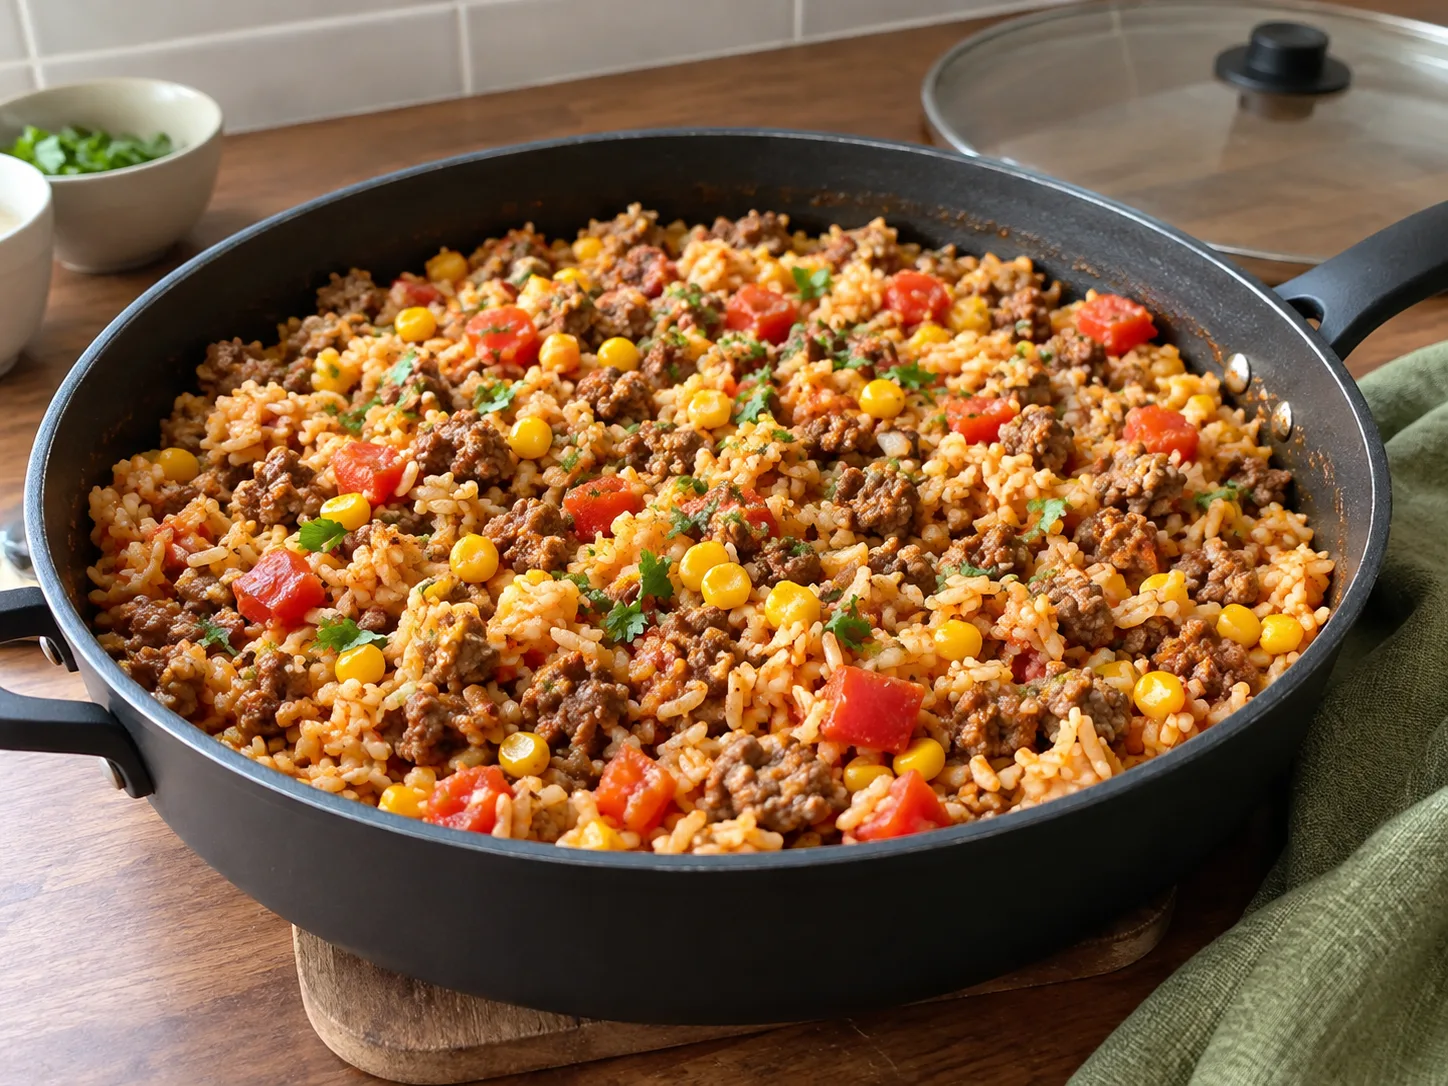
This style of dish has a name in a lot of households — “dirty rice,” “skillet casserole,” “one-pot beef and rice” — and it shows up in some form in nearly every cuisine that pairs ground meat with a starchy grain, because the method is genuinely that practical: the rice cooks directly in the same seasoned liquid the meat released, so it absorbs flavour instead of just sitting next to it on a plate.
| Estimated cost per serving | Cheap |
| Protein per serving | ~28–32g* |
| Prep time | 10 minutes |
| Cook time | 25 minutes |
| Servings | 5 |
| Freezer-friendly | Yes |
*Protein is an estimate. Actual values depend on your exact ingredients and portions.
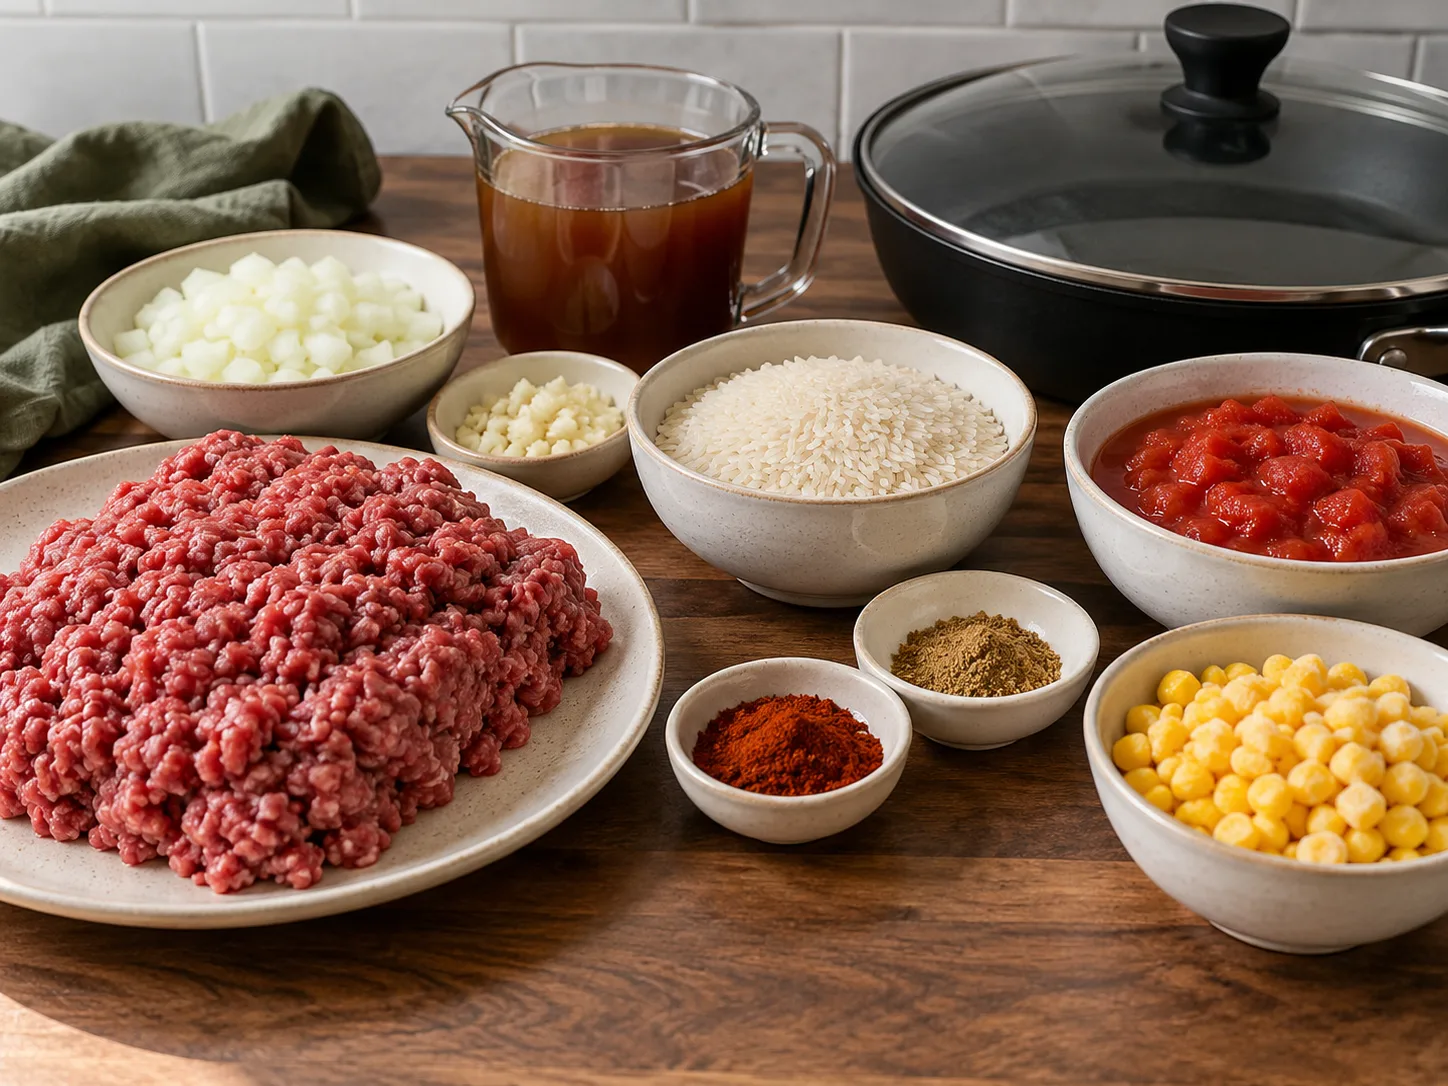
Ingredients
- 500g lean ground beef
- 1 onion, diced
- 2 cloves garlic, minced
- 1 cup long-grain white rice, dry
- 2 cups beef broth or water
- 1 can (398mL) diced tomatoes
- 1 tsp paprika
- 1 tsp cumin
- 1 cup frozen corn or peas
- Salt and pepper to taste
How to make it
- Brown the ground beef in a large skillet over medium-high heat, breaking it up as it cooks, about 6–7 minutes, until it reaches 160°F / 71°C. Drain excess fat if there’s a lot.
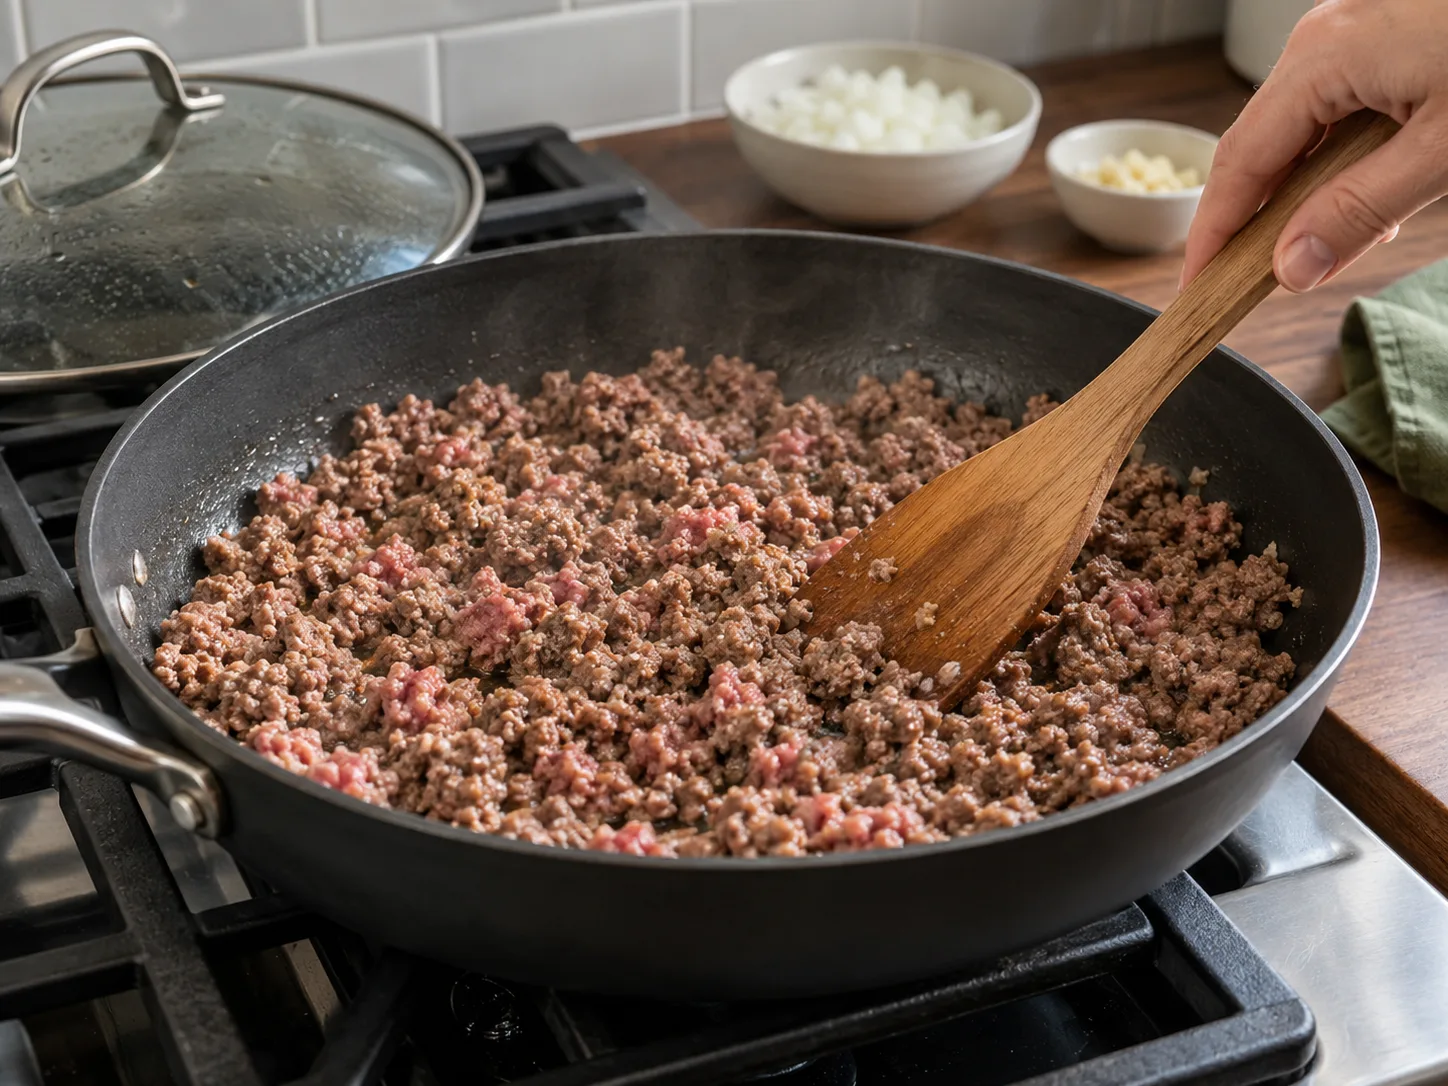
- Add the onion and garlic, cooking 3–4 minutes until softened.

- Stir in the rice, broth, diced tomatoes, paprika, and cumin. Bring to a boil, then reduce to a low simmer and cover.
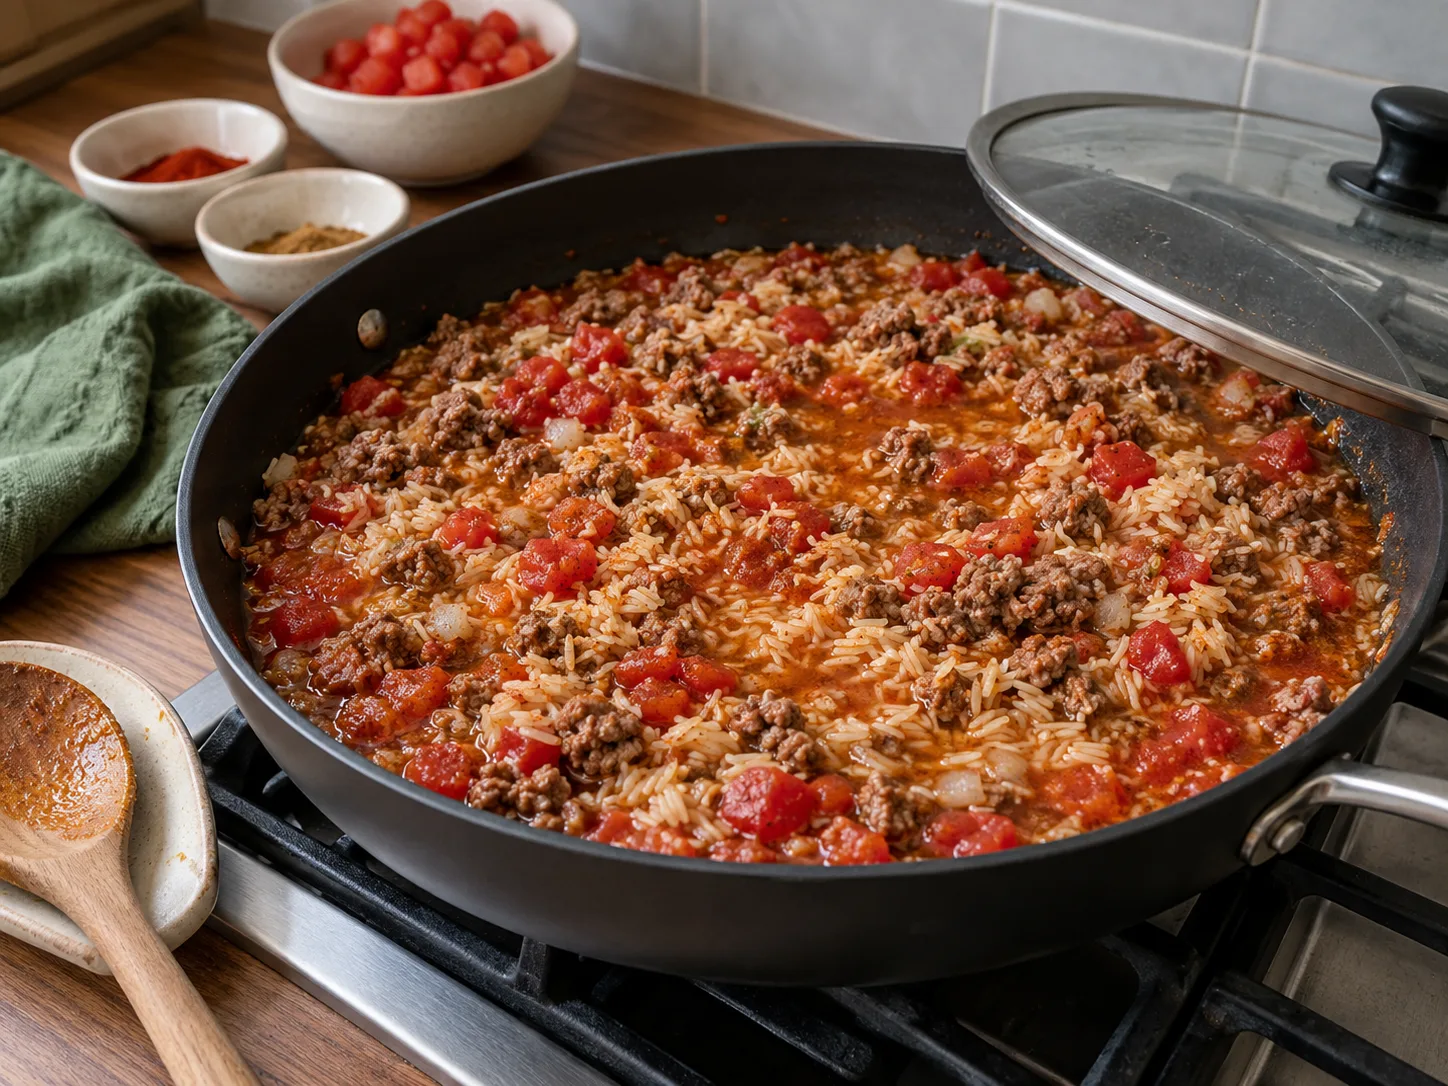
- Simmer 18–20 minutes, until the rice is tender and most of the liquid is absorbed. Resist lifting the lid too often — it lets steam escape and slows the cooking.

- Stir in the frozen corn or peas for the last 3 minutes, just to heat through. Season with salt and pepper.

Pressure cooker method
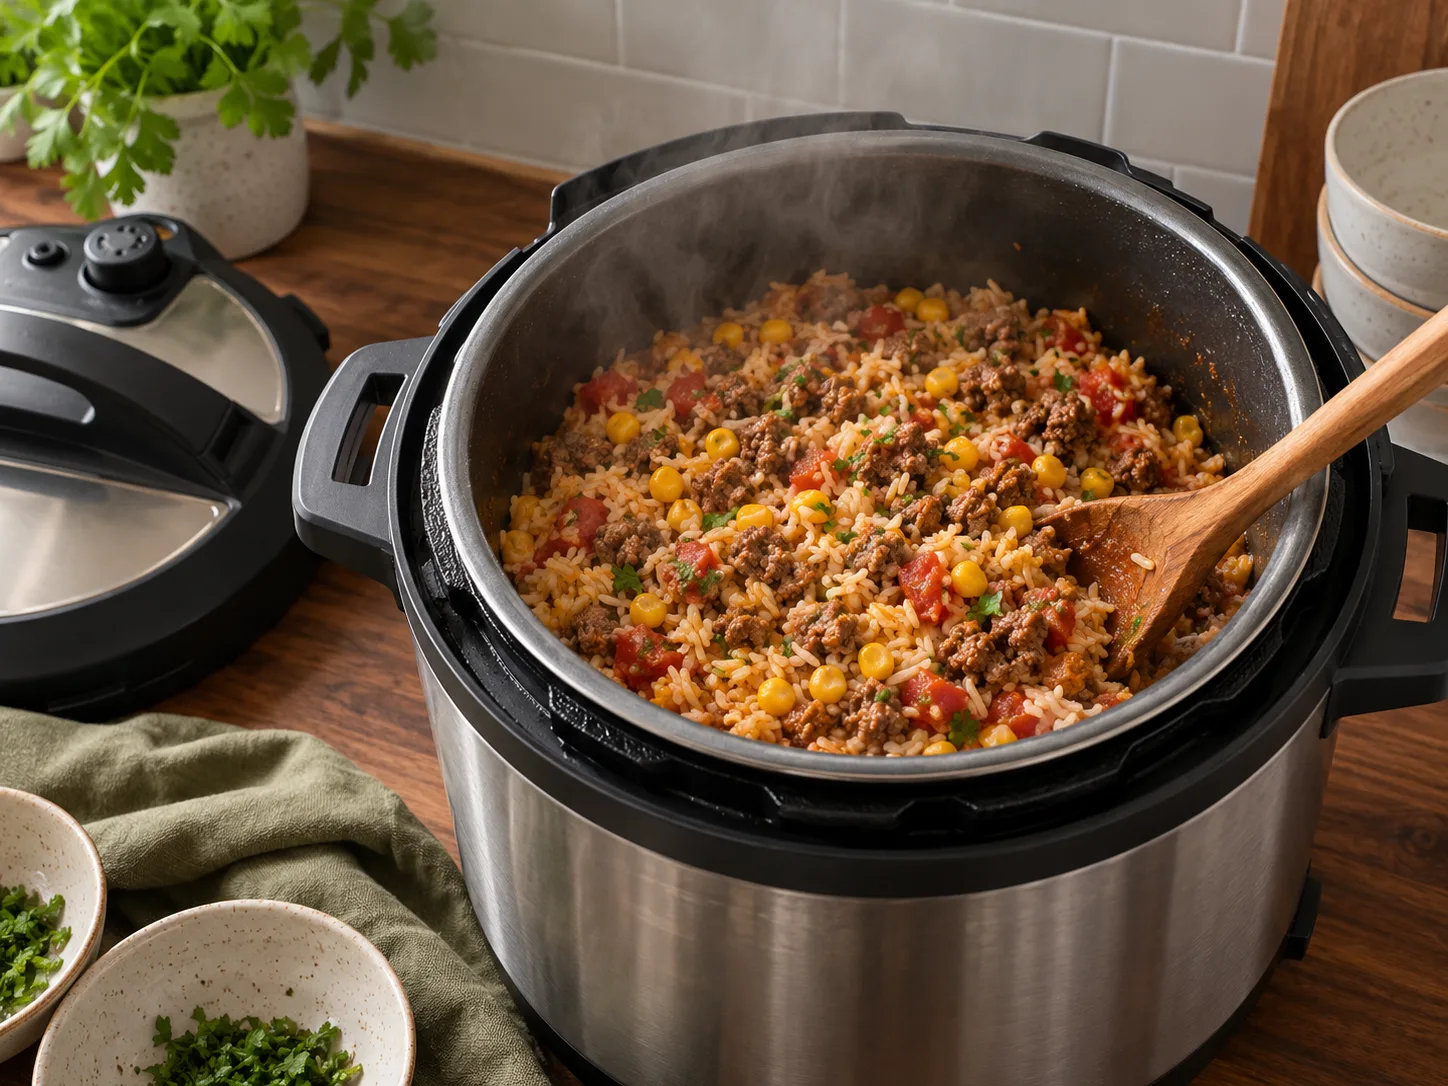
- Use Sauté mode to brown the beef, then cook the onion and garlic as written. Drain excess fat.
- Add 1 cup broth and scrape the bottom clean. Stir in the rice, paprika, and cumin, then pour the diced tomatoes over the top without stirring.
- Cook on high pressure for 4 minutes, allow a 10-minute natural release, then release the rest. Stir in the frozen corn or peas, replace the lid for 3 minutes, and season.
Covered oven method
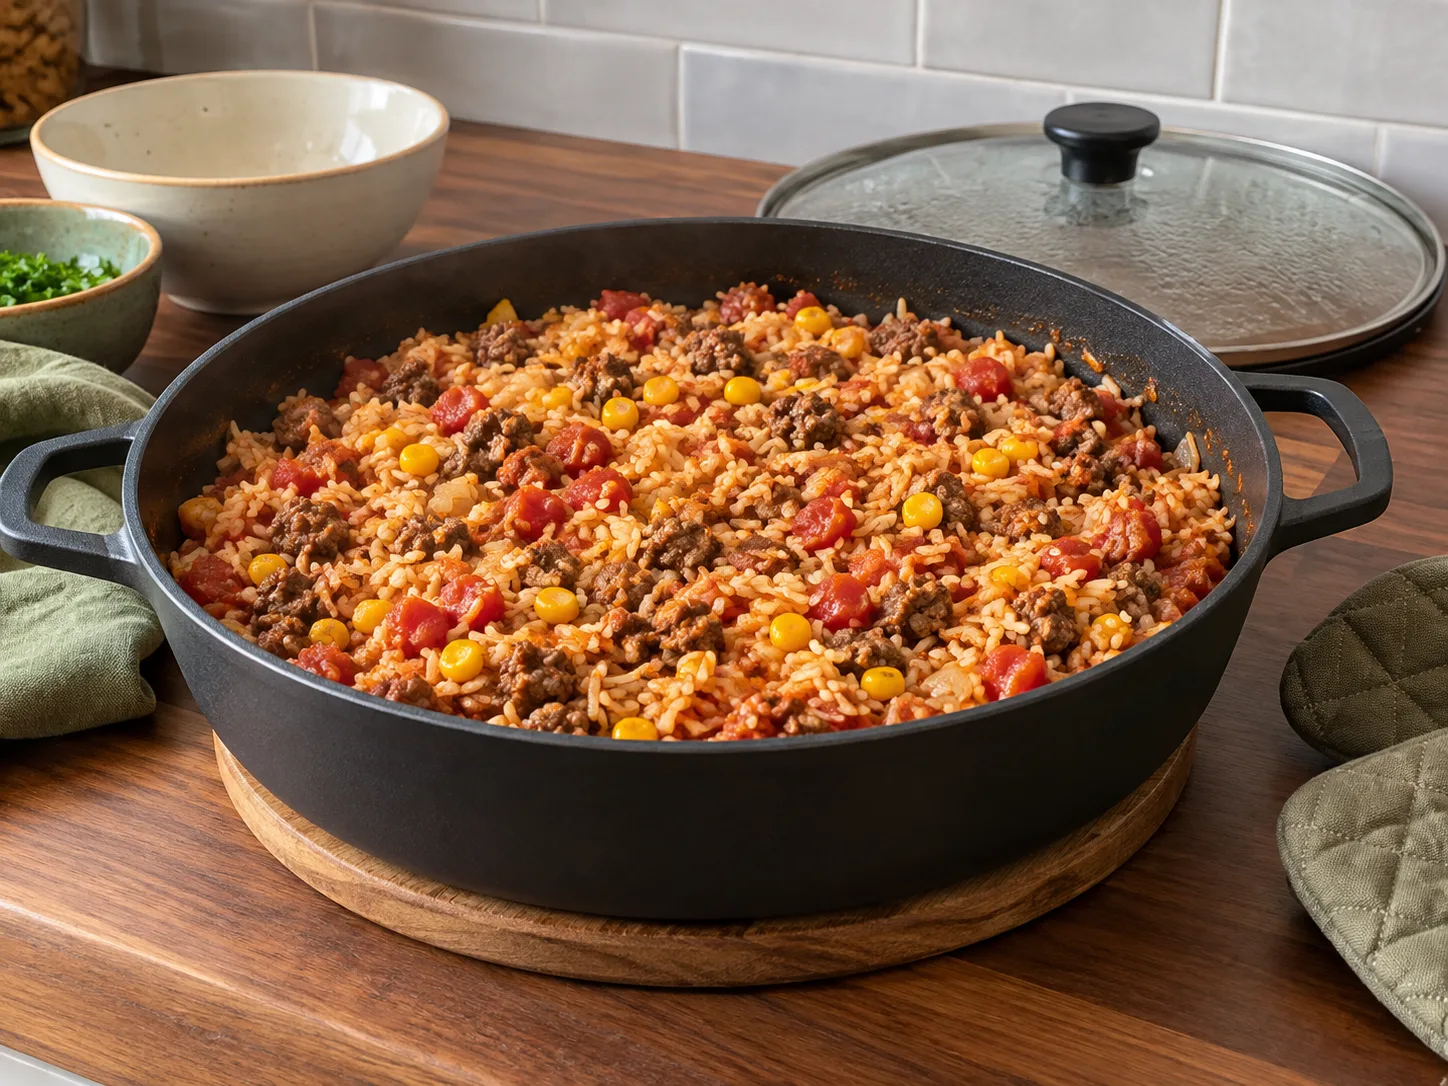
Brown the beef and aromatics in an oven-safe skillet, then add the rice, the original 2 cups broth, tomatoes, and spices. Cover tightly and bake at 375°F / 190°C for 30–35 minutes. Stir in the frozen vegetables, cover, and return to the oven for 5 minutes. Rest 5 minutes before fluffing.
Which method is best?
- Best overall: covered stovetop skillet. It is fastest and lets you check the rice near the end.
- Best hands-off method: oven. The heat is even and the bottom is less likely to scorch.
- Best when doubling: pressure cooker. The rice timing stays consistent with the larger volume, provided you do not exceed the fill line.
A slow cooker is not the best fit because rice turns soft during a long hold; use one of the three methods above for a more reliable texture.
Cost and protein breakdown
- 500g ground beef — the main cost; buying it when on sale and freezing extra is the biggest lever here
- Rice, canned tomatoes, broth — inexpensive pantry staples
- Total estimate — cheap to make, per serving
Protein lands around 28–32g per serving, almost entirely from the beef, with the rice contributing a smaller amount on top.
No canned tomatoes on hand? Here’s what actually works instead
Tomato paste thinned with water is the closest direct substitute — use 2 tbsp paste whisked into an extra 1/2 cup of water or broth in place of the can. A jar of pasta sauce works too, though it’ll shift the flavour slightly toward Italian seasoning rather than the paprika-cumin direction this recipe leans; cut back on the paprika if using it, since most jarred sauces are already well-seasoned. In a real pinch, leaving the tomatoes out entirely and adding an extra 1/2 cup of broth still makes a reasonable dish — it just loses some of the colour and tang, closer to a plain seasoned rice pilaf with beef than the tomato-forward version this recipe is built around.
Why the rice cooks in the same pan as the beef
Browning ground beef leaves behind a layer of flavourful browned bits stuck to the bottom of the pan, along with rendered fat. Adding the rice and liquid directly into that same pan means the rice simmers in that flavour instead of plain water, and the simmering liquid itself lifts those browned bits off the bottom as it cooks — a bit of what a separate stock-making step would do, happening automatically as a side effect of cooking everything together. It’s also just less to wash: one skillet instead of a skillet for the beef and a pot for the rice.
Getting the rice right every time
The most common failure point in any one-pan rice dish is the liquid ratio, and this one is forgiving as long as you measure rather than eyeball it. Two cups of liquid to one cup of dry rice, accounting for the extra moisture the canned tomatoes add, gets rice that’s tender but not mushy. If you’re using a different brand of rice than standard long-grain white, check the package — basmati and jasmine both typically want slightly less liquid, while parboiled or converted rice wants more and a longer cook time. Once the rice and liquid go in, resist the urge to stir constantly; stirring releases starch and can turn the texture gluey, closer to a risotto than a pilaf-style rice dish.
Turning it Tex-Mex, Mediterranean, or further in either direction
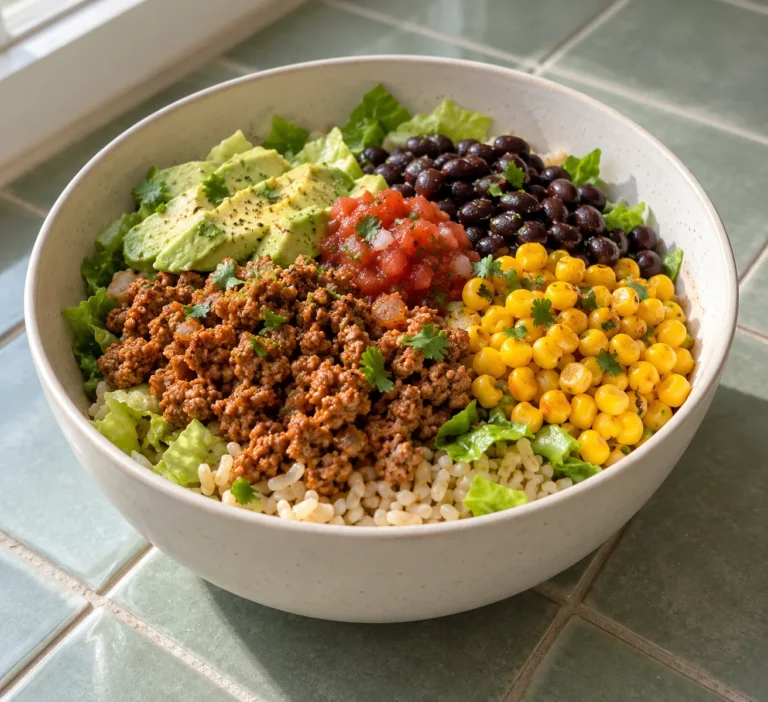
- Tex-Mex: swap the paprika and cumin for 2 tbsp taco seasoning, stir in the black beans mentioned below, and top with shredded cheese and a squeeze of lime at the end.
- Mediterranean: swap paprika and cumin for 1 tsp dried oregano and 1/2 tsp cinnamon, add a handful of chopped spinach with the corn, and finish with a dollop of plain Greek yogurt per serving.
- Curry-leaning: swap the spices for 1.5 tbsp curry powder and a pinch of turmeric, and stir in a splash of coconut milk (or plain yogurt for a lighter version) right at the end, off the heat.
What to serve alongside, if anything
This is designed as a complete meal on its own, but a simple green salad or steamed vegetable on the side rounds it out if you want more volume without adding to the skillet itself. A dollop of sour cream or Greek yogurt on top works well with the Tex-Mex variation specifically, cutting through the paprika and cumin with a bit of cool tang.
How to make it cheaper
- Use water instead of broth. The paprika, cumin, and tomatoes carry enough flavour that broth isn’t essential.
- Buy ground beef on sale and freeze extra. It’s one of the most price-variable items in the store week to week.
- Skip the frozen corn or peas if the budget is tight — they’re a nice addition, not a necessary one.
Scaling it for meal prep across a whole week
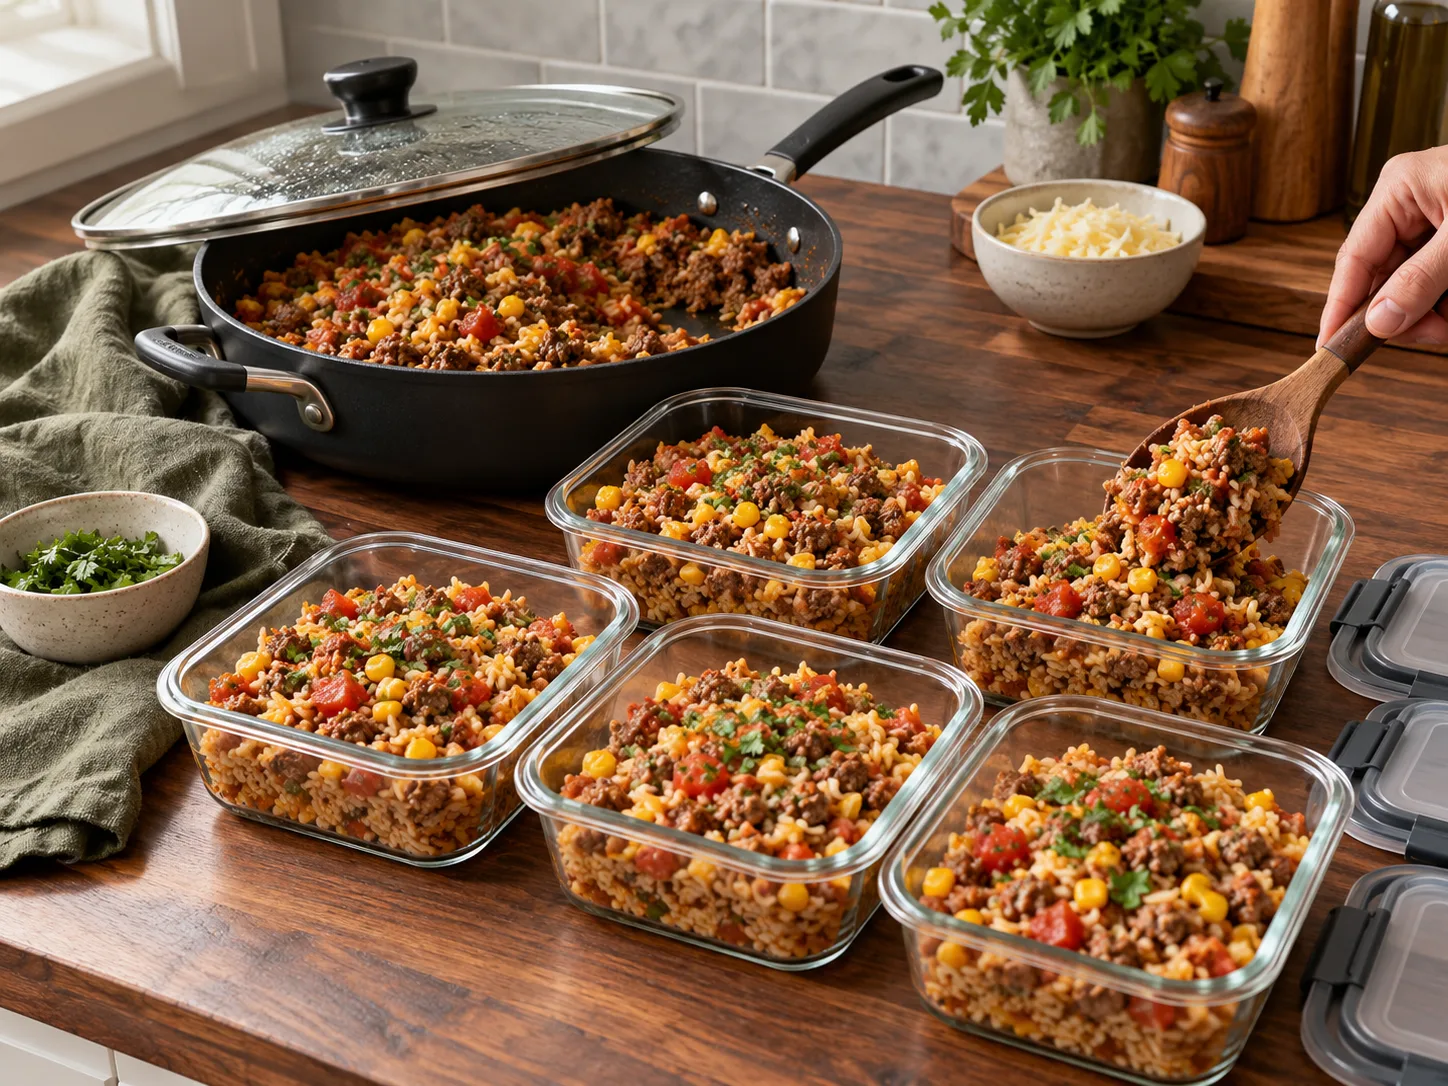
This recipe doubles cleanly in a large enough skillet or a Dutch oven — use 1kg of ground beef, two cups of dry rice, and double every other ingredient, keeping the same roughly 2:1 liquid-to-rice ratio. A doubled batch takes a few minutes longer to come to a simmer given the larger volume, but the actual simmer time barely changes. Portioned into five or six containers, one double batch covers most of a work week without repeating a grocery trip, and it’s one of the more straightforward dishes on this site to scale since nothing in the method changes, just the quantities.
Storage and reheating
- Fridge: cool in shallow containers, refrigerate within 2 hours, and use within 3–4 days.
- Freezer: freeze meal-size portions for up to 3 months. Thaw overnight in the fridge.
- Microwave reheating: add 1 tablespoon water or broth per portion, cover loosely, and heat in 60-second intervals, stirring halfway, until the centre reaches 165°F / 74°C.
- Skillet reheating: add a splash of broth, cover, and warm over medium-low heat until hot through.
Lean vs. regular ground beef, and which one to buy here
Regular ground beef (sometimes labelled around 80/20, meaning 80% lean) is usually cheaper per kilogram than lean or extra-lean, but it releases noticeably more fat as it browns — worth draining if you’re using it, or the finished dish can taste greasy. Lean or extra-lean costs more per kilogram but needs no draining and gives a slightly higher protein-to-fat ratio per gram. For this specific recipe, either works fine; if using regular, drain most of the rendered fat after browning before adding the onion, so the extra grease doesn’t carry through into the rice.
Common mistakes
- Not browning the beef properly before adding liquid. A few extra minutes to get real colour on the meat, rather than pulling it the moment it’s grey, builds noticeably more flavour into the whole dish.
- Adding the rice too early, before the beef has released its fat and browned bits. Order matters here — brown the beef first, then build everything else on top of it.
- Walking away for too long during the simmer. Rice dishes like this can go from “tender” to “stuck and scorched on the bottom” in the last few minutes if left completely unattended on too-high heat. A low simmer and an occasional check (without lifting the lid for long) avoids this.
Simple swaps
- Ground turkey or chicken instead of beef — same method, often slightly cheaper.
- Add a can of black beans or kidney beans for extra protein and fibre, stirred in with the corn.
- Swap paprika and cumin for taco seasoning for a Tex-Mex-leaning version of the same skillet.
Frequently asked questions
My rice came out mushy — what went wrong?
Usually too much liquid, or the lid coming off too often and extending the cook time unnecessarily. Stick to the 2:1 liquid-to-rice ratio used here (accounting for the liquid in the canned tomatoes) and keep the lid on for the full simmer time.
Can I use brown rice instead of white?
Yes, but it needs more liquid and a longer simmer — closer to 35–40 minutes and an extra half cup of broth or water. Check the rice package for its specific water ratio and adjust from there.
Is this spicy?
Not as written — paprika and cumin are warm, not hot. Add a diced jalapeño with the onion or a pinch of cayenne if you want real heat.
My skillet doesn’t have a lid — what can I use instead?
A baking sheet or a larger pot lid set on top works fine as long as it mostly covers the pan and traps steam — it doesn’t need to seal perfectly. Foil crimped loosely over the top also works in a pinch. The goal is just keeping the steam in so the rice cooks through rather than drying out before it’s tender.
Related reading: High-Protein Chicken Rice Meal Prep Bowls, Ground Turkey Rice Meal Prep Bowls, and Simple Sunday Meal Prep System.