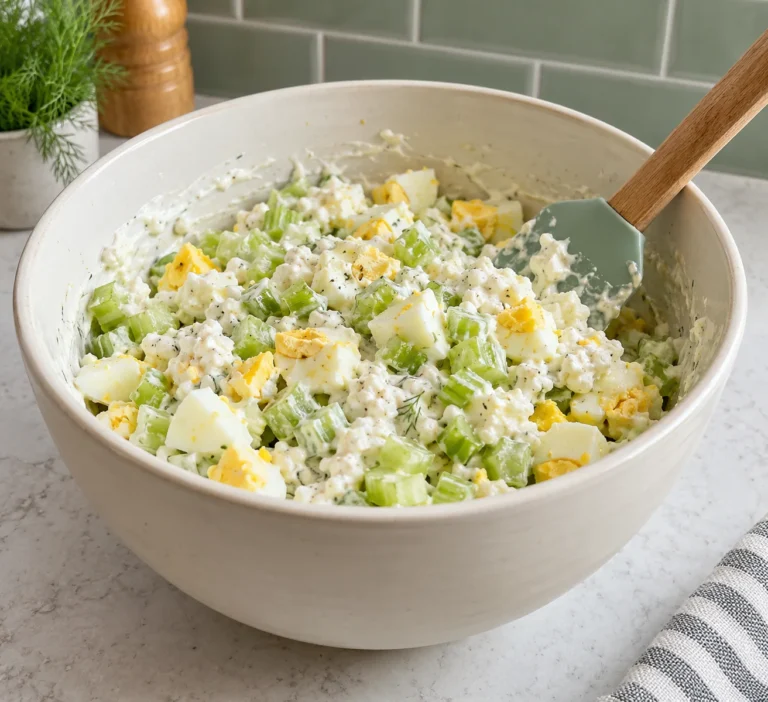
Budget High-Protein Hummus
A can of chickpeas and five minutes in a food processor make a generous batch of hummus for less than most small store-bought tubs. Unlike the chickpea salad on this site, this recipe is meant as a dip or spread.

| Estimated cost per batch | Cheap |
| Protein per 1/4 cup | ~4-5g* |
| Prep time | 10 minutes |
| Cook time | None |
| Yield | About 2 cups |
| Freezer-friendly | Yes |
*Protein is an estimate. Actual values depend on your exact ingredients and portions.
Ingredients
- 2 cans (540mL each) chickpeas, drained, liquid reserved
- 1/3 cup tahini
- 1/4 cup lemon juice
- 2 cloves garlic
- 3 tbsp olive oil, plus more for serving
- 1 tsp ground cumin
- 1/2 tsp salt
- 2-4 tbsp reserved chickpea liquid, as needed

How to make it
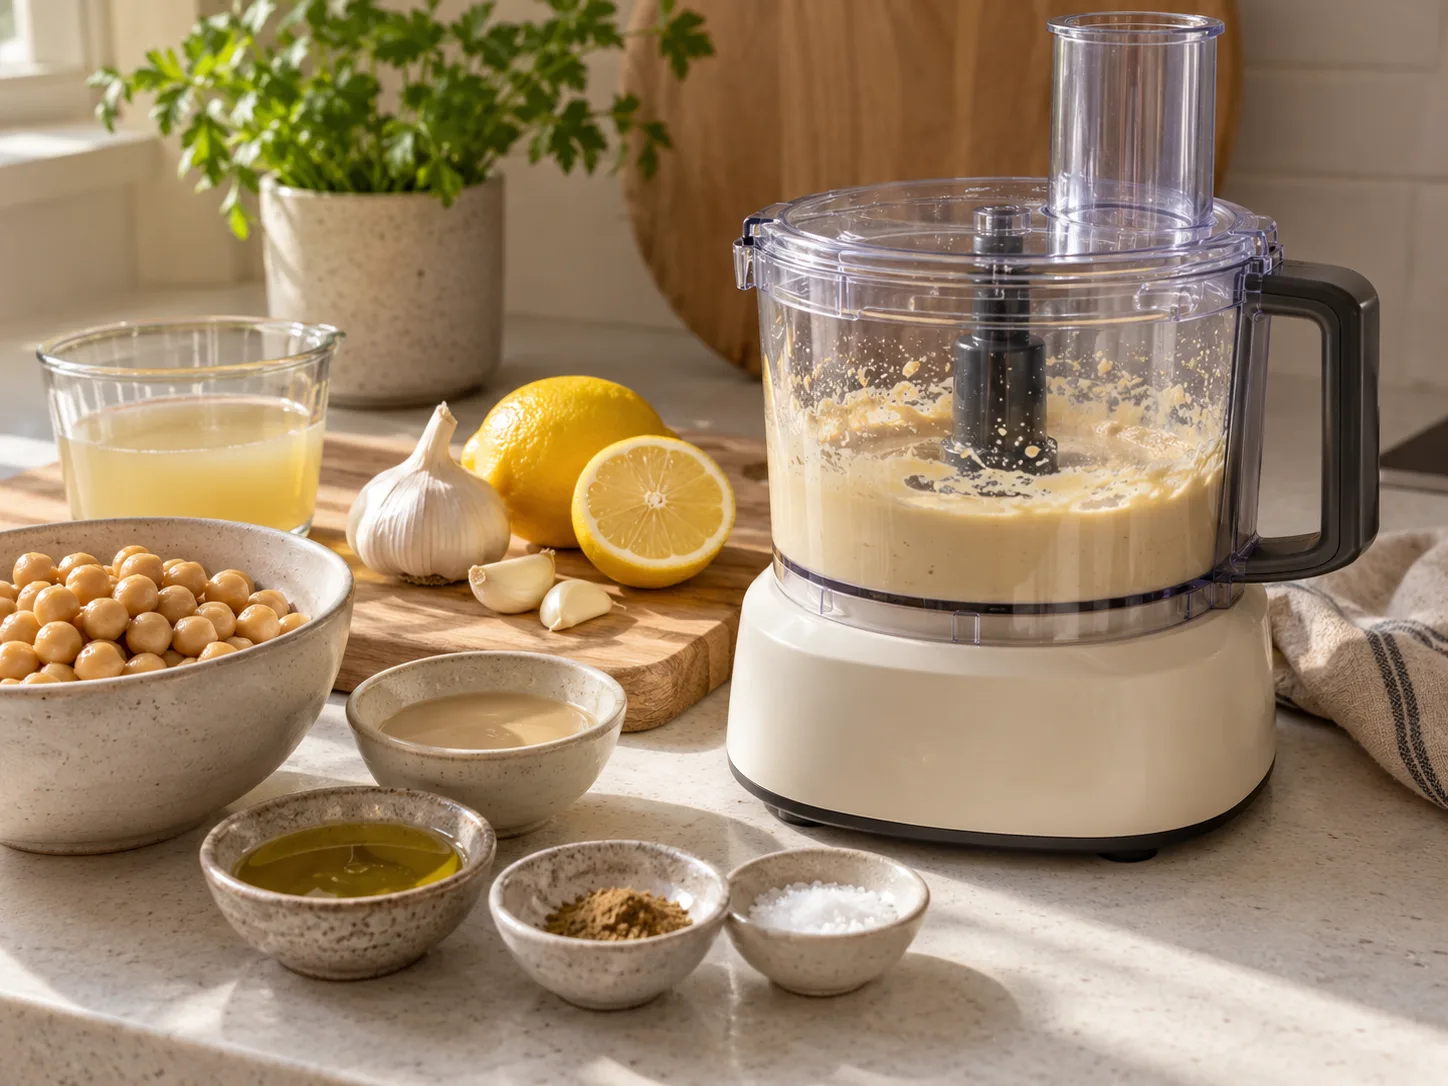
- Add the tahini and lemon juice to a food processor first, and blend for about a minute. This makes a lighter base before the chickpeas go in.
- Add the garlic, olive oil, cumin, and salt. Blend 30 seconds.
- Add the chickpeas and blend 2-3 minutes, scraping down the sides a few times, until smooth.
- With the processor running, drizzle in reserved chickpea liquid a tablespoon at a time until it reaches a smooth, scoopable consistency.
- Taste and adjust salt or lemon juice. Serve with a drizzle of olive oil on top.
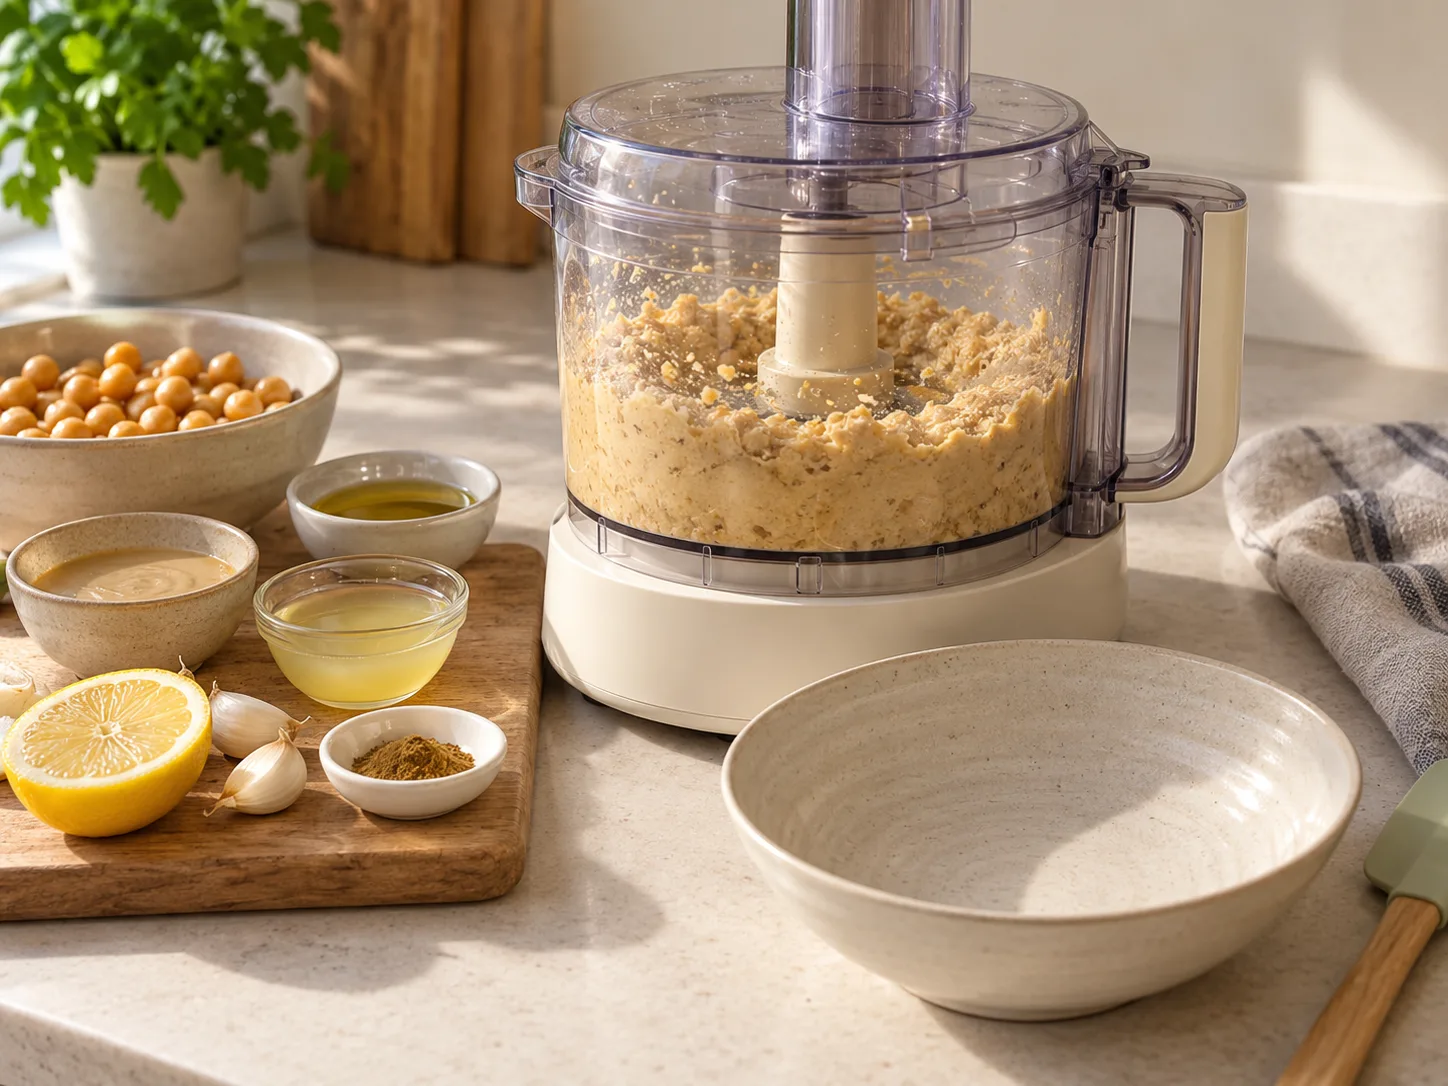
No food processor?
A high-speed blender works, but it needs more help moving the mixture. Start with the tahini, lemon juice, and 4 tablespoons of chickpea liquid. Add the chickpeas in three batches, stopping to scrape down the sides between each one. If the blades spin without pulling the hummus down, add another tablespoon of liquid.
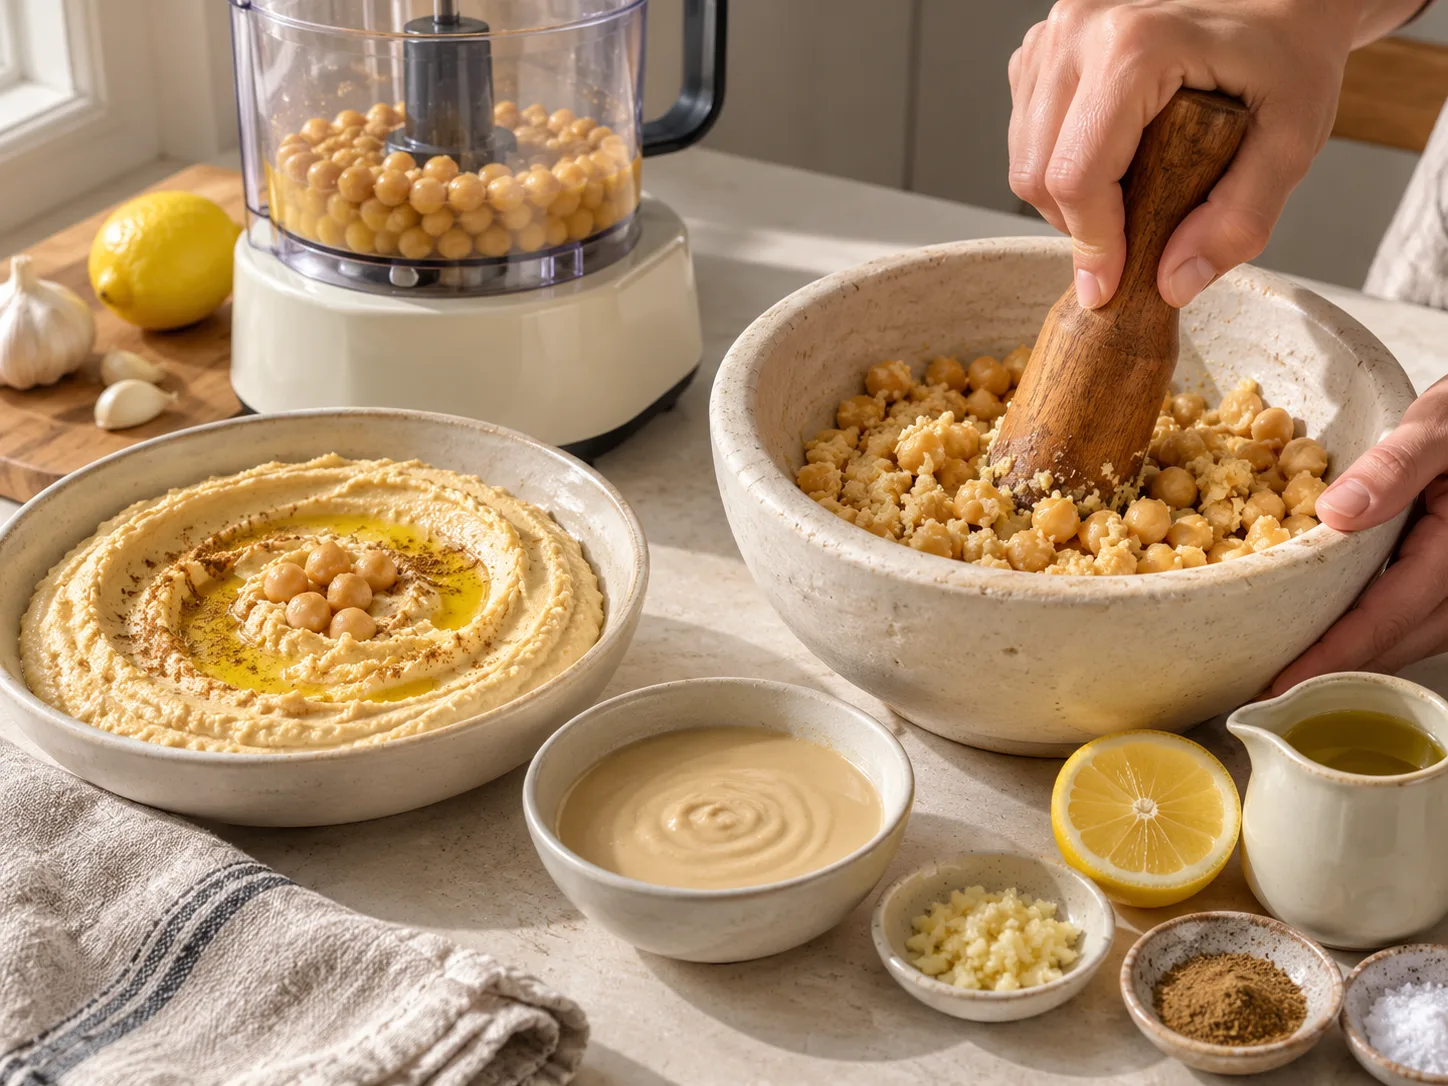
Use dried chickpeas for a larger batch
Cooked dried chickpeas are usually cheaper than canned when you make hummus often. Use about 3 cups of cooked chickpeas in place of the two cans. Save some cooking liquid for blending, then cool and freeze any extra chickpeas in 1 1/2-cup portions for the next batch.

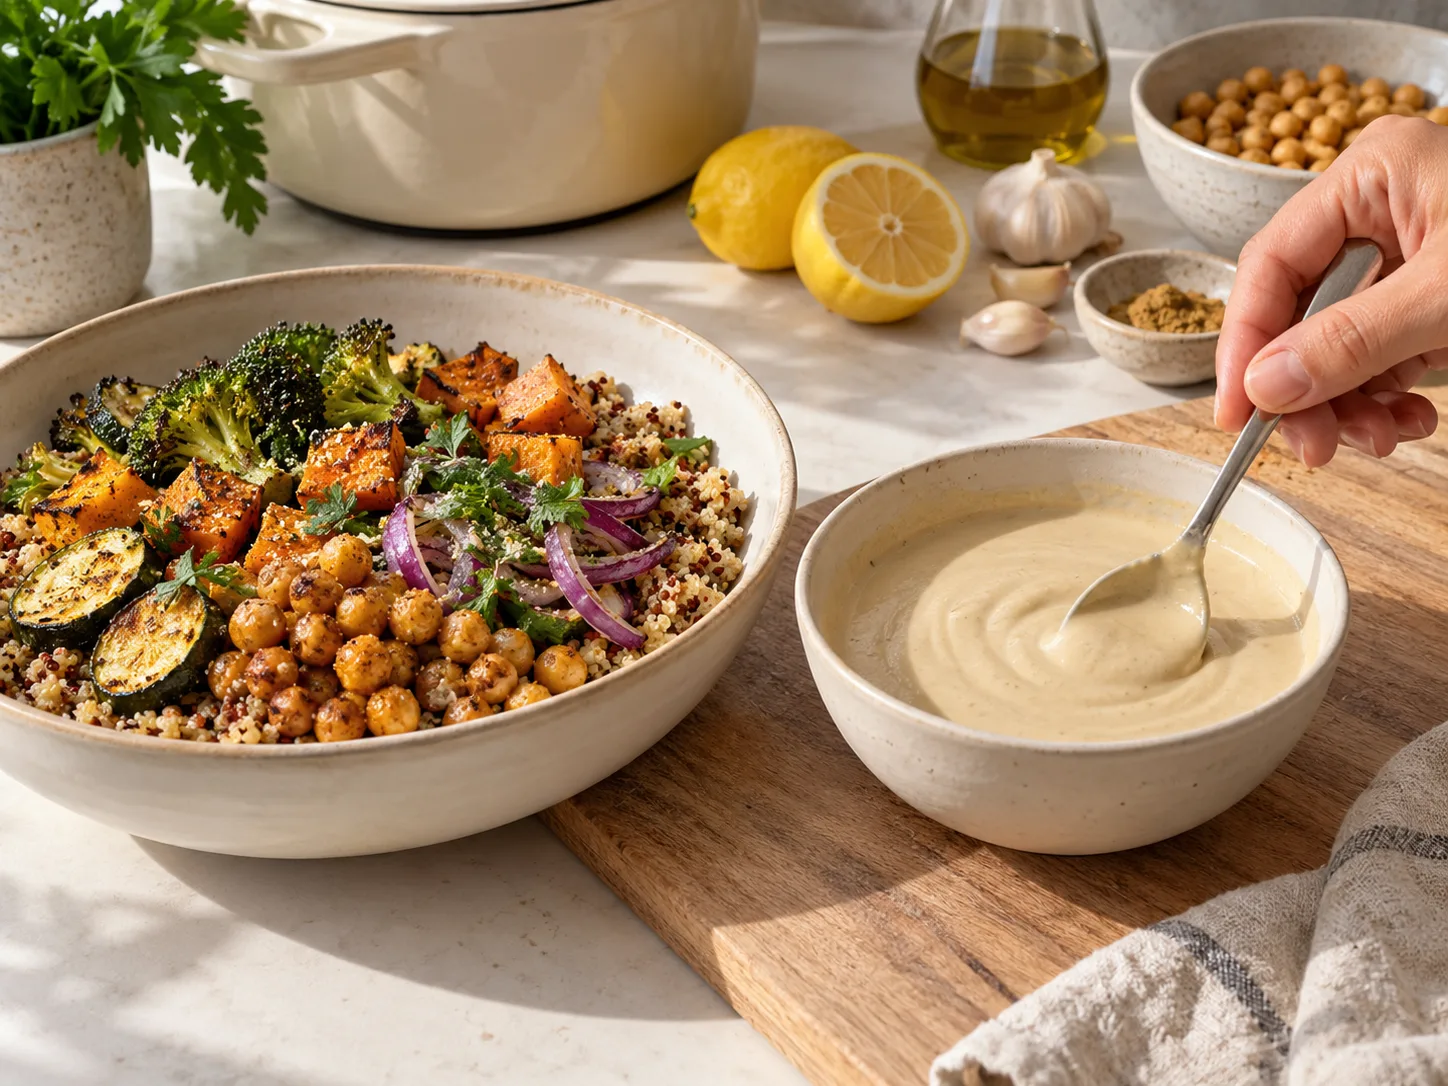
Turn it into a sauce
For grain bowls, roasted vegetables, or wraps, thin the finished hummus with cold water one tablespoon at a time until it pours from a spoon. Add a little more lemon and salt after thinning because the extra water softens the flavour.
The best way to store it
Press the hummus level in a shallow container so there is less air above it, then seal the lid. For the freezer, portion it into small containers rather than freezing the whole batch together. Small portions thaw faster and let you defrost only what you need.

Cost and protein breakdown
- 2 cans chickpeas: the base and the main protein contributor, inexpensive even at full price
- Tahini: a bit pricier per jar but used in a small quantity per batch, so the per-batch cost stays low
- Total estimate — cheap for the full batch of about 2 cups, well under what the equivalent amount of store-bought hummus would cost
Protein lands around 4-5g per quarter cup, a useful amount for a dip or spread, especially when it is part of a larger meal.
Why blend the tahini and lemon first
Tahini thickens when lemon juice hits it. Blending them together first whips air into the mixture and gives the hummus a lighter texture. Blending everything at once still works, but the hummus will be denser.
How to make it cheaper
- Buy a larger jar of tahini if you’ll use it again, the per-batch cost drops with a bigger jar, and it keeps for months in the pantry or fridge.
- Skip the tahini entirely in a pinch, the hummus will taste noticeably different (less nutty, less rich) but still works as a chickpea dip.
- Buy chickpeas in bulk when on sale. They keep indefinitely in the pantry unopened.
Storage and freezing
- Fridge: up to a week, sealed, at 40°F / 4°C or below.
- Freezer: up to 3 months, hummus freezes surprisingly well. Thaw in the fridge overnight and stir well, adding a splash of olive oil if it looks slightly separated.
What to eat it with
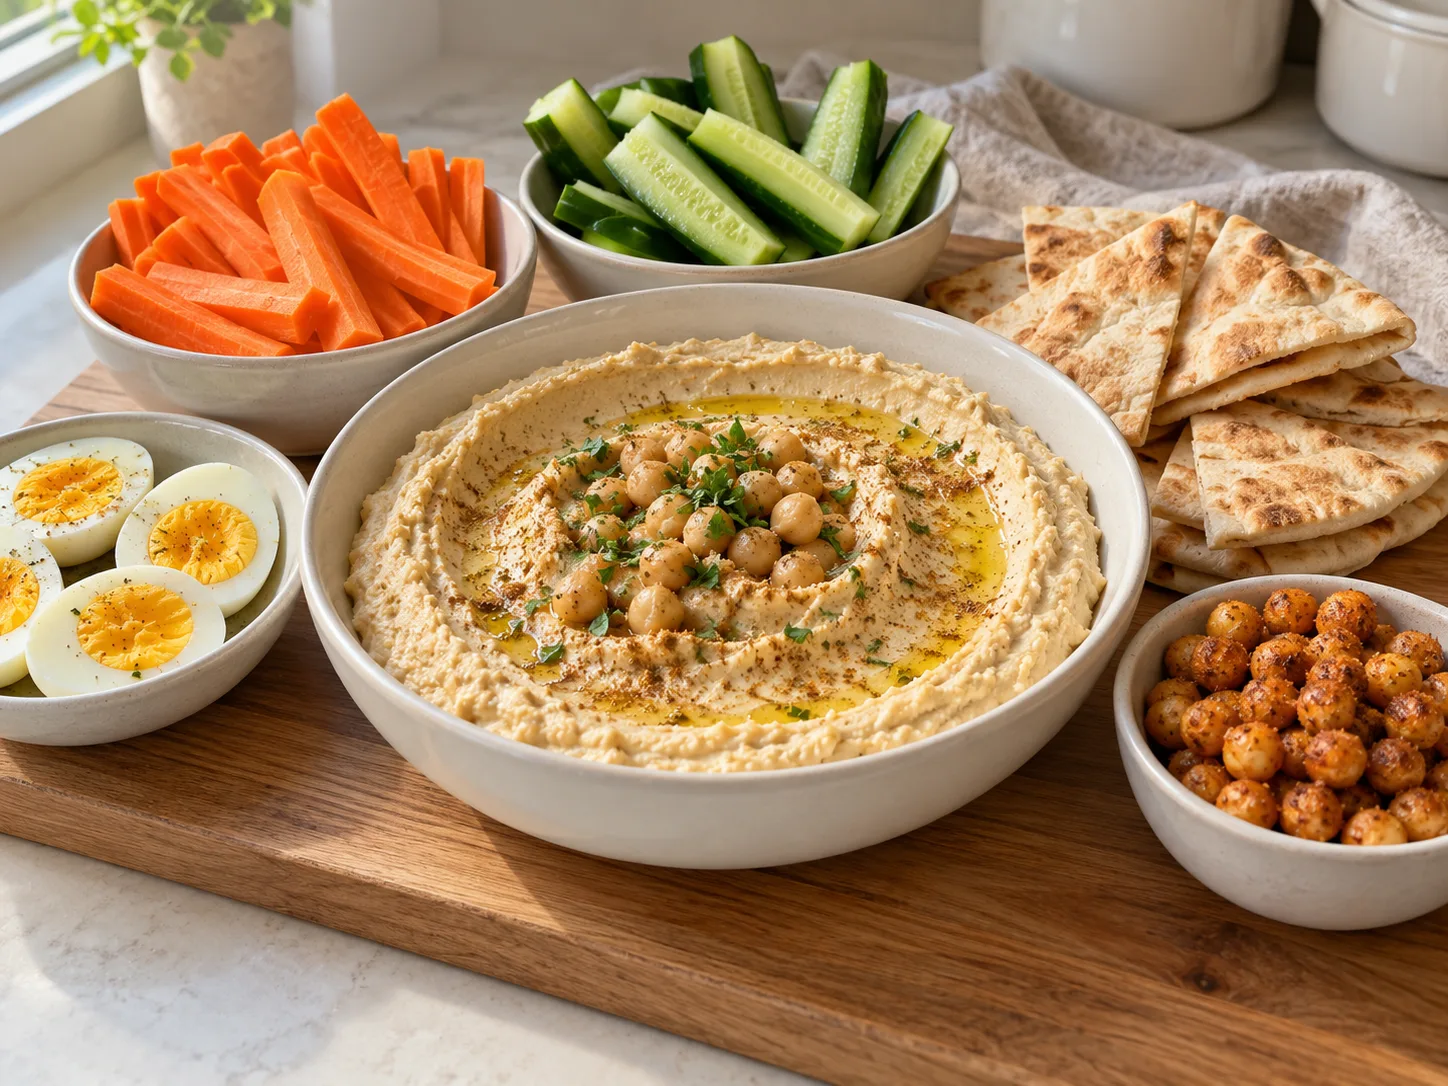
Raw vegetables (carrots, cucumber, bell pepper) for a low-cost snack, spread on a sandwich or wrap in place of mayo, or as a side with the chicken rice bowls for extra protein and flavour variety across a week of the same base meal.
Frequently asked questions
Do I need to peel the chickpeas for smoother hummus?
Removing the thin skins makes the hummus smoother, but it takes time and is optional. A few minutes of extra blending gets most of the way there without the hand-peeling.
Mine came out too thick, what do I do?
Add more of the reserved chickpea liquid (or plain water if you’ve run out), a tablespoon at a time, blending between additions, until it loosens to the texture you want.

Can I add flavours like roasted red pepper or extra garlic?
Yes. Roasted red pepper, extra garlic, or a spoonful of harissa all blend in well. Add them with the chickpeas and taste as you go, since they can shift the balance of salt and acid in the base recipe.
Related reading: High-Protein Chickpea Salad, No-Cook High-Protein Lunch Meal Prep, and Best Cheap Protein Sources by Cost Per Gram.