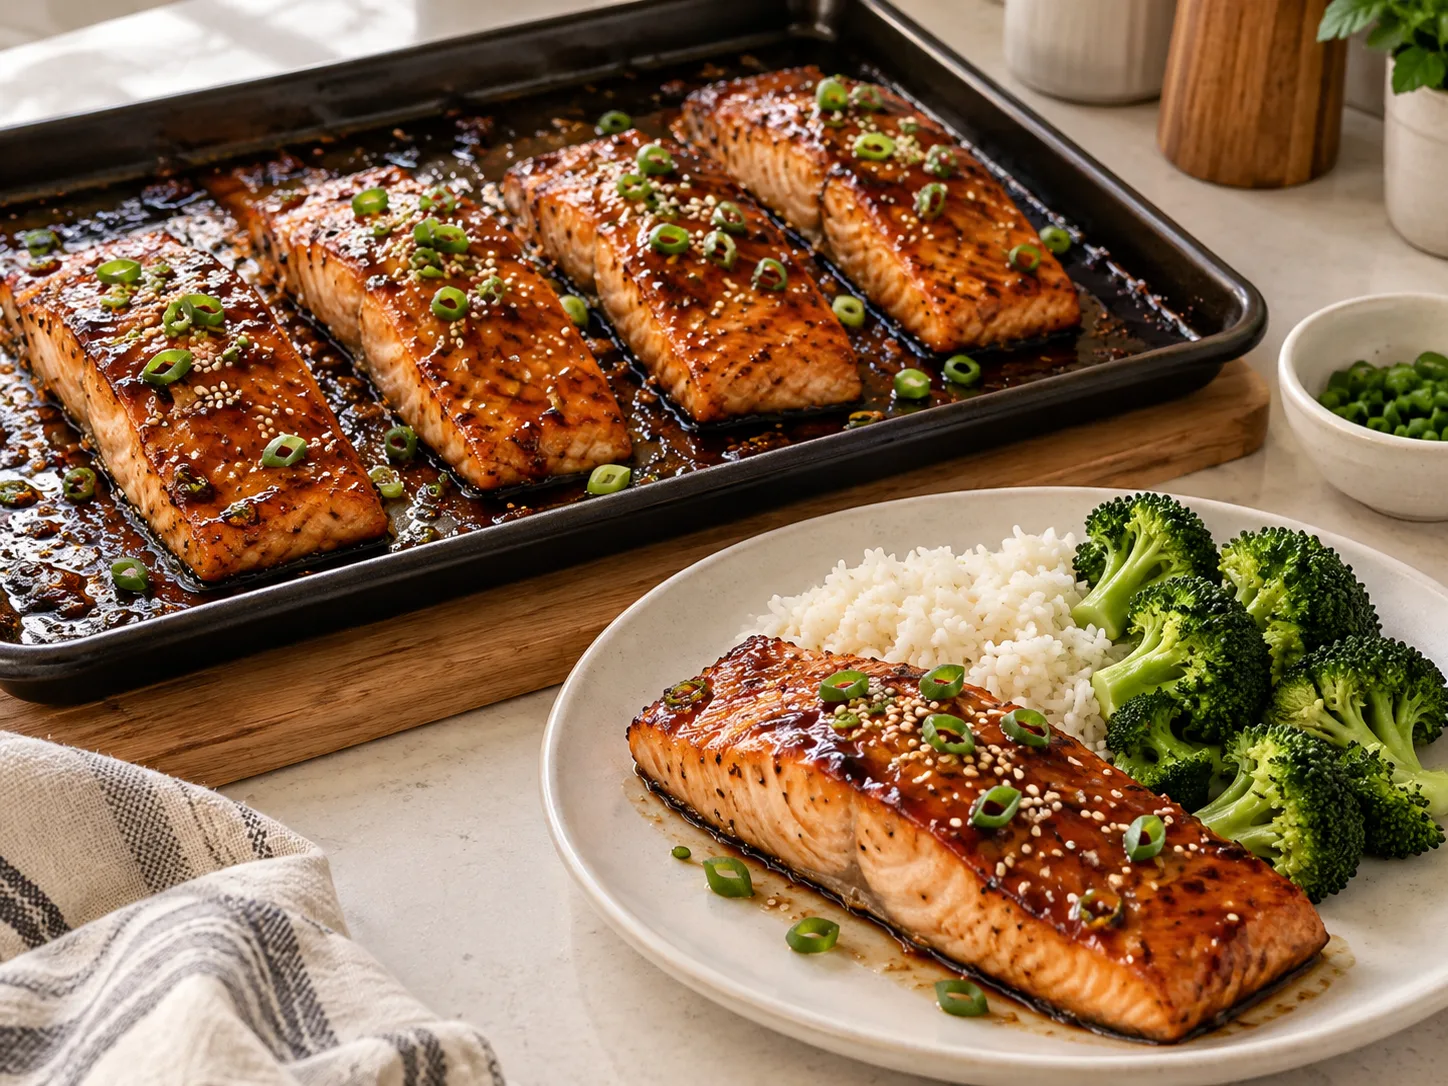
Teriyaki Baked Salmon (Budget)
A different use of salmon than the canned salmon patties already on this site — this uses a fillet, glazed and baked whole, which costs more per serving but delivers a different eating experience worth it on a week with a little more room in the budget.
| Estimated cost per serving | Still affordable |
| Protein per serving | ~30–35g* |
| Prep time | 10 minutes |
| Cook time | 15 minutes |
| Servings | 4 |
| Freezer-friendly | Raw fillets only |
*Protein is an estimate. Actual values depend on your exact ingredients and portions. This is one of the pricier recipes on this site — a fillet costs noticeably more than canned salmon or chicken.
Wild-caught vs. farmed, and whether it matters for this recipe
Farmed salmon (most commonly Atlantic salmon) is usually the cheaper option and has a milder, fattier flavour, while wild-caught (sockeye, coho, and others) tends to cost more and has a firmer texture with a more pronounced flavour of its own. For a glazed, baked dish like this one, where the teriyaki flavour is doing a lot of the work, farmed salmon’s milder taste and higher fat content actually work in its favour — the extra fat helps keep it moist through baking, and the mild base flavour doesn’t compete with the glaze. Wild-caught is a fine choice too if that’s what’s available or preferred, just know it can dry out slightly faster in the oven due to its lower fat content, so lean toward the shorter end of the bake time range.
Ingredients
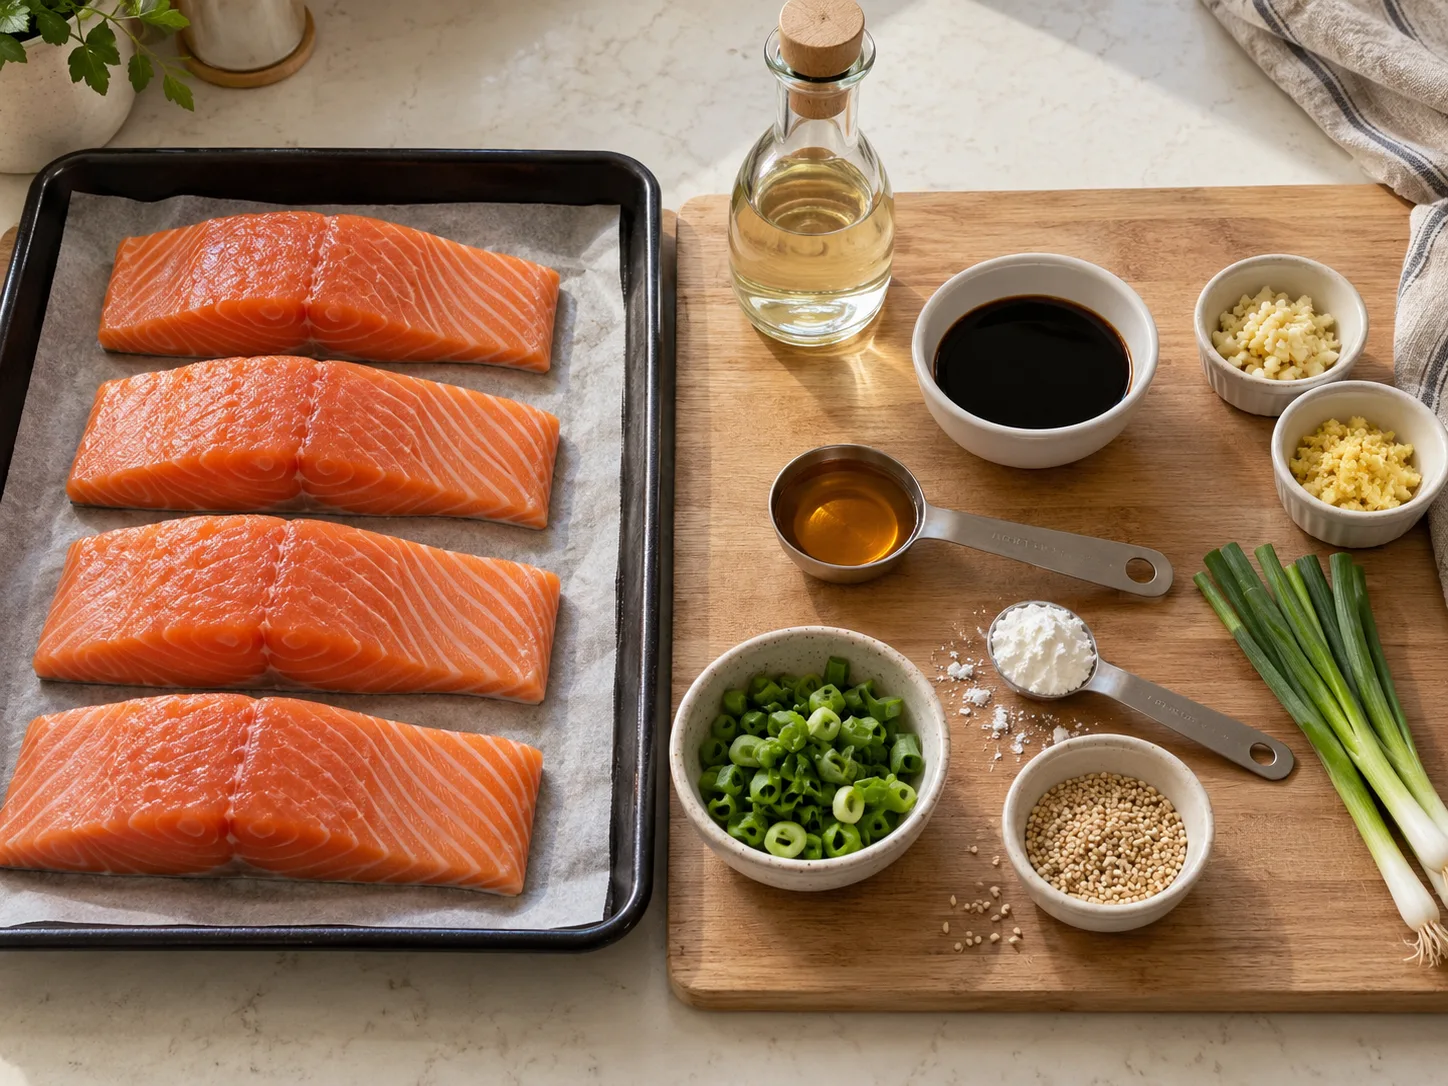
- 4 salmon fillets (about 150g each)
- 1/4 cup soy sauce
- 2 tbsp honey
- 1 tbsp rice vinegar
- 2 cloves garlic, minced
- 1 tsp fresh ginger, minced (or 1/4 tsp ground)
- 1 tsp cornstarch mixed with 1 tbsp water
- Sesame seeds and green onion, for serving
How to make it
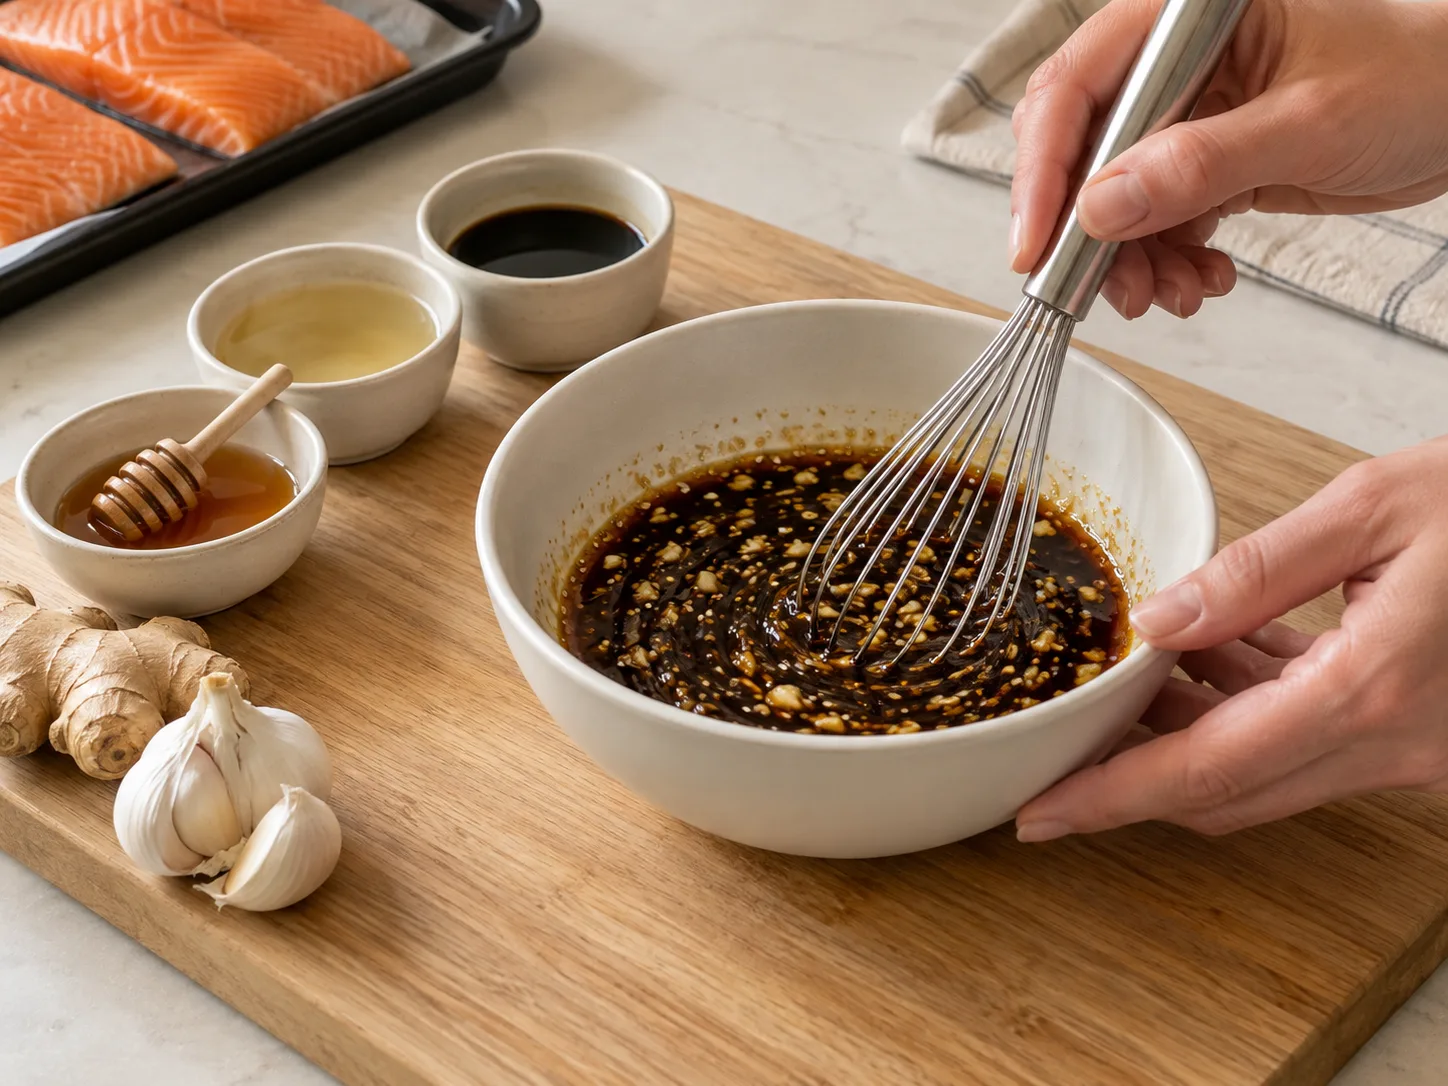
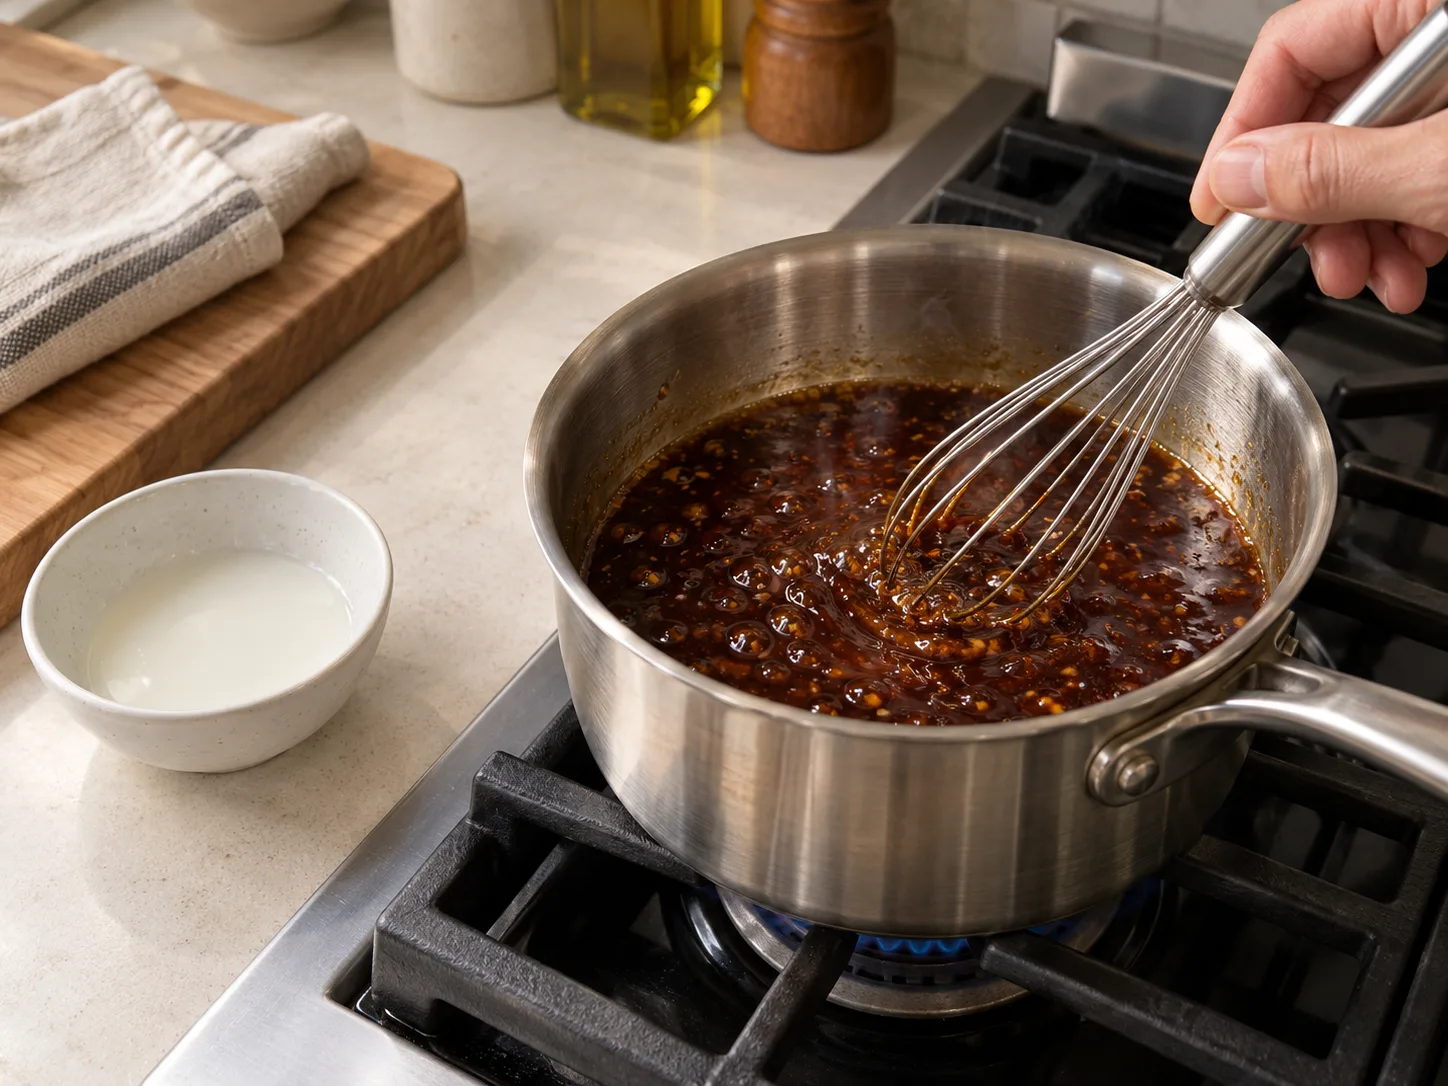
- Whisk together the soy sauce, honey, rice vinegar, garlic, and ginger in a small saucepan. Bring to a simmer over medium heat.
- Stir in the cornstarch slurry and simmer 1–2 minutes, until thickened enough to coat a spoon. Remove from heat and set aside half the glaze for serving.
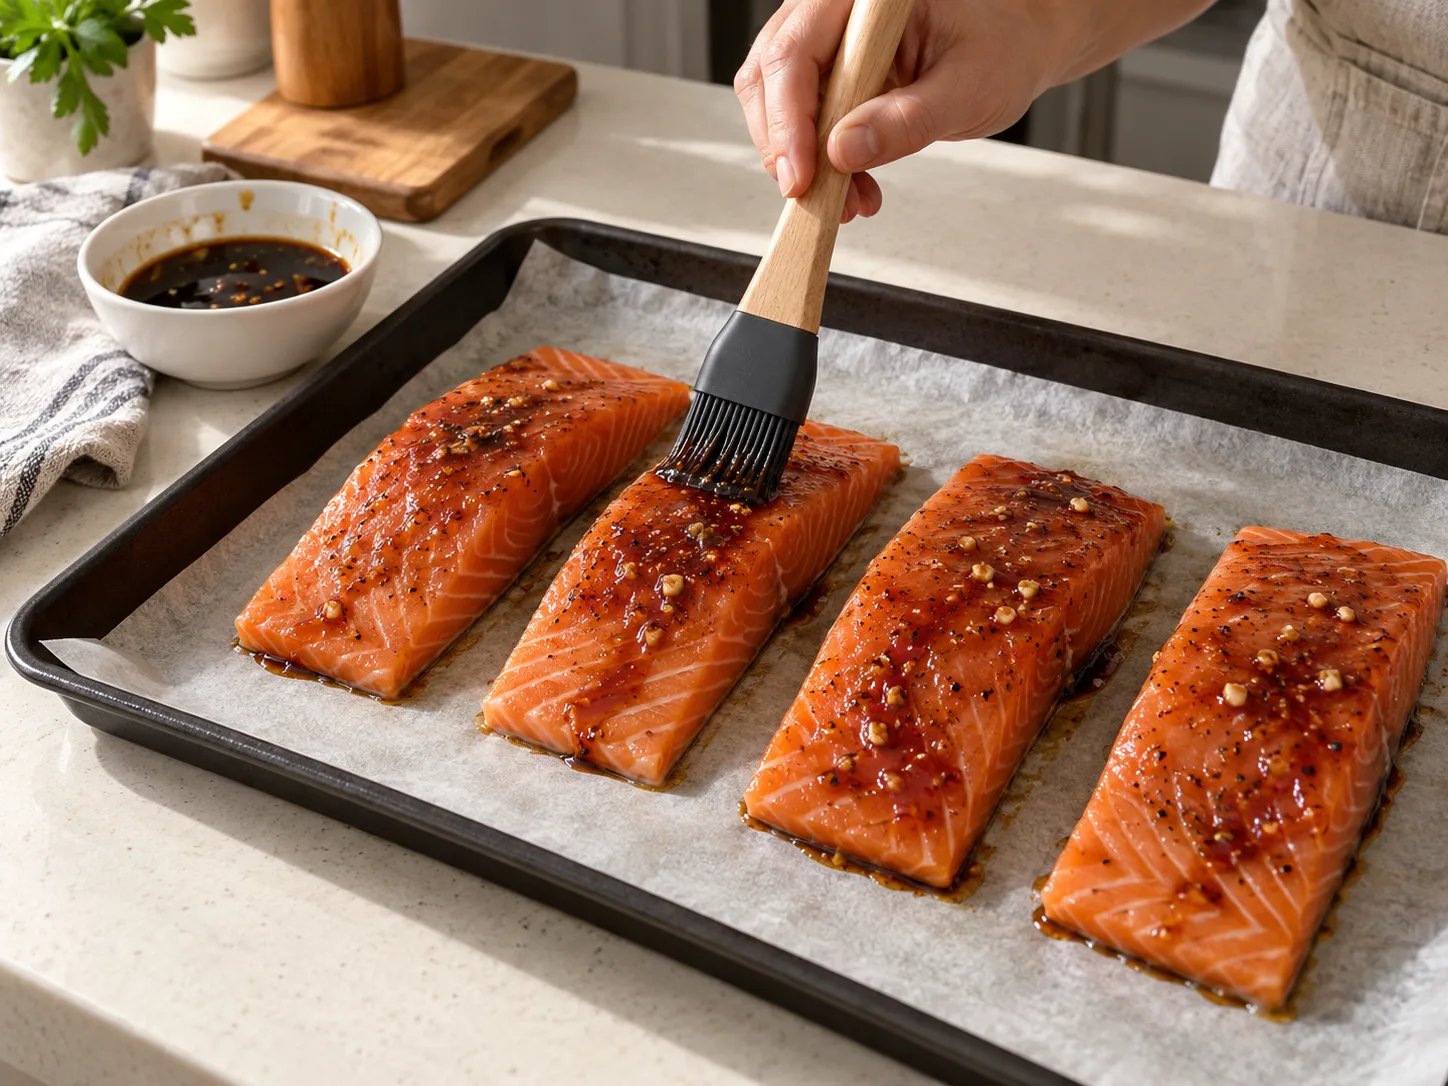
- Preheat the oven to 400°F / 200°C. Place the salmon fillets on a lined baking sheet, skin-side down if the skin is on. Brush generously with the remaining glaze.
- Bake 12–15 minutes, depending on thickness, until the salmon reaches 158°F / 70°C internally and flakes easily with a fork.
- Drizzle with the reserved glaze and top with sesame seeds and green onion before serving.
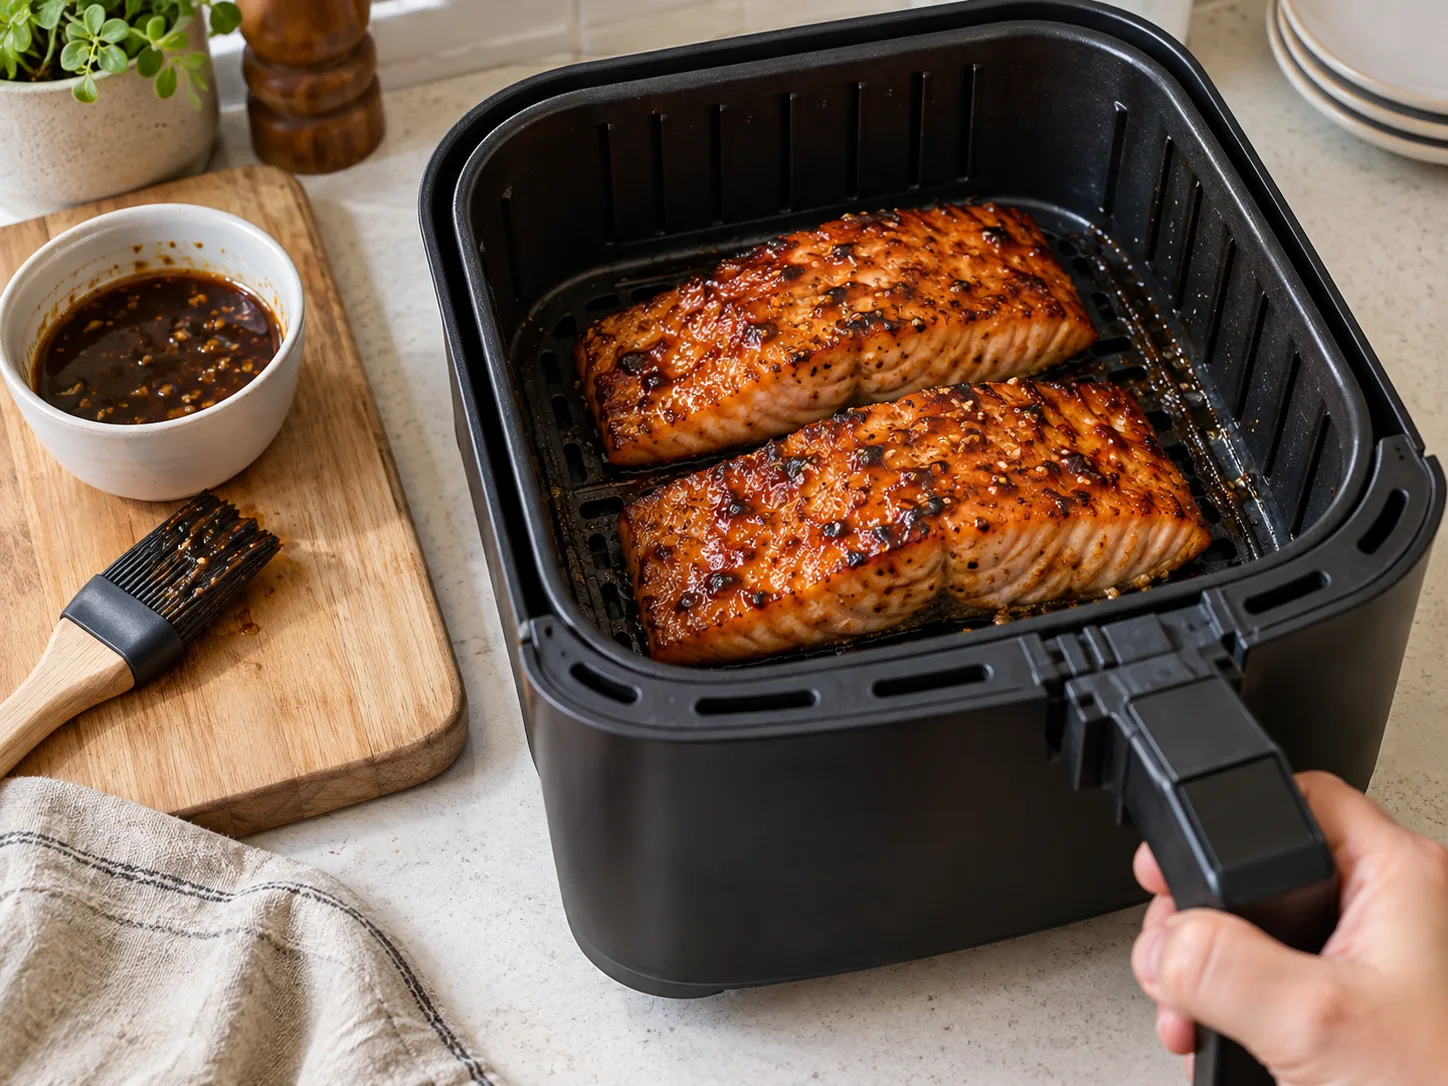
Air fryer method
Preheat the air fryer to 390°F / 200°C. Lightly oil the basket, then arrange the fillets skin-side down in a single layer with space around them; cook in two batches if your basket is crowded. Brush on a thin layer of the cooking glaze and air-fry for 7–10 minutes, checking the thinnest piece at 7 minutes. Add one more light coat of glaze during the final 1–2 minutes so the honey does not scorch. The thickest part must reach 158°F / 70°C. Finish with the clean reserved glaze after cooking.
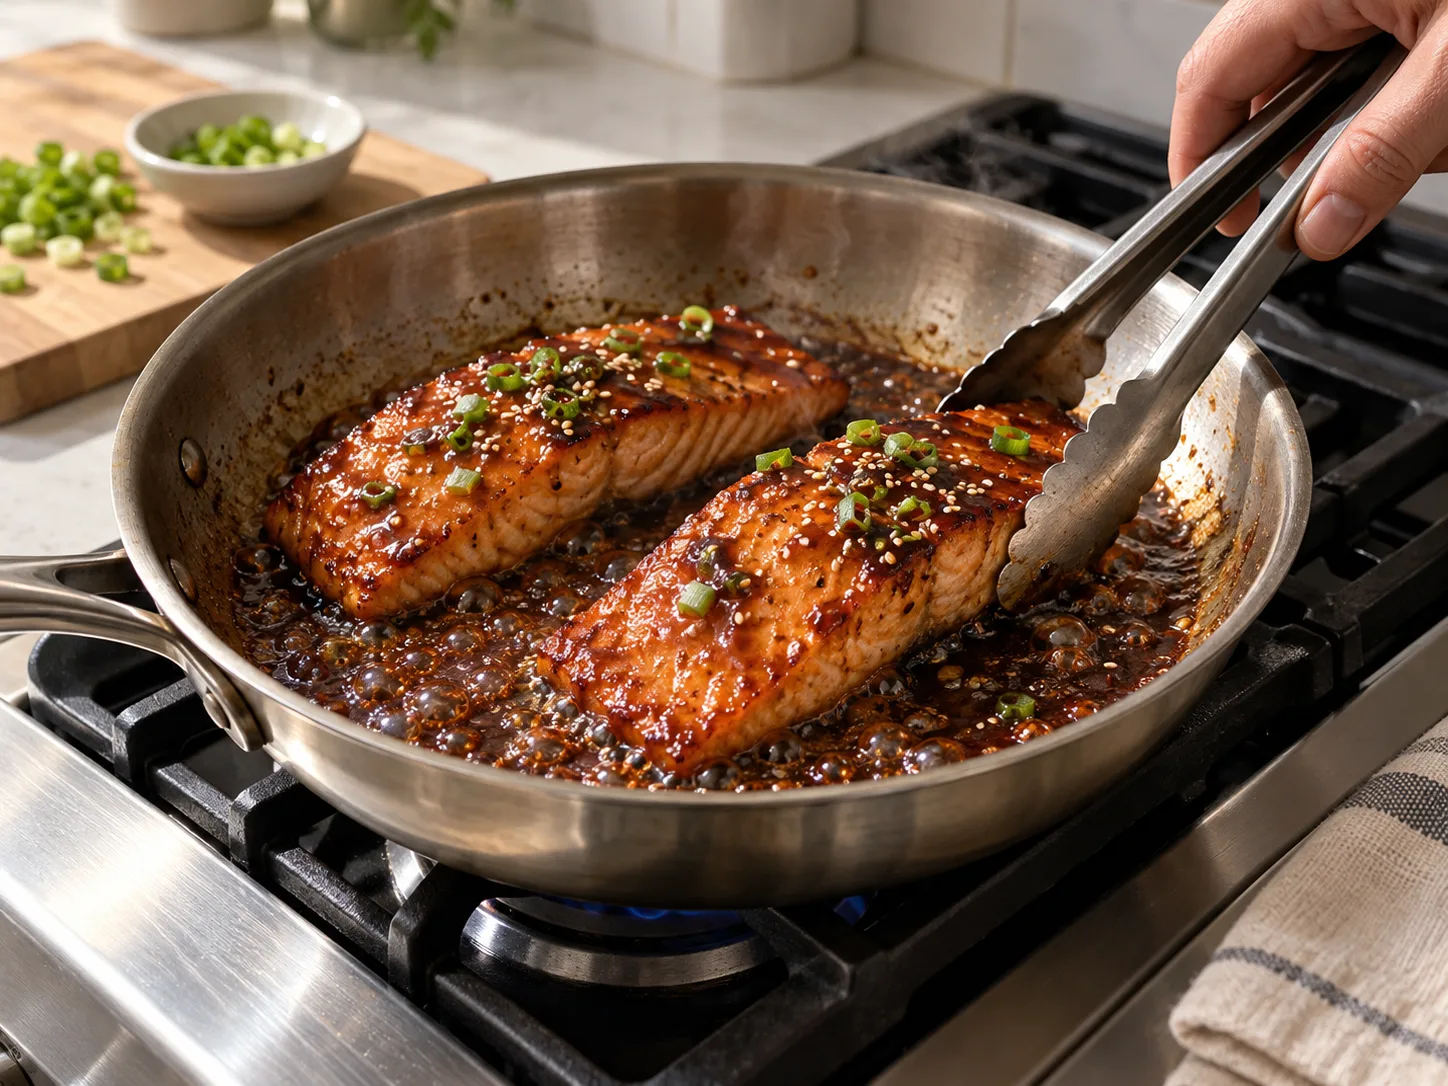
Stovetop method
Use a 12-inch non-stick or well-seasoned skillet and 1 teaspoon of neutral oil. Heat over medium, add the salmon skin-side down, and cook without moving it for 4–6 minutes. Flip, cook for 2 minutes, then brush with the cooking portion of glaze and continue for 1–3 minutes, spooning the bubbling glaze over the fish. Adding the glaze near the end keeps its honey from burning. Remove each fillet as its thickest part reaches 158°F / 70°C, then serve with the untouched reserved glaze.
Which method is best?
- Best for all four fillets at once: Oven — the most even, forgiving method.
- Fastest with caramelized edges: Air fryer — especially good for one or two portions.
- Best skin and most control: Stovetop — useful when fillets differ in thickness.
A pressure cooker or slow cooker would sacrifice the flaky texture that makes this recipe worth using salmon for. The microwave is best kept for careful reheating, not the initial cook.
Cost and protein breakdown
- 4 salmon fillets — the main cost, and one of the pricier proteins on this site per serving
- Soy sauce, honey, garlic, ginger — cheap pantry staples, a small fraction of the total
- Total estimate — still affordable to make, per serving
Protein lands around 30–35g per serving. This recipe is here for variety and for weeks when the budget has a bit more room — most of this site leans cheaper than this by design.
How to tell when salmon is actually done
Salmon is done when the thickest part reaches a safe internal temperature — Health Canada sets this at 158°F / 70°C, while the FDA’s minimum safe temperature for cooked fish is 145°F / 63°C. Opaque flesh that separates into flakes is a useful clue, but colour alone is not a reliable safety check; use a clean digital thermometer.
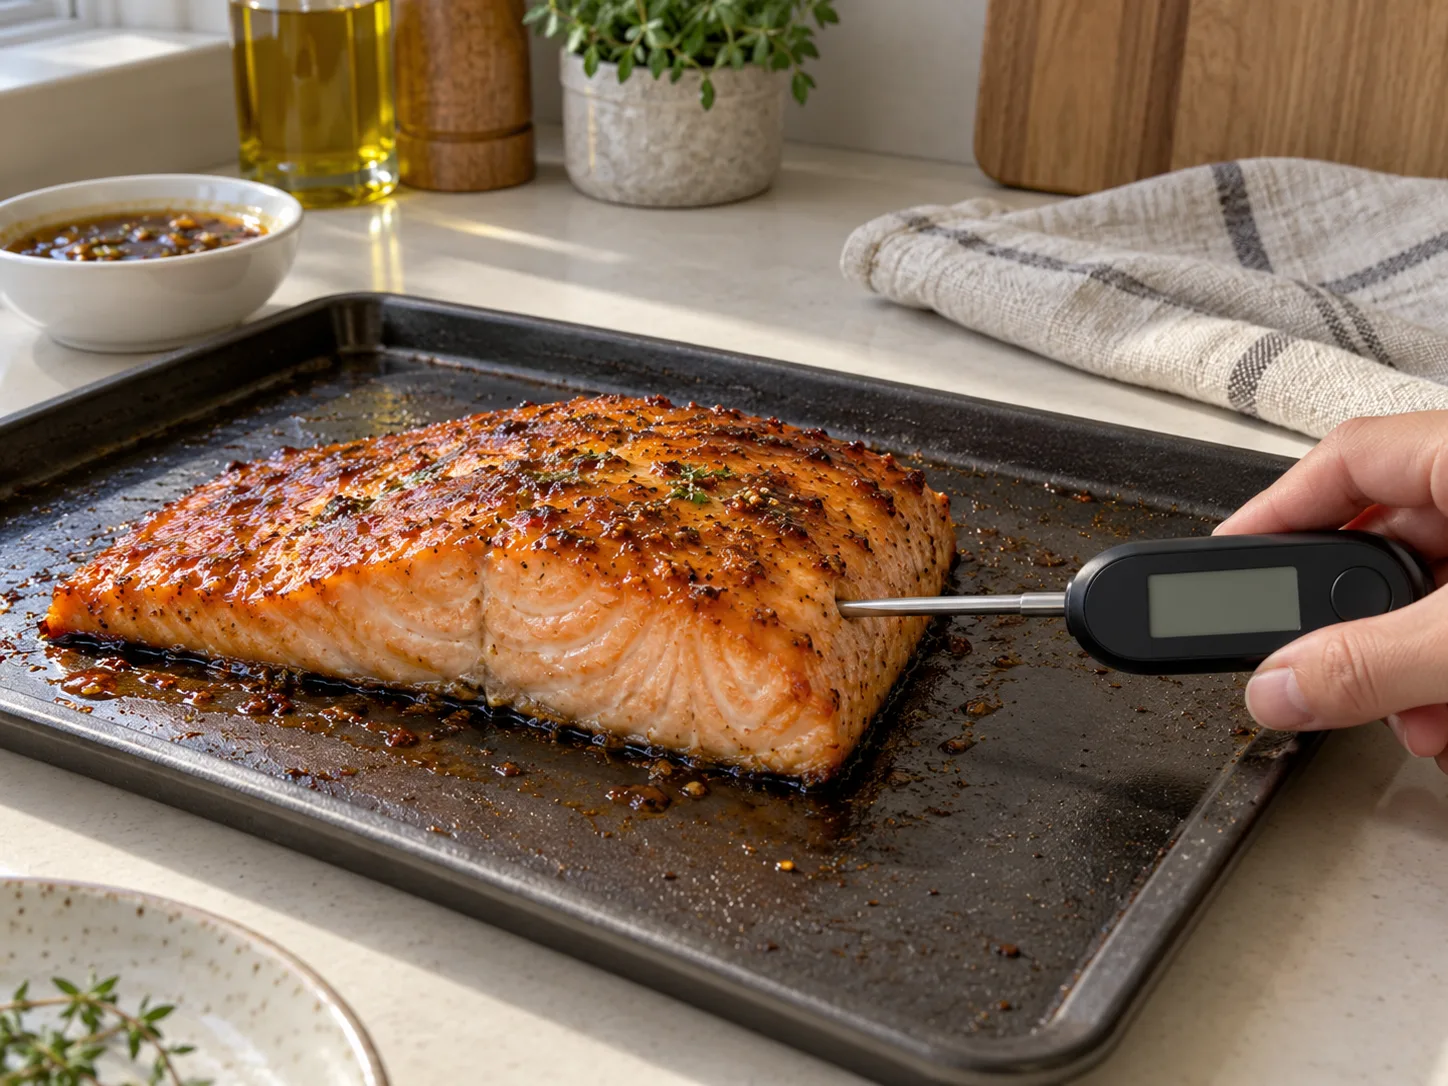
Thickness is the main variable in how long any individual fillet actually needs. A thin, tail-end piece might be fully done in 10 minutes, while a thick, centre-cut piece from the same fish could need the full 15 or slightly more. If your fillets vary noticeably in thickness, check the thinnest ones first and pull them from the oven ahead of the thicker pieces rather than treating the whole batch as done at exactly the same moment.
How this compares to the honey garlic chicken on this site
The glaze here shares a lot of DNA with the honey garlic chicken thighs recipe elsewhere on this site — soy sauce, honey, and garlic as the backbone of both. The difference is the protein and the cost: salmon is noticeably pricier per serving than chicken thighs, and it cooks in about half the time. If you like this glaze but want a cheaper, more everyday version of the same flavour profile, the chicken version is the one to default to during a tighter week; save this salmon version for when the budget has a bit more give, as the recipe intro already notes.
Flavour variations
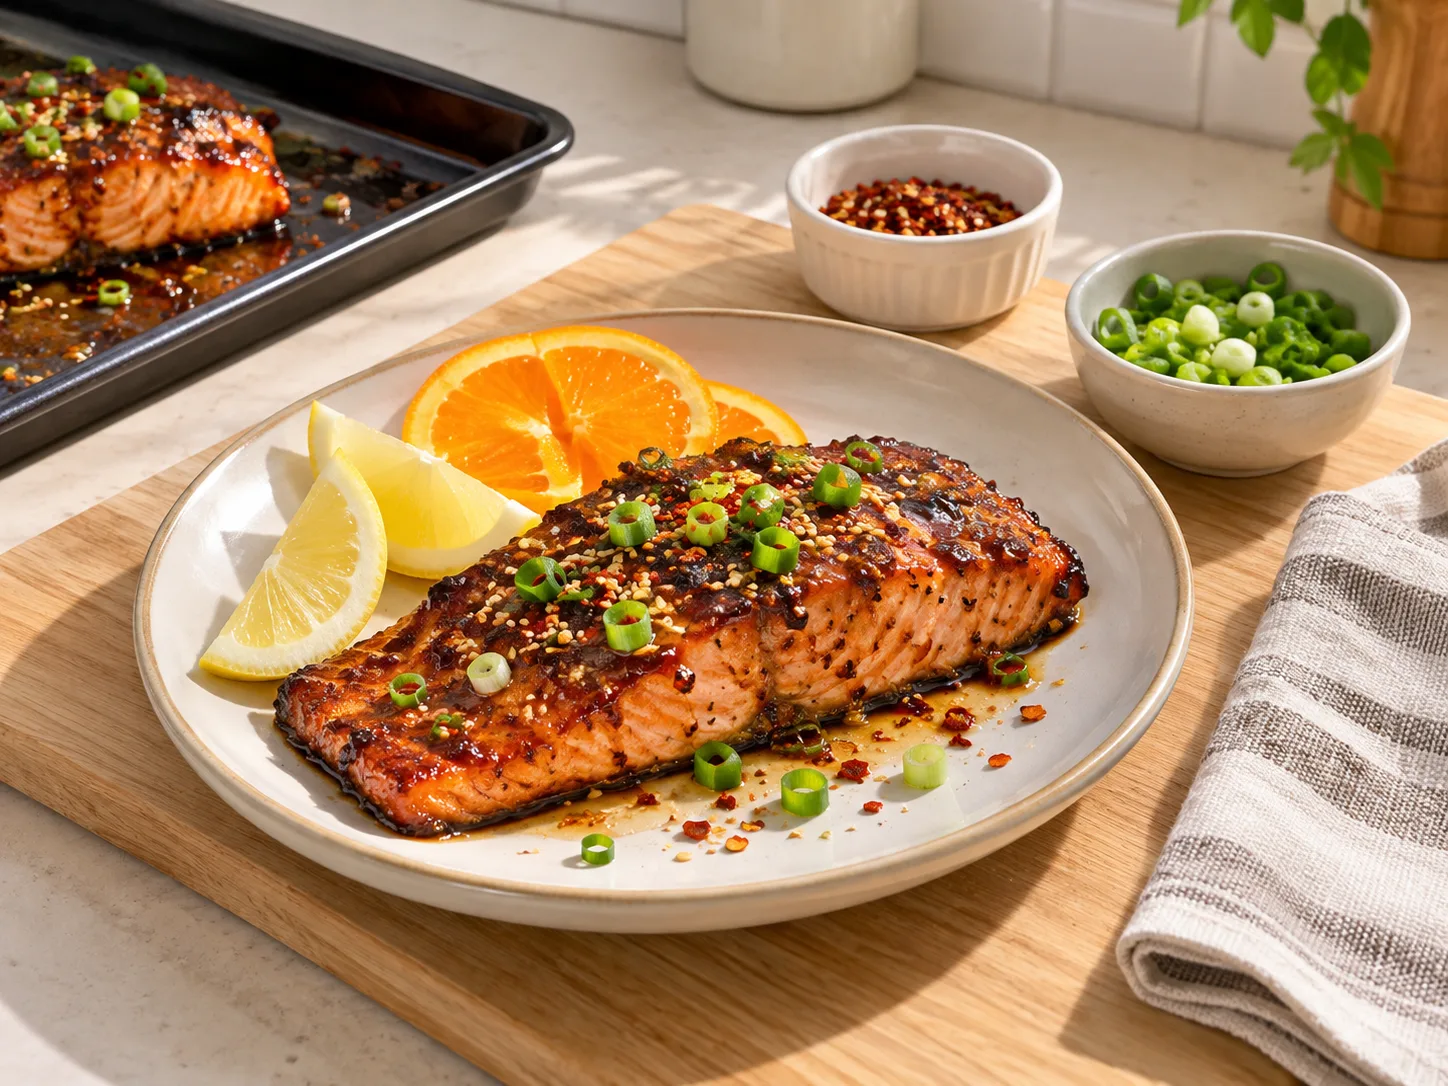
The soy-honey-ginger base adapts easily. For a spicier version, whisk a teaspoon of sriracha or a pinch of red pepper flakes into the glaze before simmering. For an orange teriyaki direction, replace the rice vinegar with fresh orange juice and add a bit of orange zest at the end for brightness. For a simpler version with fewer ingredients, skip the cornstarch slurry and just reduce the glaze a few extra minutes on the stove until it naturally thickens — slower, but one less ingredient to measure.
Buying salmon that’s actually fresh
If buying from the fresh counter rather than frozen, a few cues help judge quality: the flesh should look moist and vibrant, not dull or dried out at the edges, and it shouldn’t have a strong “fishy” smell — good fresh salmon smells mild, almost like the ocean, not sharp or ammonia-like. If anything about the smell or appearance seems off, frozen fillets from the same store are almost always a safer and equally good choice, since they’re typically flash-frozen at peak freshness shortly after being caught or harvested.
Common mistakes
Not patting the fillets dry before glazing. Surface moisture dilutes the glaze and keeps it from adhering properly. A quick pat with paper towel before brushing on the glaze helps it stick and caramelize better in the oven.
Waiting well past the safe temperature. Salmon dries out quickly once the centre passes 158°F / 70°C. Check early, remove each fillet as it reaches that temperature, and let carryover heat finish the rest rather than leaving every piece in for the thickest fillet.
Using all the glaze on the raw fish and having none left for serving. The recipe specifically sets aside half for after baking — glaze that’s touched raw fish shouldn’t be reused as a finishing sauce without being boiled again first, so keeping a separate portion from the start avoids that problem entirely.
How to make it cheaper
- Buy frozen salmon fillets instead of fresh from the counter — reliably cheaper and just as good once thawed and cooked.
- Watch for sales and buy a larger pack, freezing what you don’t use immediately.
- Use smaller fillets or portion a larger piece yourself rather than buying pre-cut individual portions, which often carry a size premium.
Storage
- Fridge (cooked): Refrigerate in a shallow sealed container within 2 hours — the same window the FDA recommends to stay out of the food safety “danger zone”. Health Canada allows 3–4 days at 40°F / 4°C or below, though the texture is best within 2–3 days.
- Freezer (raw fillets): Freeze well wrapped for up to 2 months. Thaw overnight in the refrigerator before glazing.
- Freezer (cooked): Possible, but not ideal; freeze portions for up to 2 months for best quality and expect a slightly softer, drier texture after thawing.
- Reheating: Cover and warm in a 300°F / 150°C oven with a spoonful of glaze or water, checking after 8 minutes, until the centre reaches 165°F / 74°C. For the microwave, use 50% power in 30-second intervals and stop as soon as it is hot.
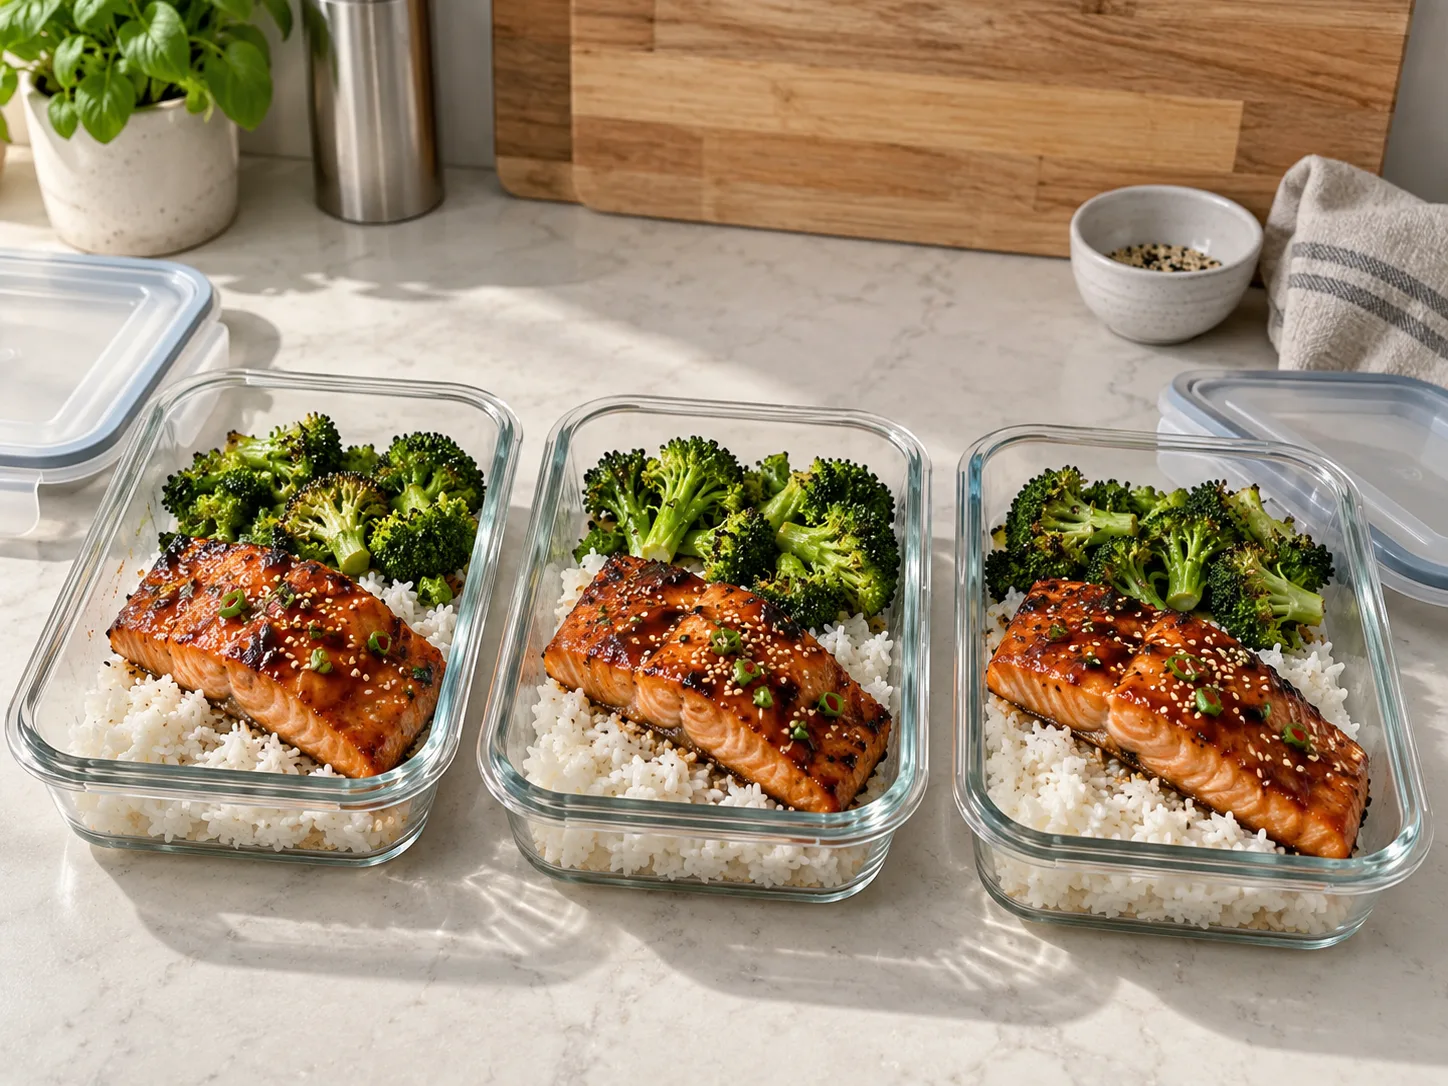
Cooked salmon also works well eaten cold the next day, flaked over a salad or into a grain bowl, which sidesteps the reheating-fish problem entirely. This is worth keeping in mind if you’re meal-prepping this dish specifically, since a cold-repurposed leftover often tastes better than a gently reheated one anyway.
Frequently asked questions
What should I serve this with?
Rice and steamed or roasted broccoli make the simplest, cheapest complete plate, and both soak up any extra glaze well. A quick cucumber salad — thinly sliced cucumber with a splash of rice vinegar and a pinch of sugar — is a classic, low-cost side that fits the overall flavour direction and takes only a few minutes to put together while the salmon is in the oven.
Is frozen salmon as good as fresh here?
Yes, for this recipe specifically — the glaze and baking method both work identically with properly thawed frozen salmon, and the cost savings are meaningful enough that it’s the better default choice for most budgets.
What’s the best way to thaw frozen salmon?
Overnight in the fridge is the safest and most reliable method, and it’s worth planning a day ahead for exactly that reason. If you need it faster, sealed in its original packaging (or a leak-proof bag) and submerged in cold water, changing the water every 30 minutes, thaws a fillet in roughly an hour. Avoid thawing at room temperature on the counter, which lets the outer surface warm into an unsafe temperature range well before the inside is actually thawed.
Do I need to remove the skin before cooking?
No — cooking skin-side down, as the recipe calls for, actually helps protect the flesh from the direct heat of the pan and makes the fillet easier to lift off the sheet without it falling apart. The skin itself is edible and some people enjoy it crisped; others peel it off after cooking. Either way, there’s no need to remove it before baking.
My kitchen smells strongly of fish after baking — how do I avoid that next time?
Baking at a slightly lower temperature for a bit longer, rather than very high heat for a short time, tends to produce less odour, since high heat more aggressively breaks down the compounds responsible for fishy smells. A squeeze of lemon or a splash of the rice vinegar already in this recipe also helps neutralize some of that smell both during and after cooking. Running a kitchen fan or cracking a window while baking handles most of what cooking technique alone can’t.
Related reading: Canned Salmon Patties, Quick Honey Garlic Chicken Thighs, and Best Cheap Protein Sources by Cost Per Gram.